

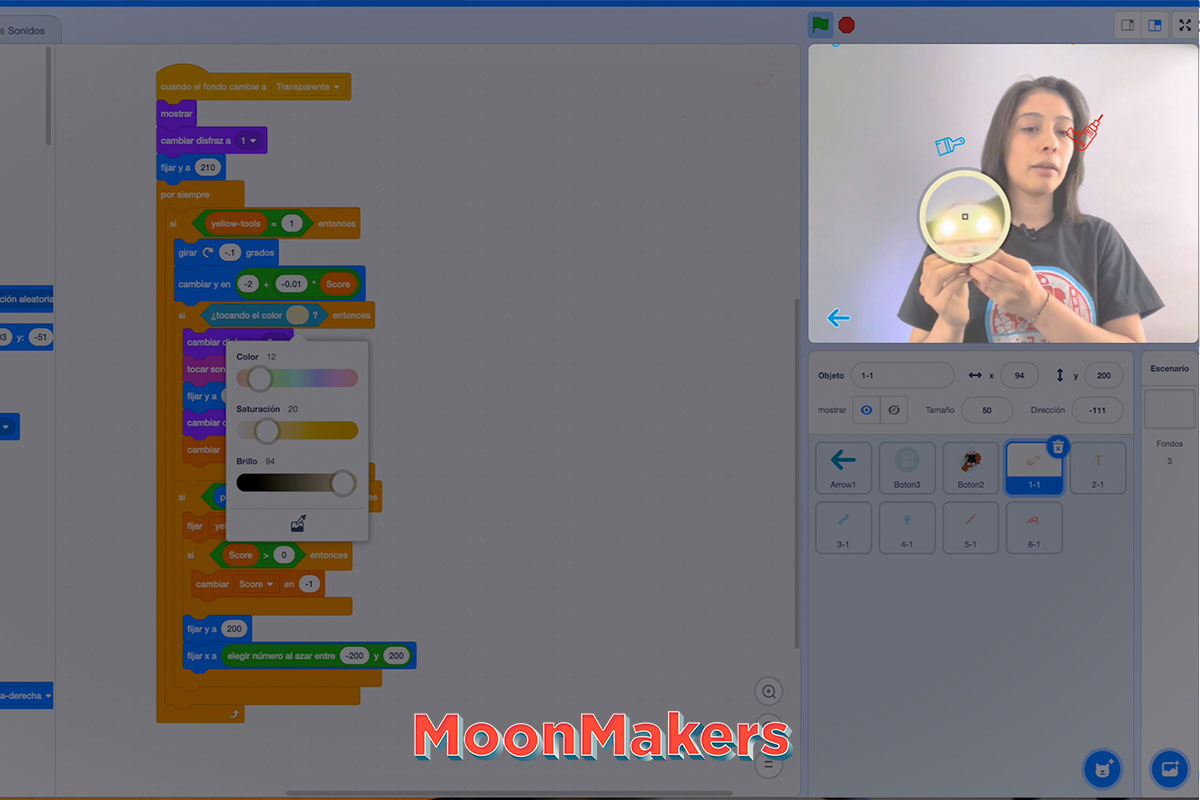
Makey:bit Jugador de scratch


Materiales:
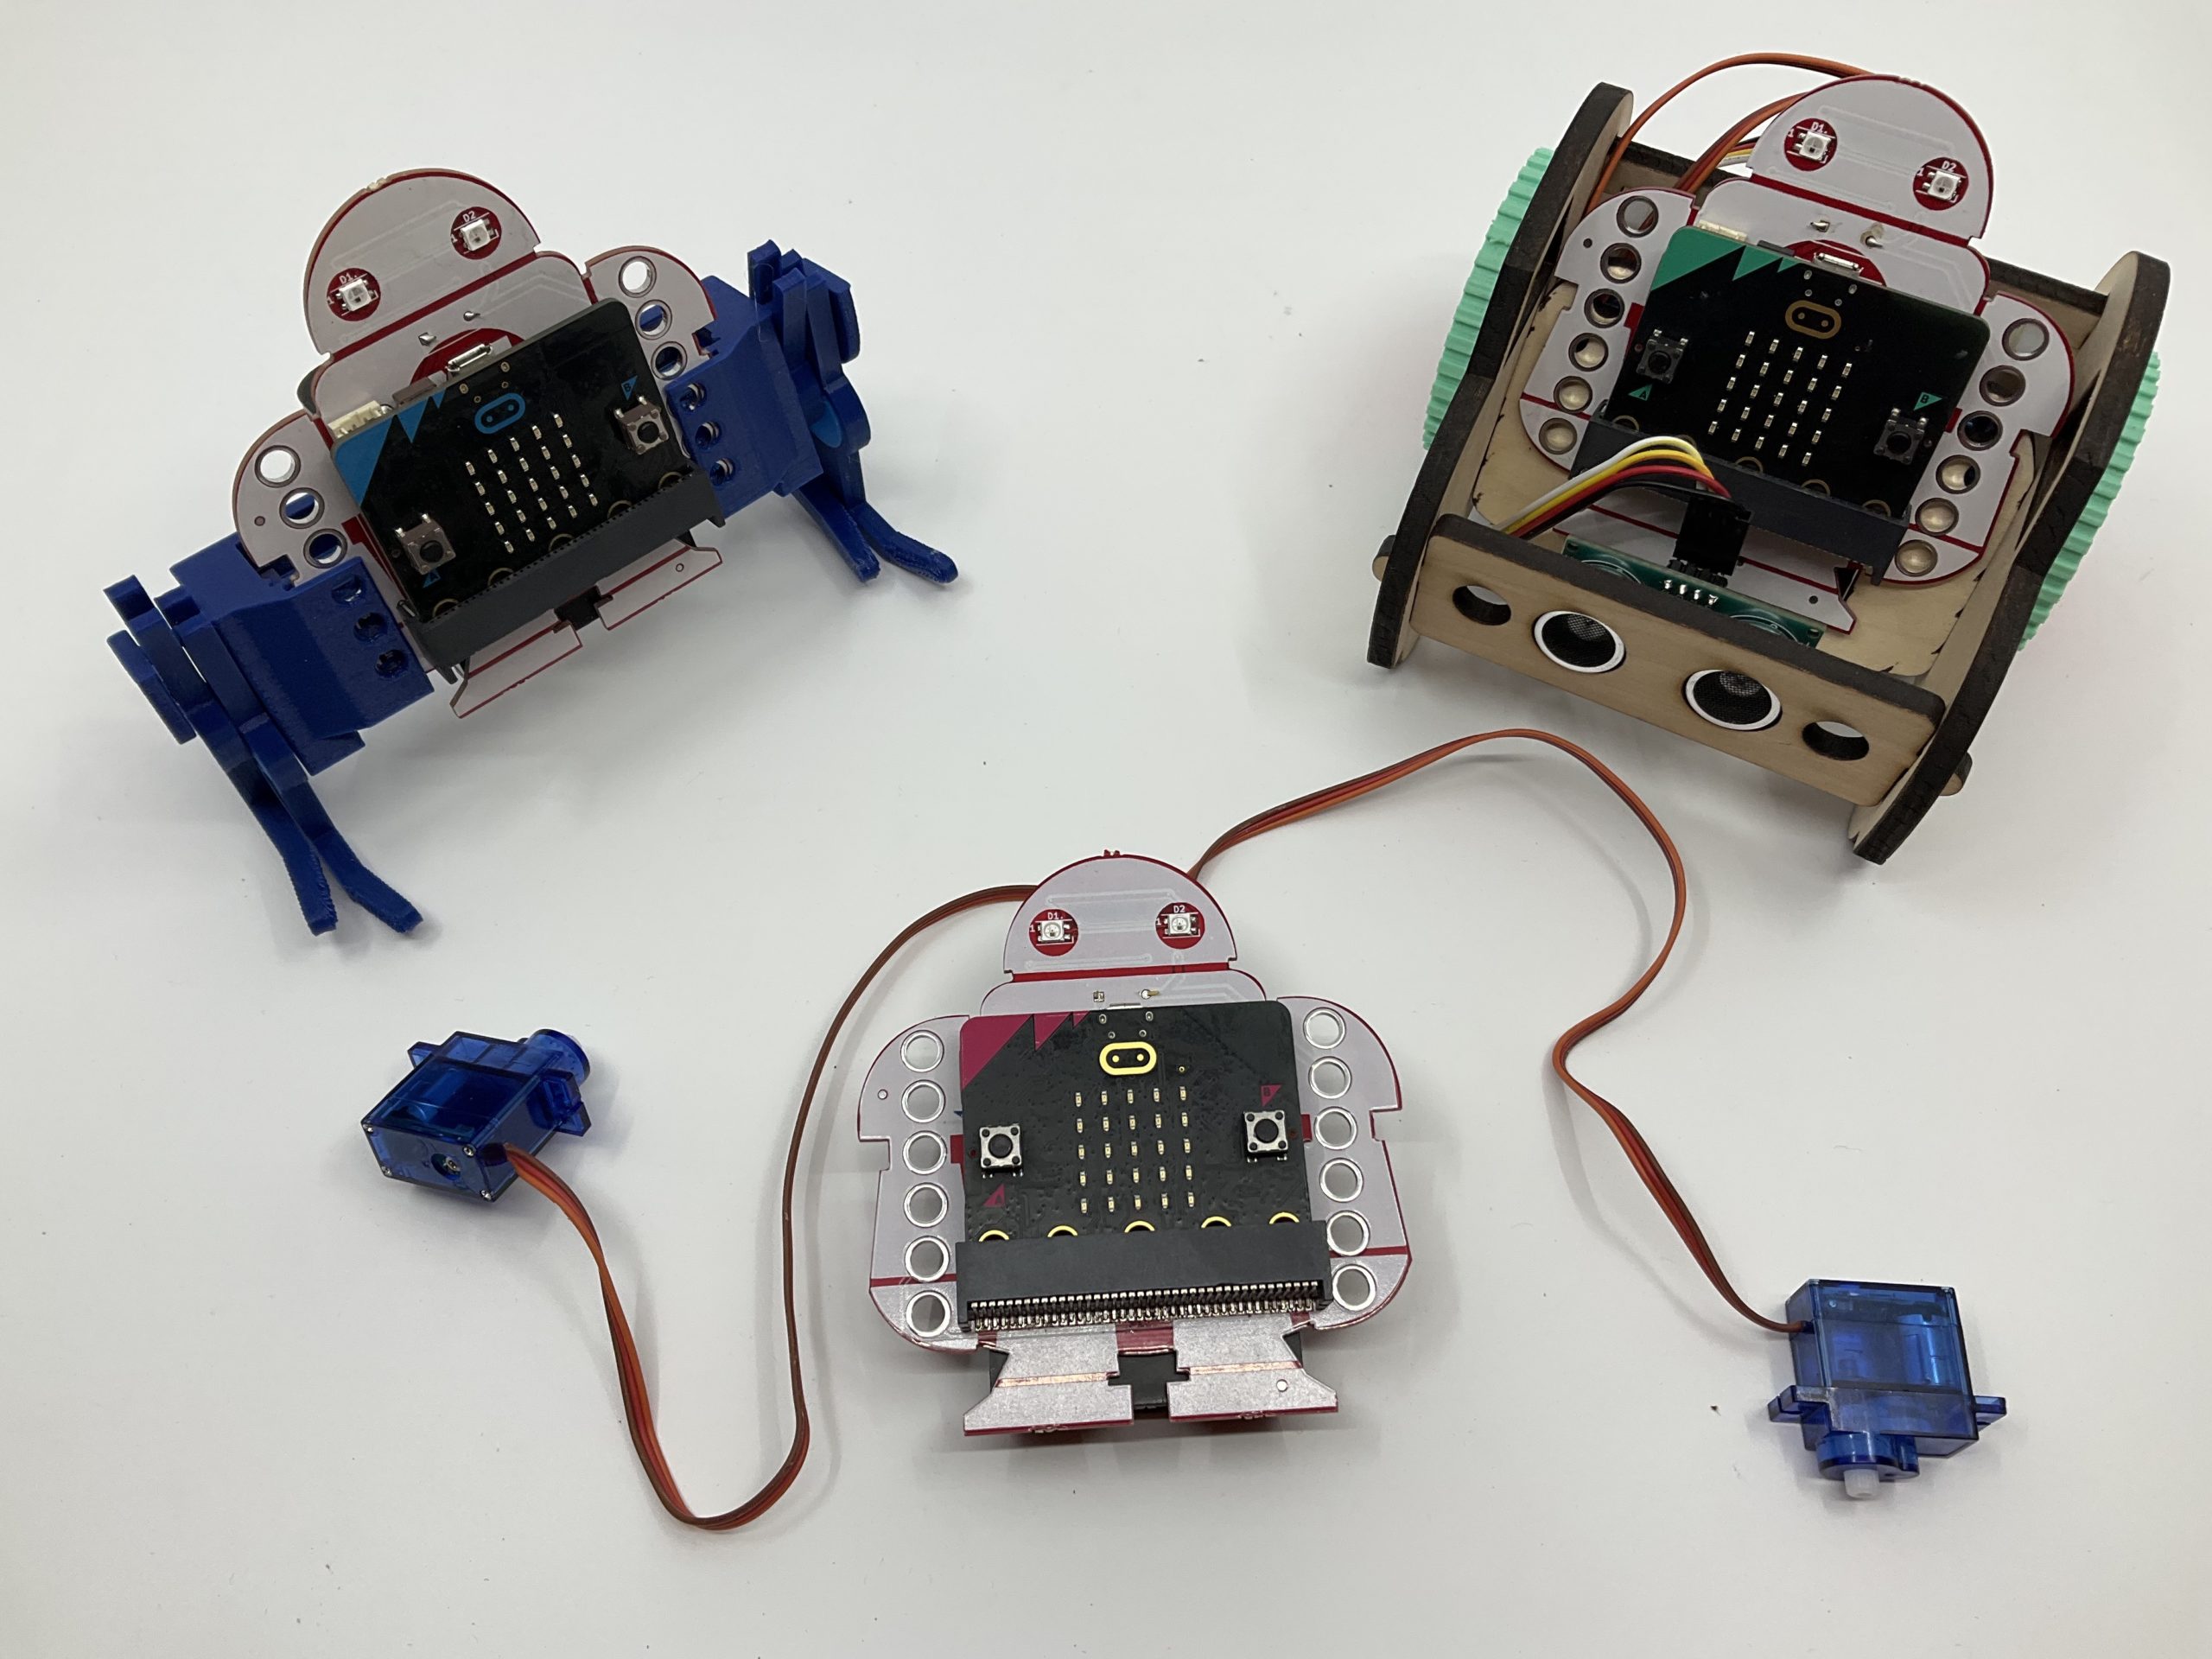
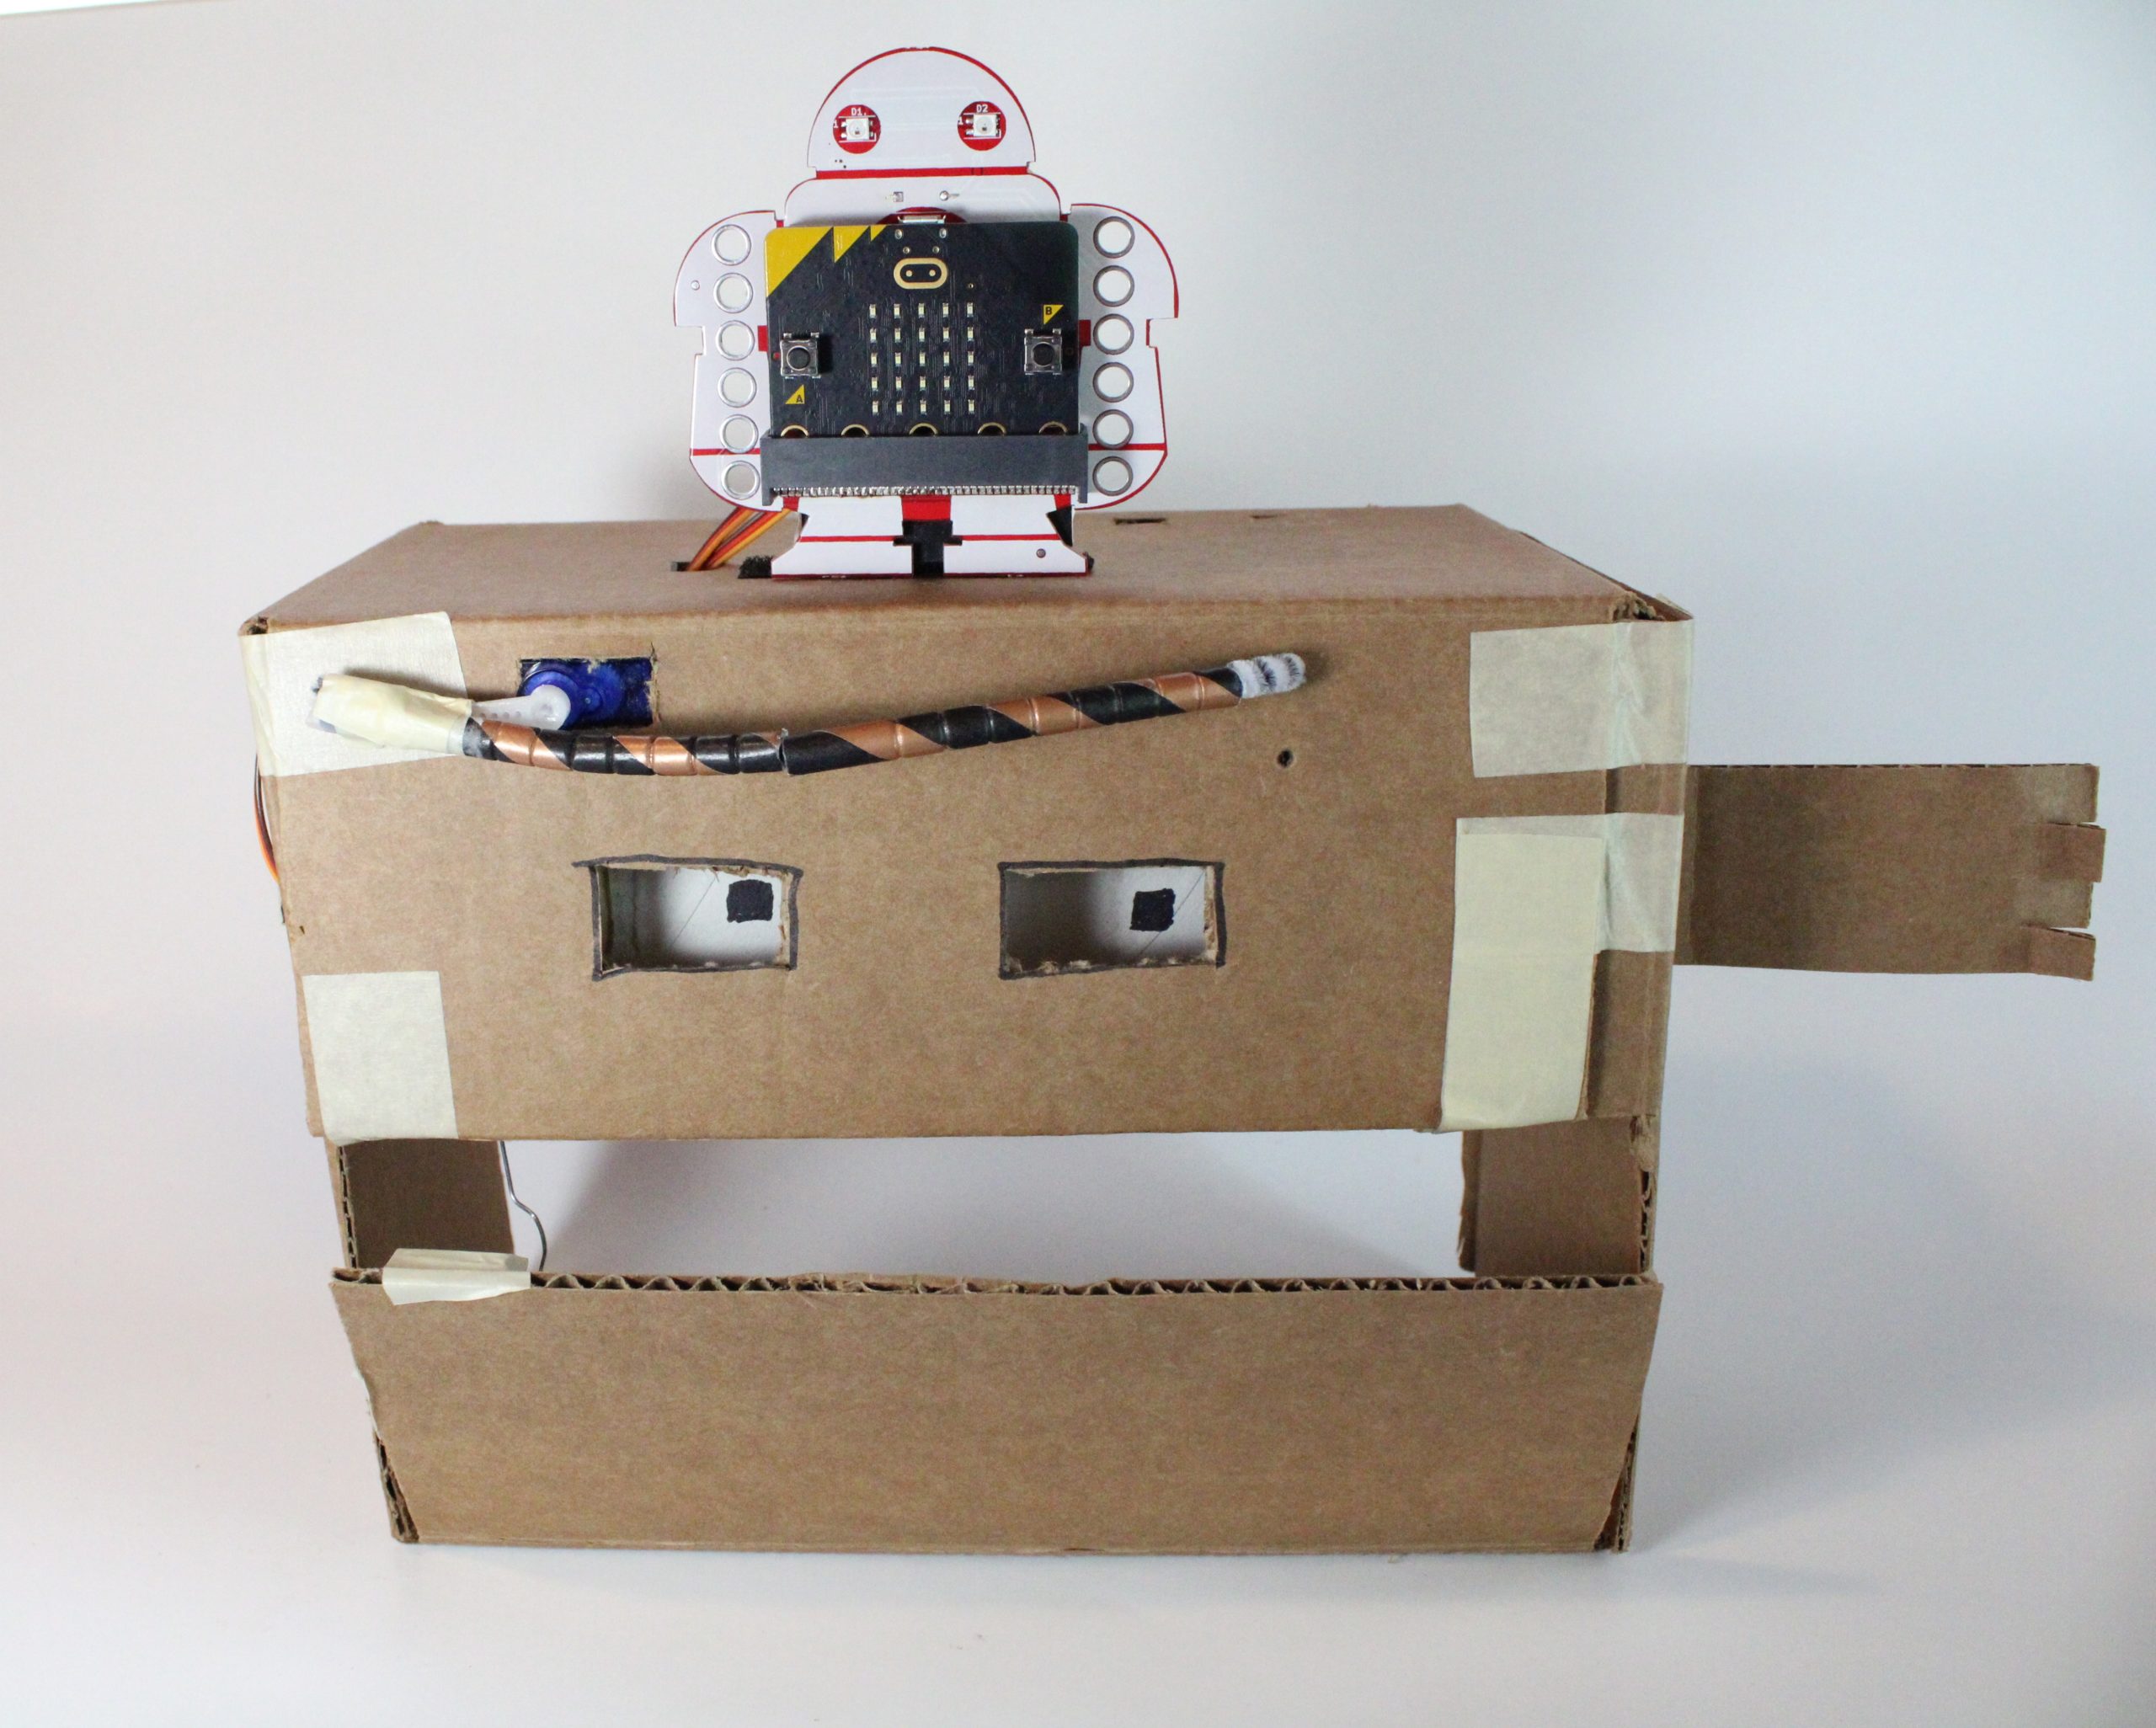
- Makey:bit board
- Micro:bit board
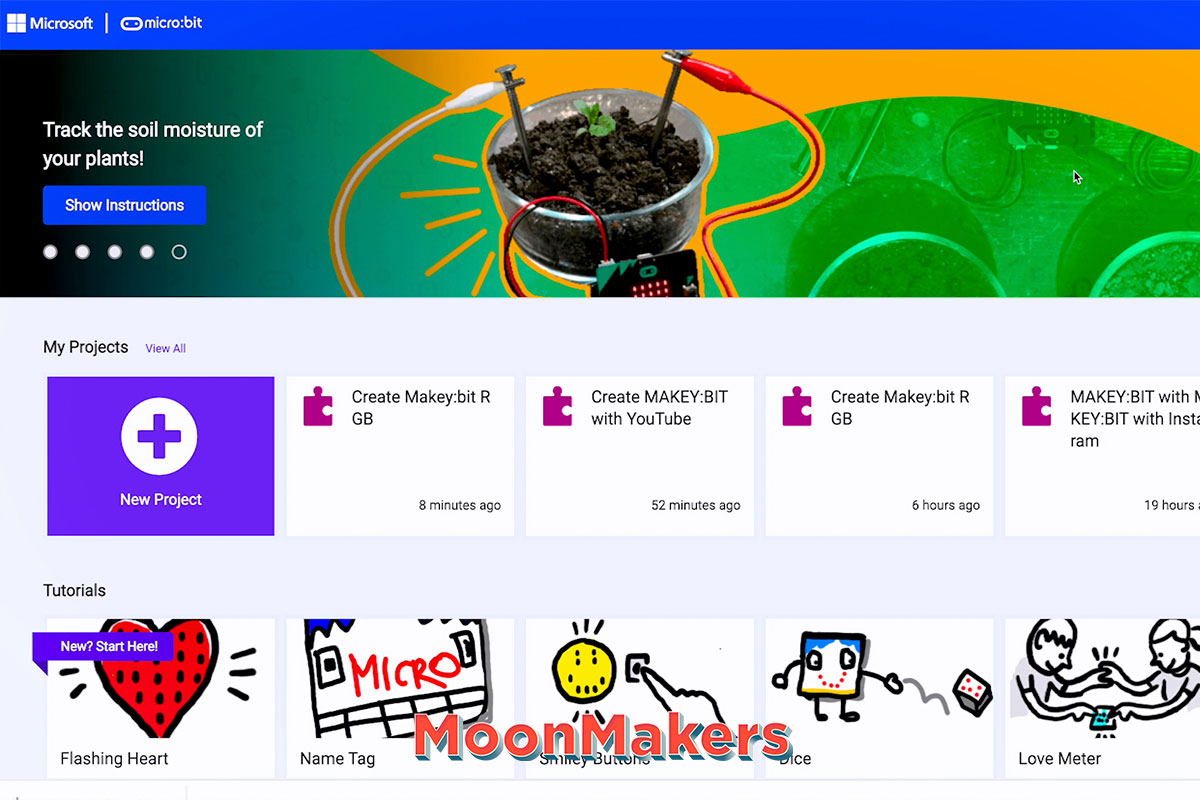
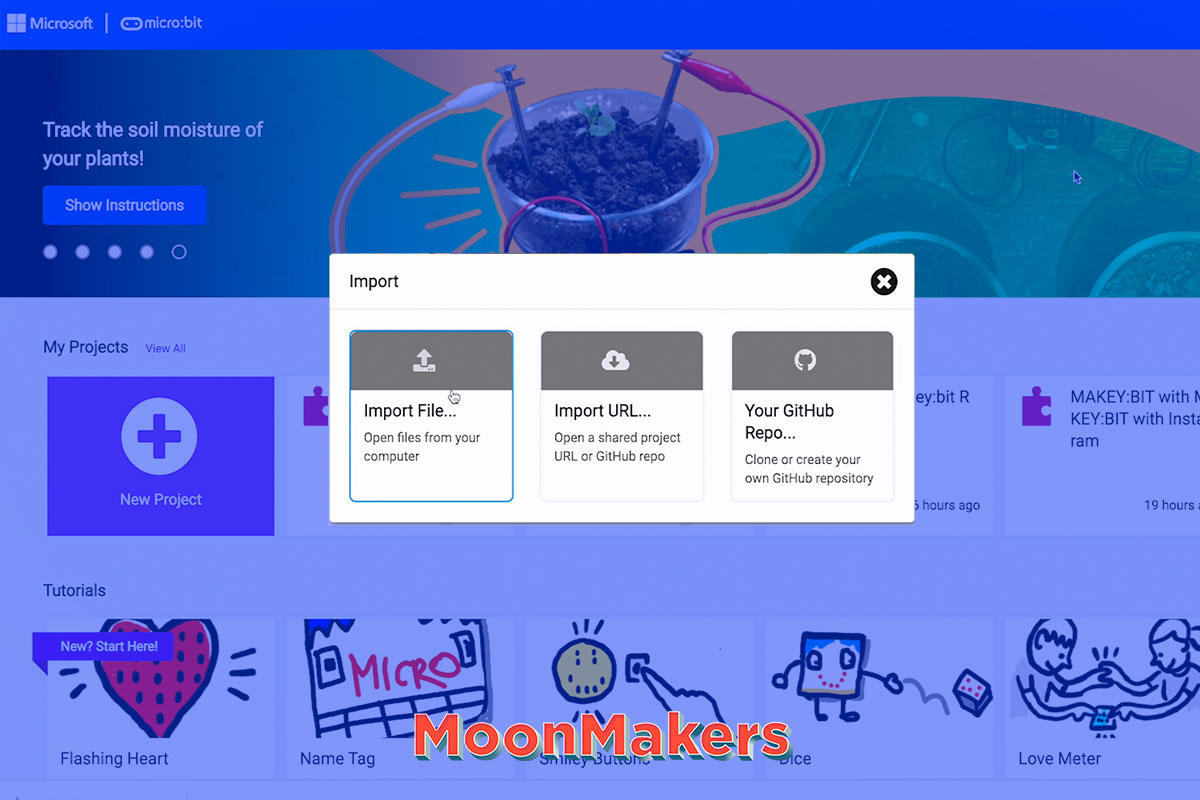
- Computadora
- Acceso a internet
- 3 baterías AA