In this project, you’ll build light-up paper circuits, and learn how to design both series and parallel circuits, by making your own LED circuit card.
Overview: In this lesson, campers will learn to use conductive tape to build and design their own circuits. First, they’ll create and compare series and parallel circuits used to light LEDs. Then they’ll have time to design their own paper circuit or adapt a paper circuit provided as inspiration.
Objectives:
Introduce paper circuits as a way to design light-up projects.
Compare and contrast series and parallel circuits.
Power multiple loads using a parallel circuit.
Design, build, and troubleshoot a circuit of the camper’s own design.
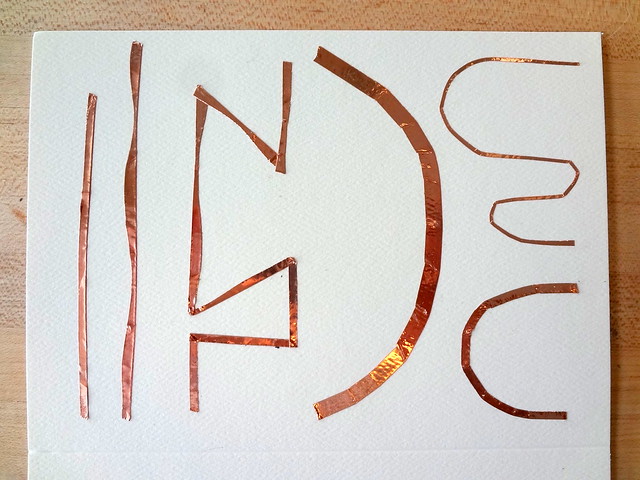
Draw It Challenge
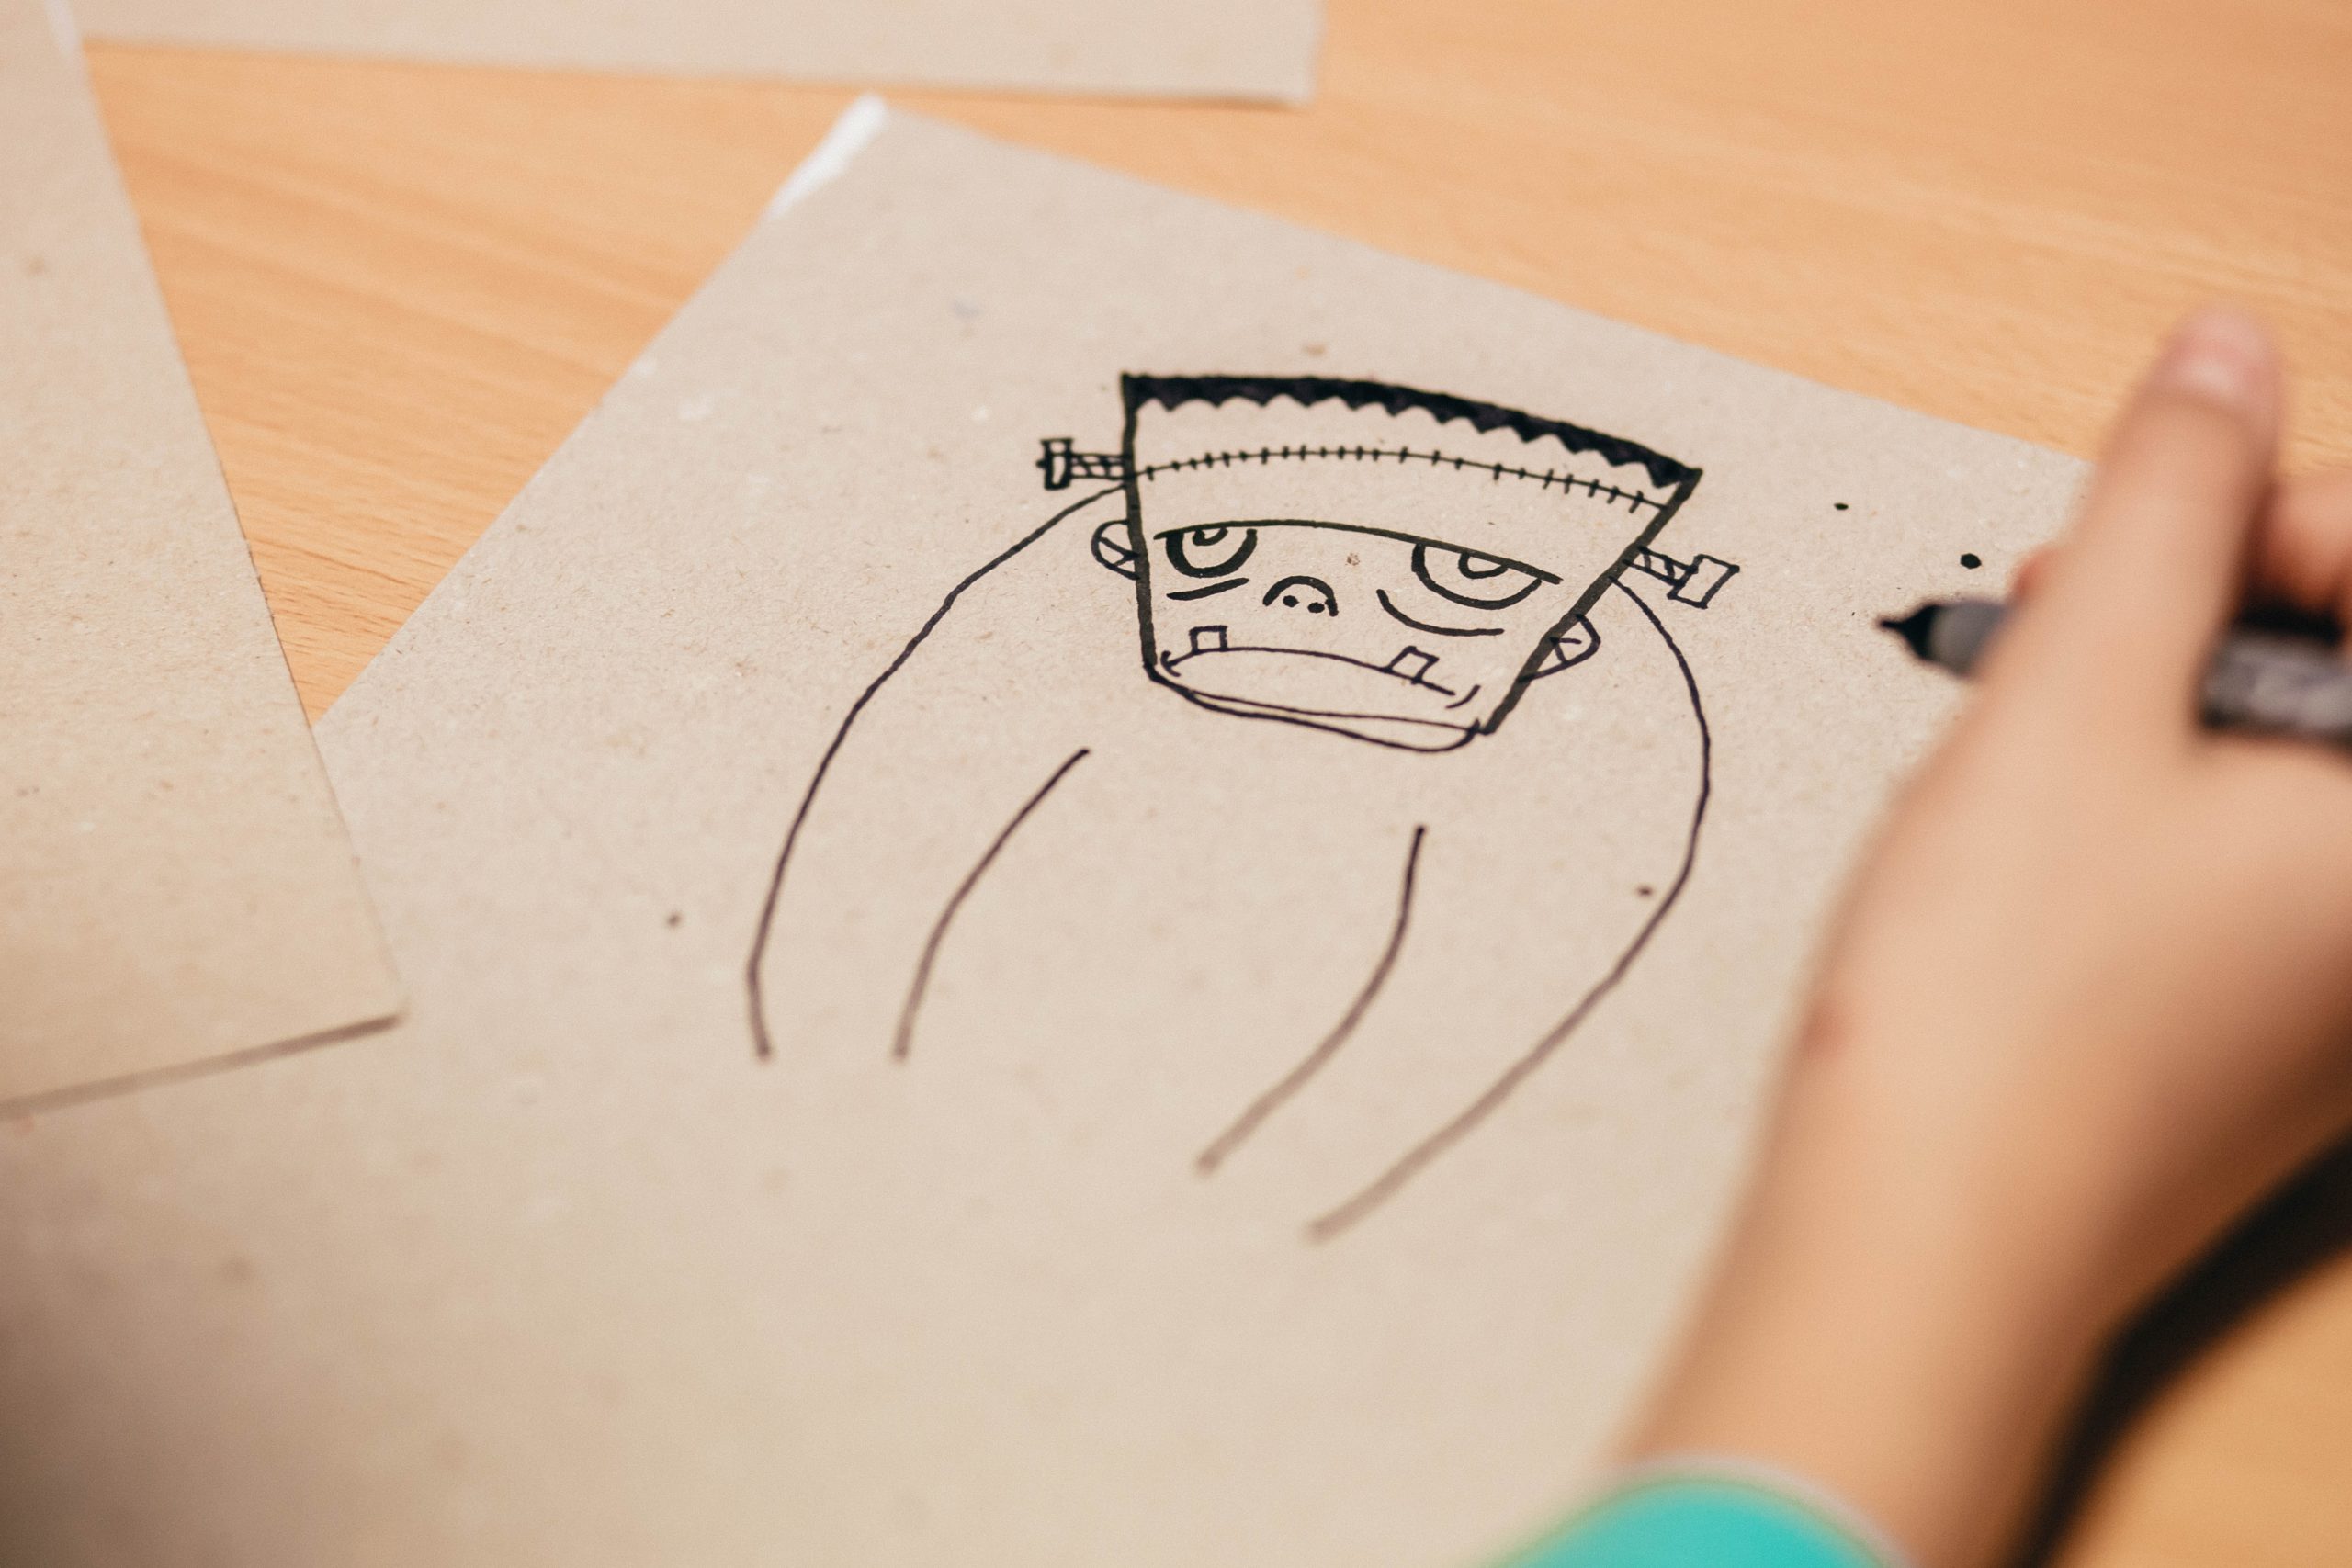
Quick design challenge! Grab some copy paper and coloring supplies. Design a card for any occasion. Be as silly or serious as you want. One rule: It must include fire, a light bulb, or a star as an image somewhere on the card. You have just 3 minutes! When done share your design with a buddy.
Build a Paper Cicuit
LED Basics
Today we’ll be using traditional LEDs to create electrical circuits on paper.
An LED has two legs, or leads. The long one is the positive (+) lead. The short one is the negative (−) lead. It’s important to know which is which. It can help to take a permanent marker and color the negative lead black.
Test your LED before going any further. Slip the LED over the battery so that the positive lead lies against the positive side of the battery (marked with a +) and the negative lead rests against the other side. The LED should light up.
Try adding more LEDs. What happens? Your battery only produces 3 volts of electricity. LEDs use 1.7 to 3.3 volts. When the LEDs draw too much voltage, they will not light up anymore. And when you mix colors, the electricity will flow to the lower voltage LEDs and skip the high voltage ones. Learn more about LEDs.
Circuits in Series and Parallel
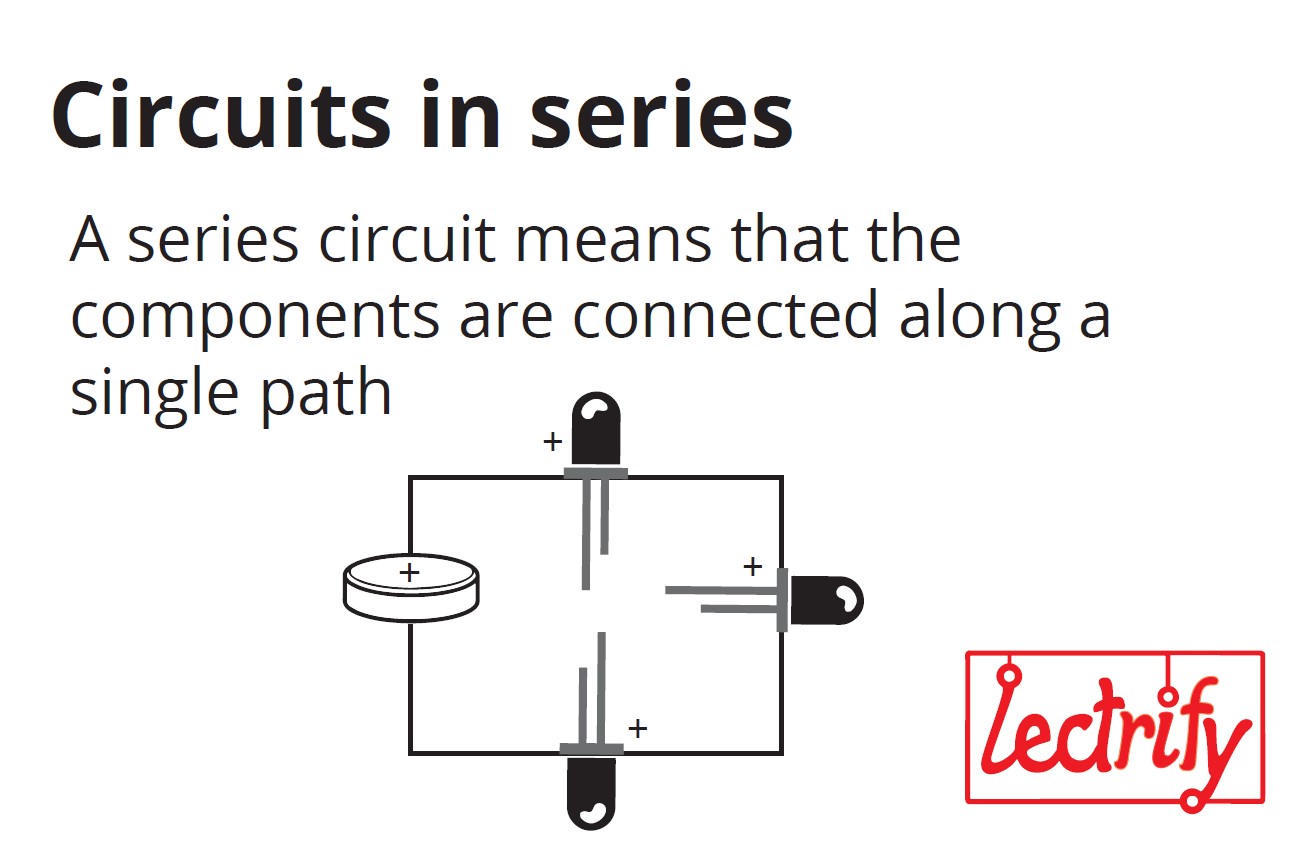
Recall yesterday’s basic circuit. We lit one LED. How can we light more LEDs?
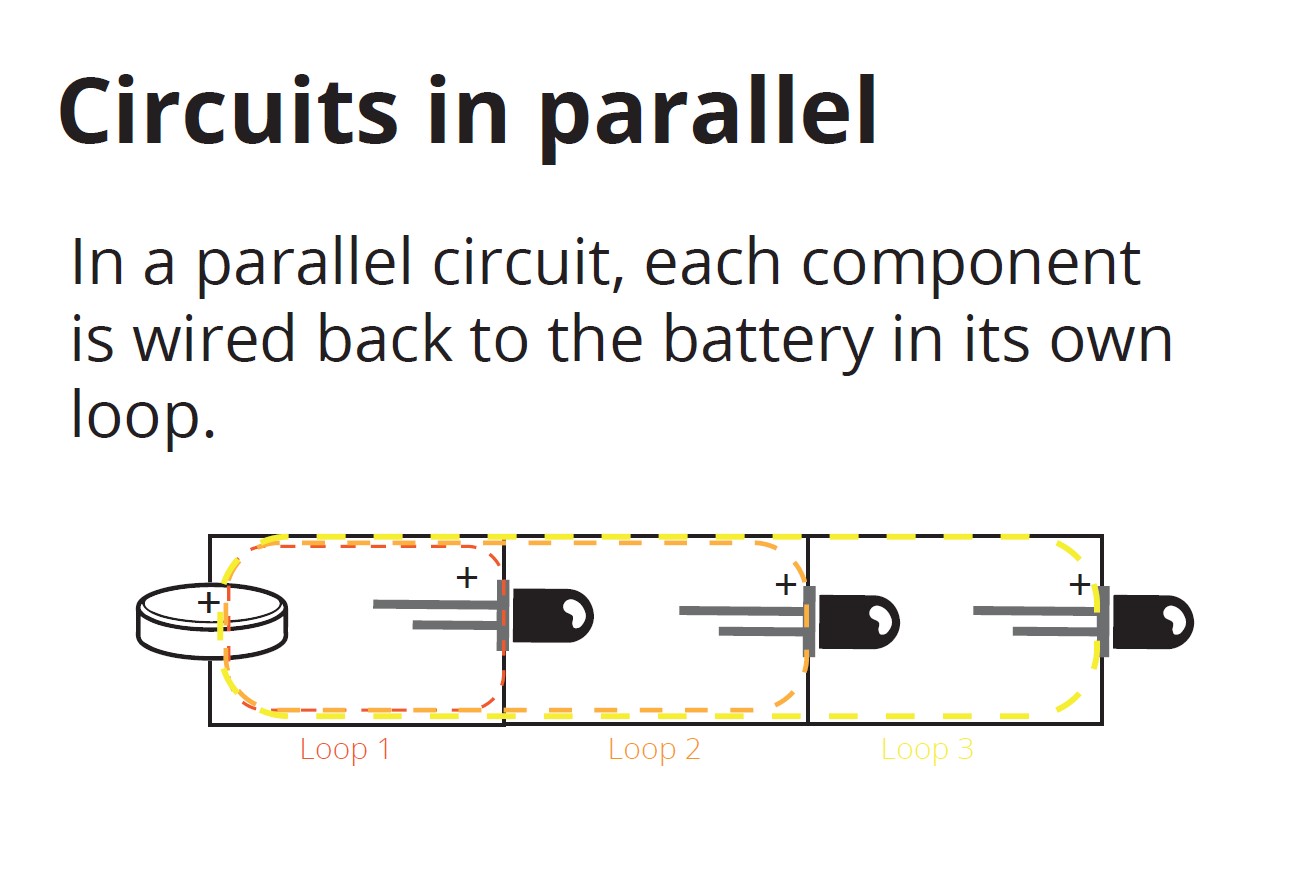
We need to build a parallel circuit. Unlike in a series circuit, in a parallel circuit each component is wired back to the battery in its own loop.
The battery only has enough power — voltage — to light up one LED. If you add more LEDs in a series, there is not enough voltage for them all.
By building the circuit in parallel the battery power is distributed to each LED separately. Learn more.
We’ll be building both series and parallel circuits today.
Today Maker Tape will be used to conduct electricity in our circuit. So that we don’t waste this valuable resource, we’re going to practice with masking tape on a table first.
Step 1
Start by using your masking tape to create straight lines, sharp angles, and curves.
Step 2
Whenever possible, we want to use continuous pieces of tape, even when changing direction.
Step 3
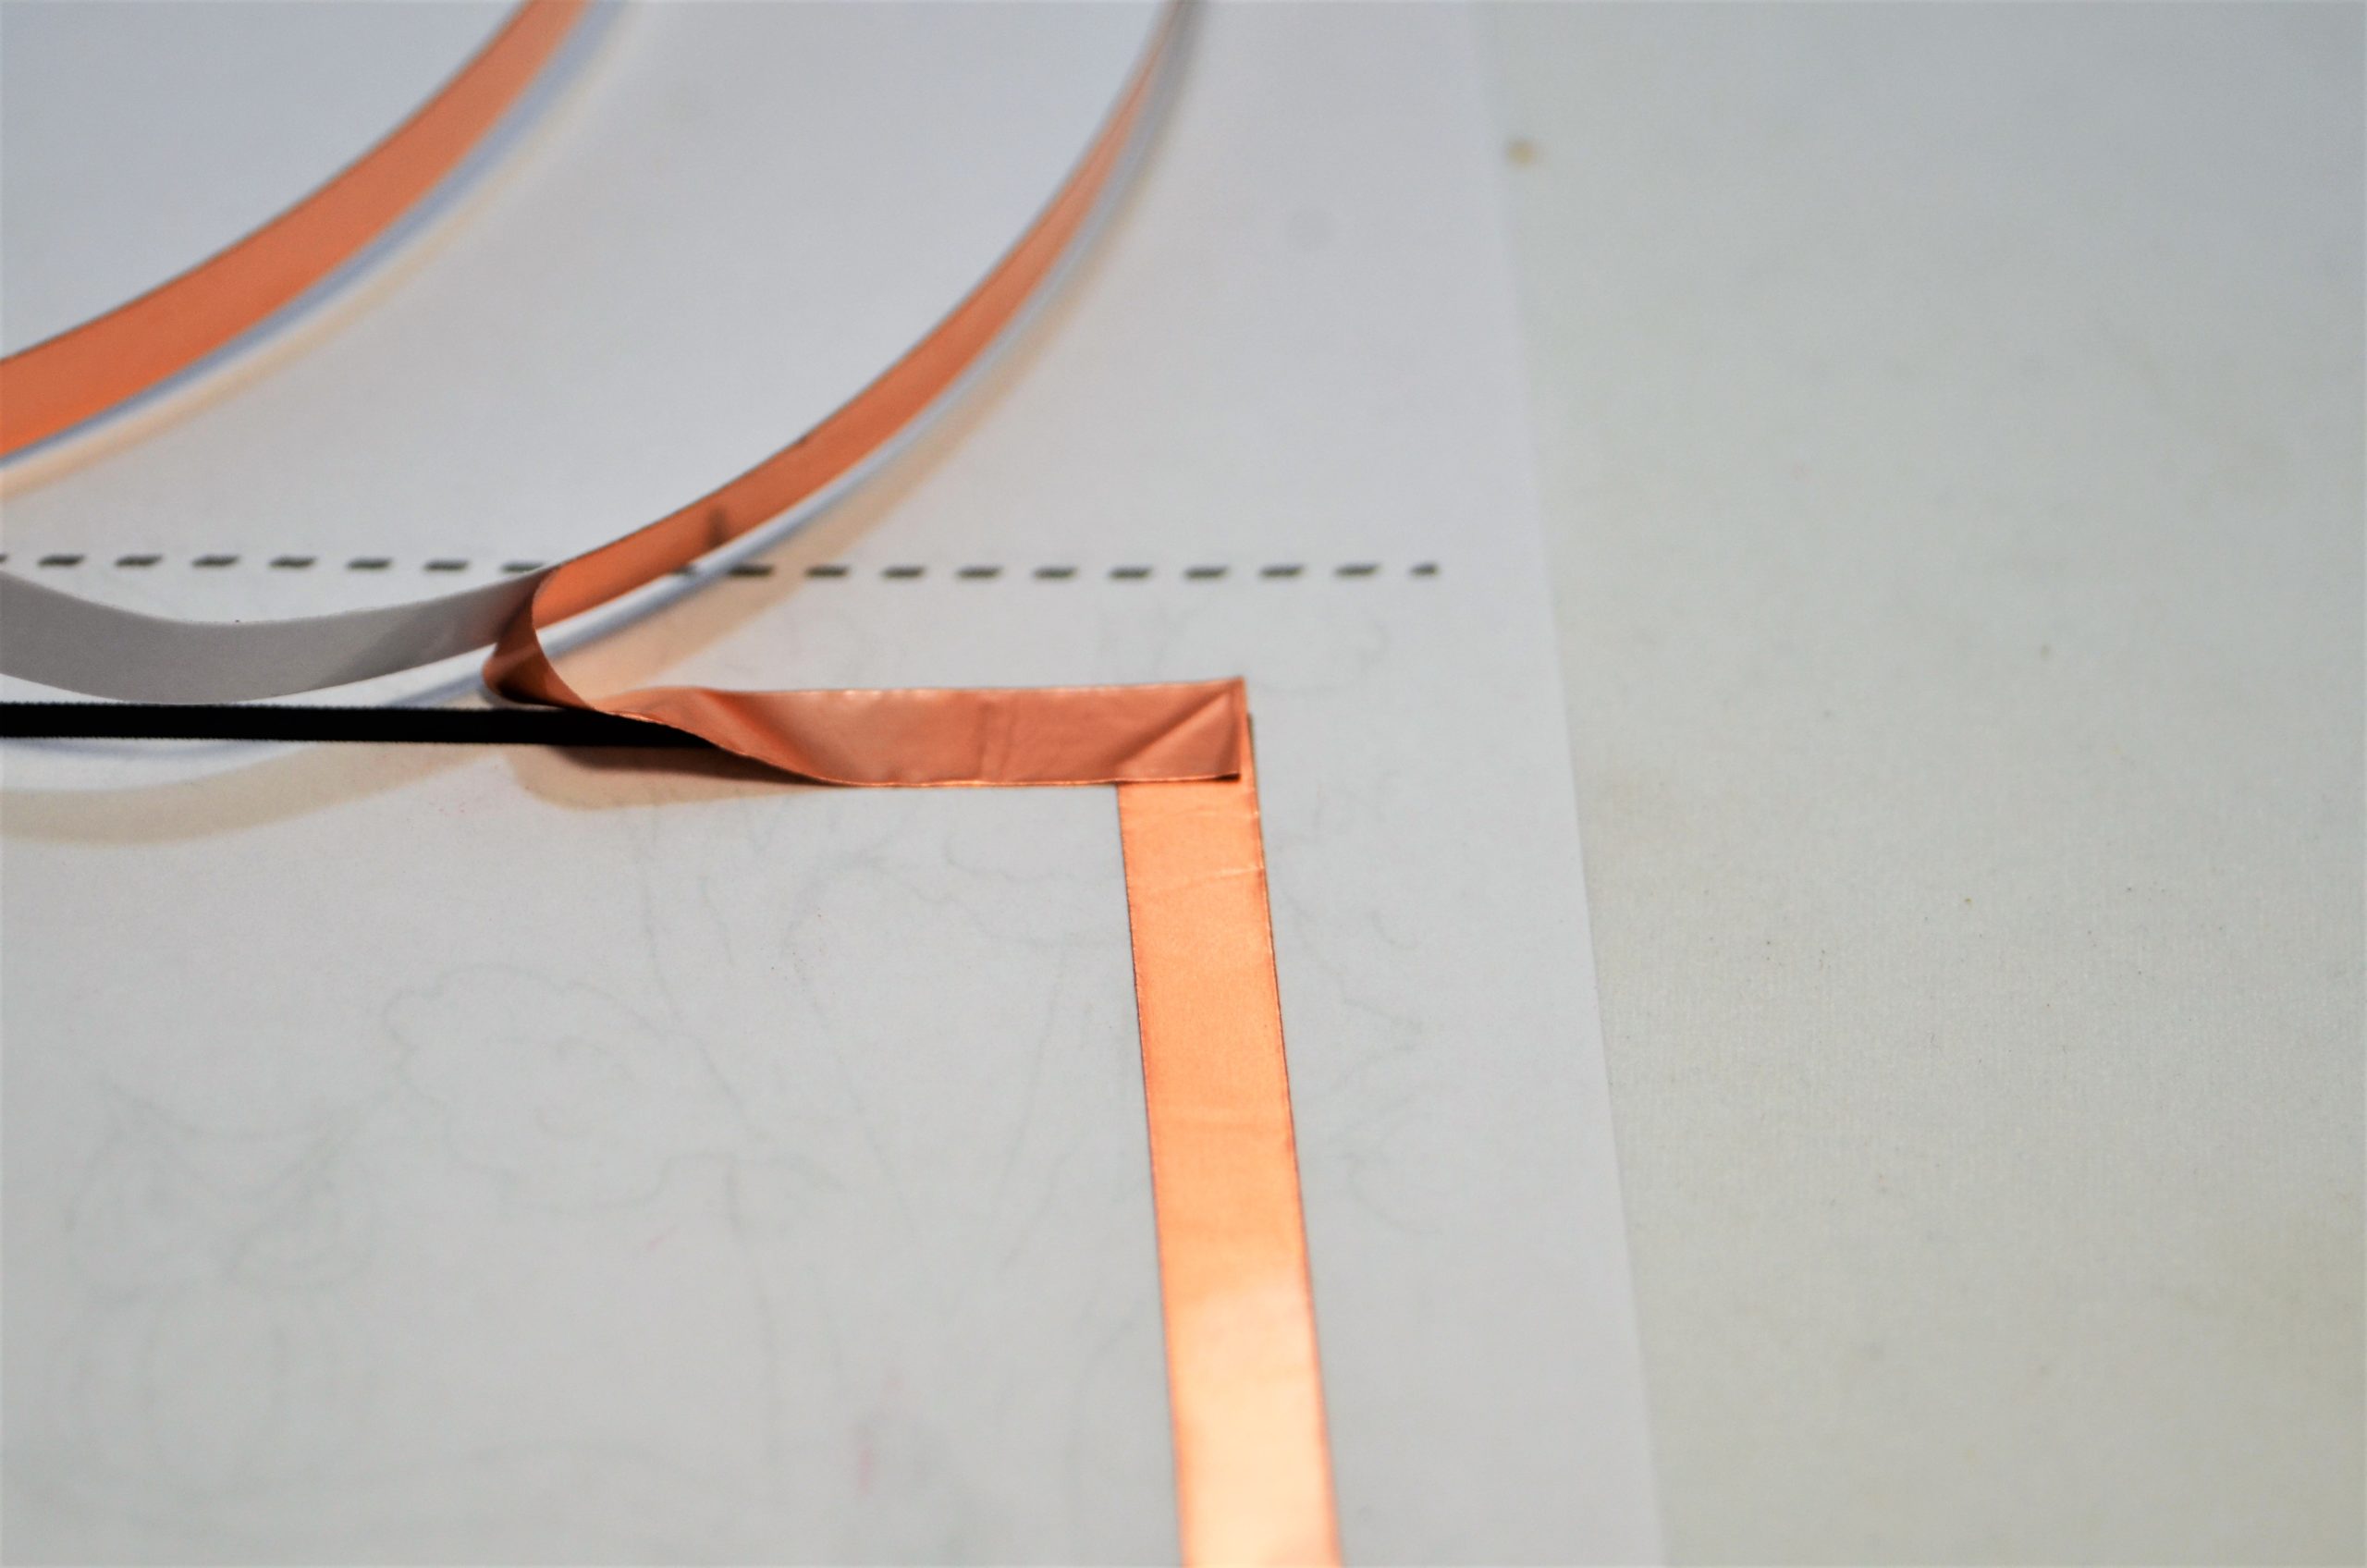
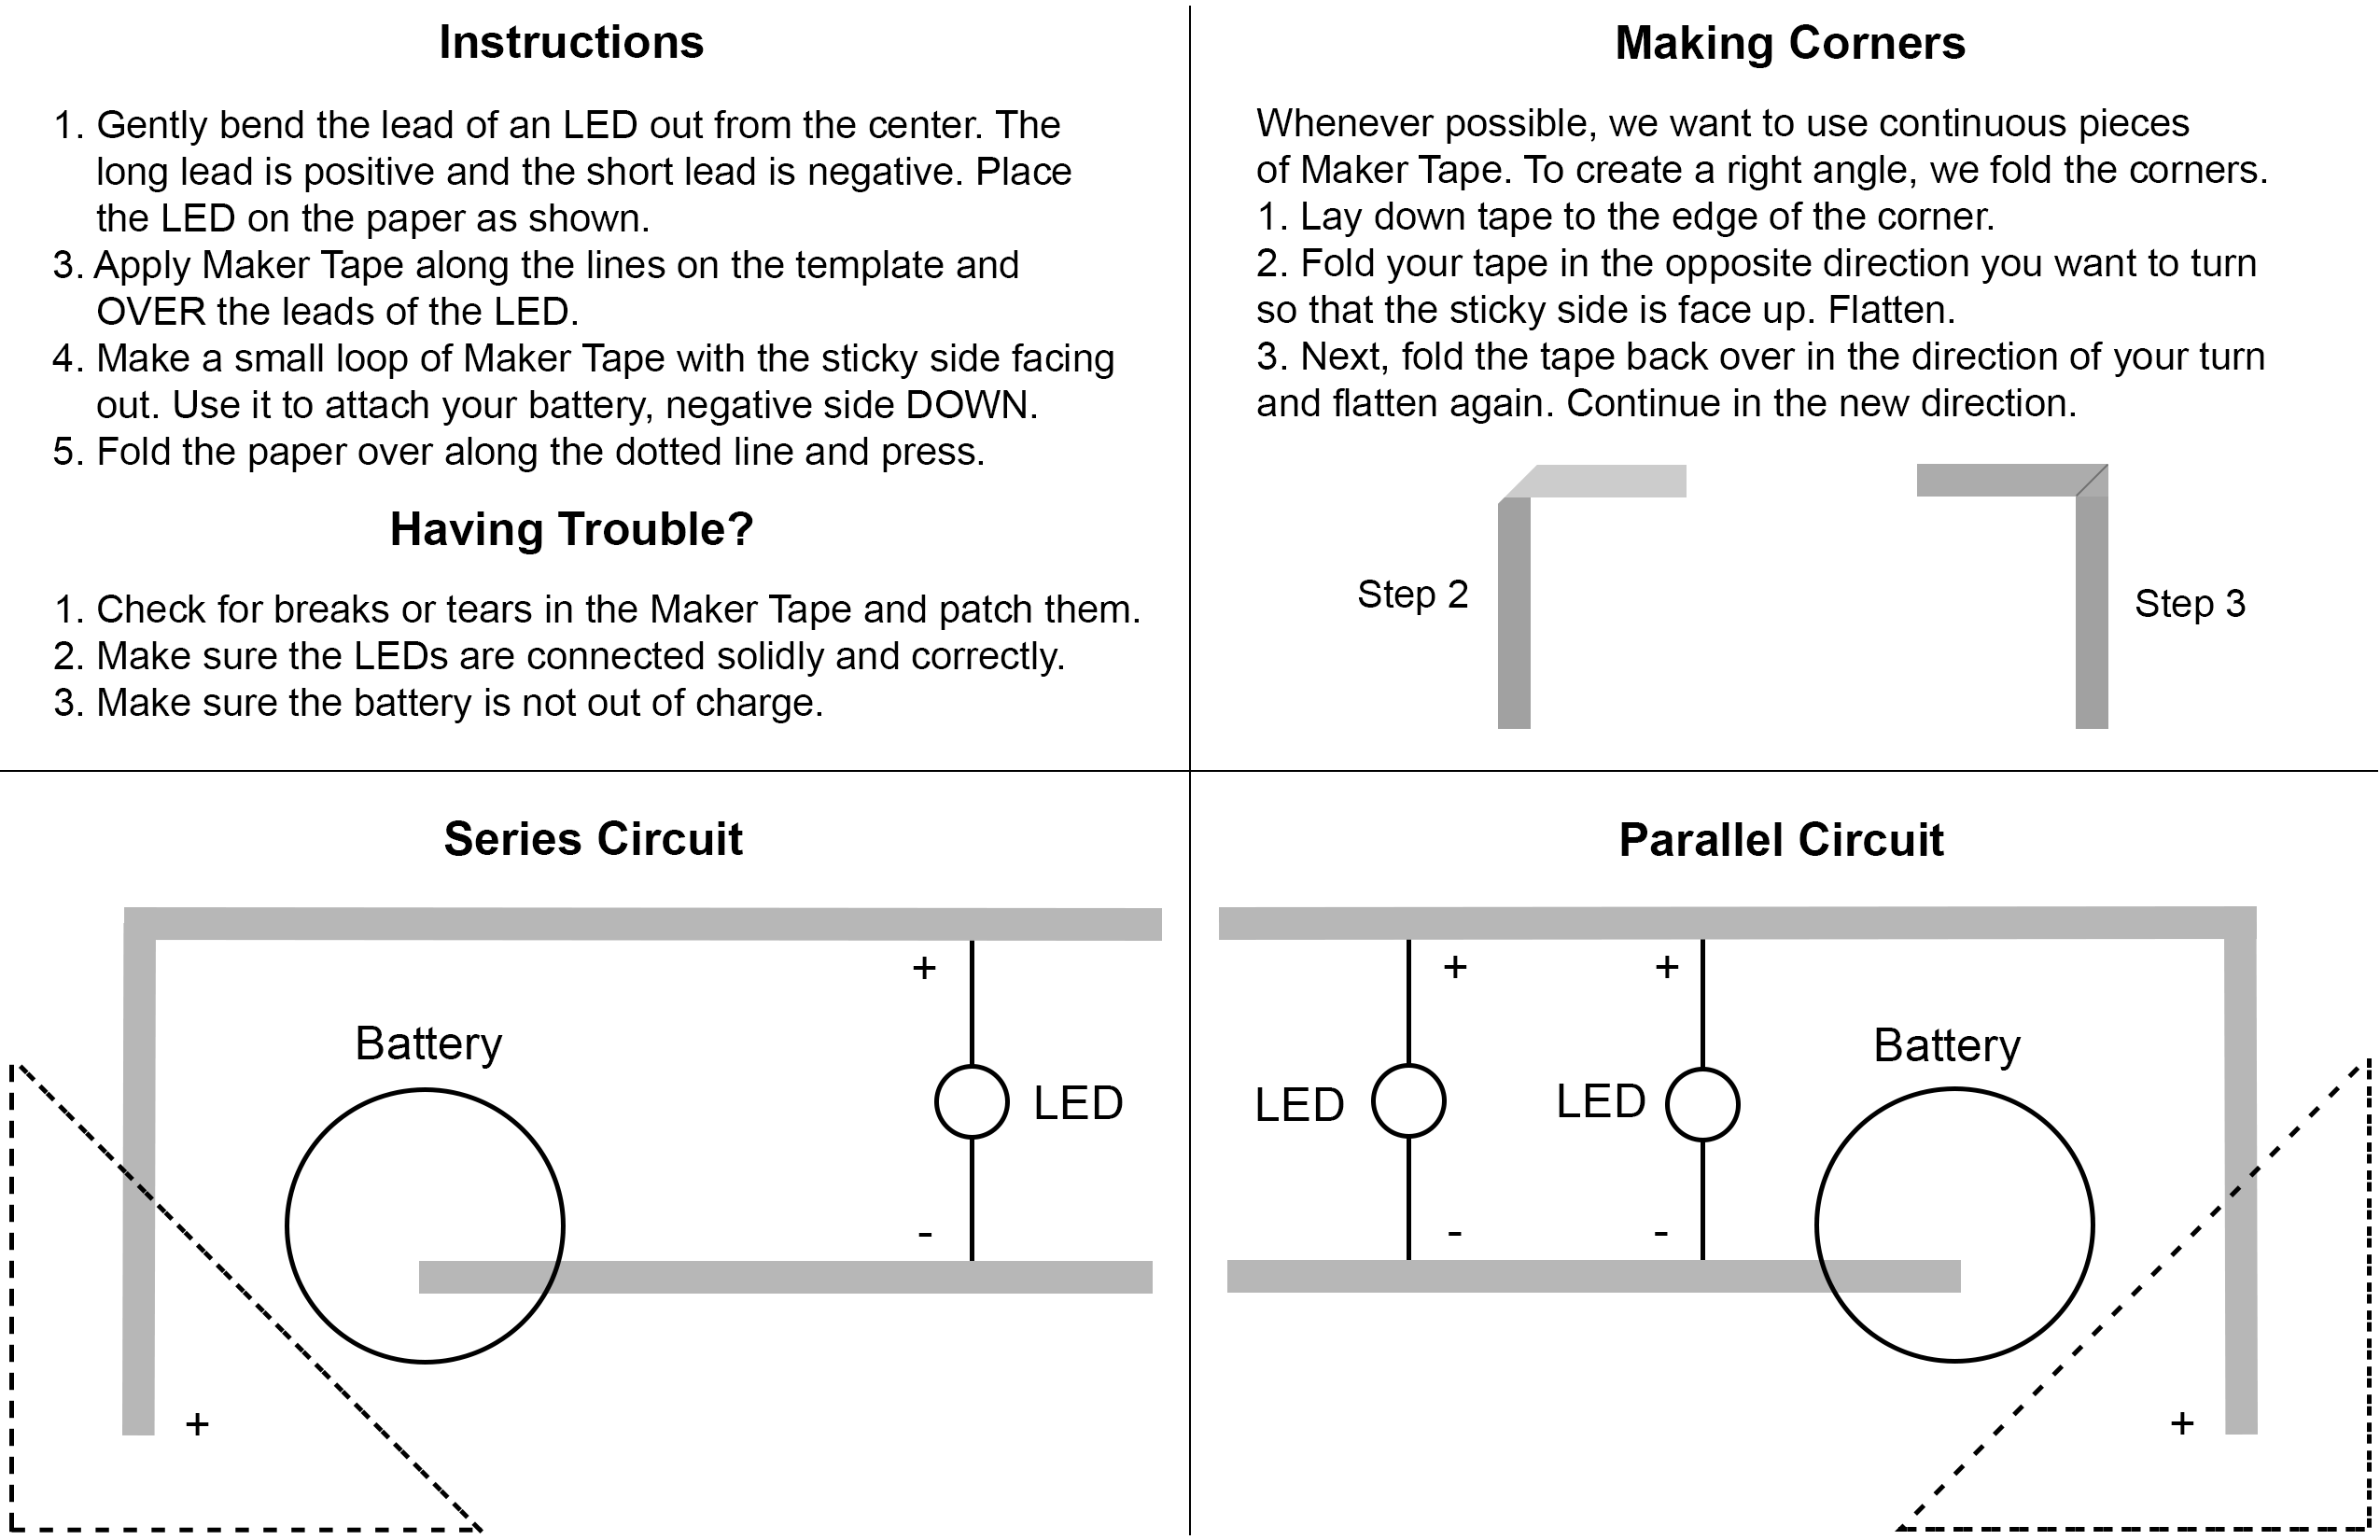
To create a right angle, we fold the corners. Lay down tape to the edge of the corner. Then fold your tape in the opposite direction you want to turn so that the sticky side is face up and flatten the tape. Next, fold the tape back over in the direction of your turn and flatten again.
Step 4
Practice this fold several times with masking tape and then practice with Maker Tape on scrap paper. Try different corners and curves. Need more help? Try this tutorial.
Pick an LED. Remember that the long lead is the positive side and the short lead is the negative side.
Step 6
Gently bend the leads out from the center so that the LED can fit flatly against the paper. Be careful not to break the leads off the LED. If desired, mark the positive lead with black marker for easy identification.
Step 7
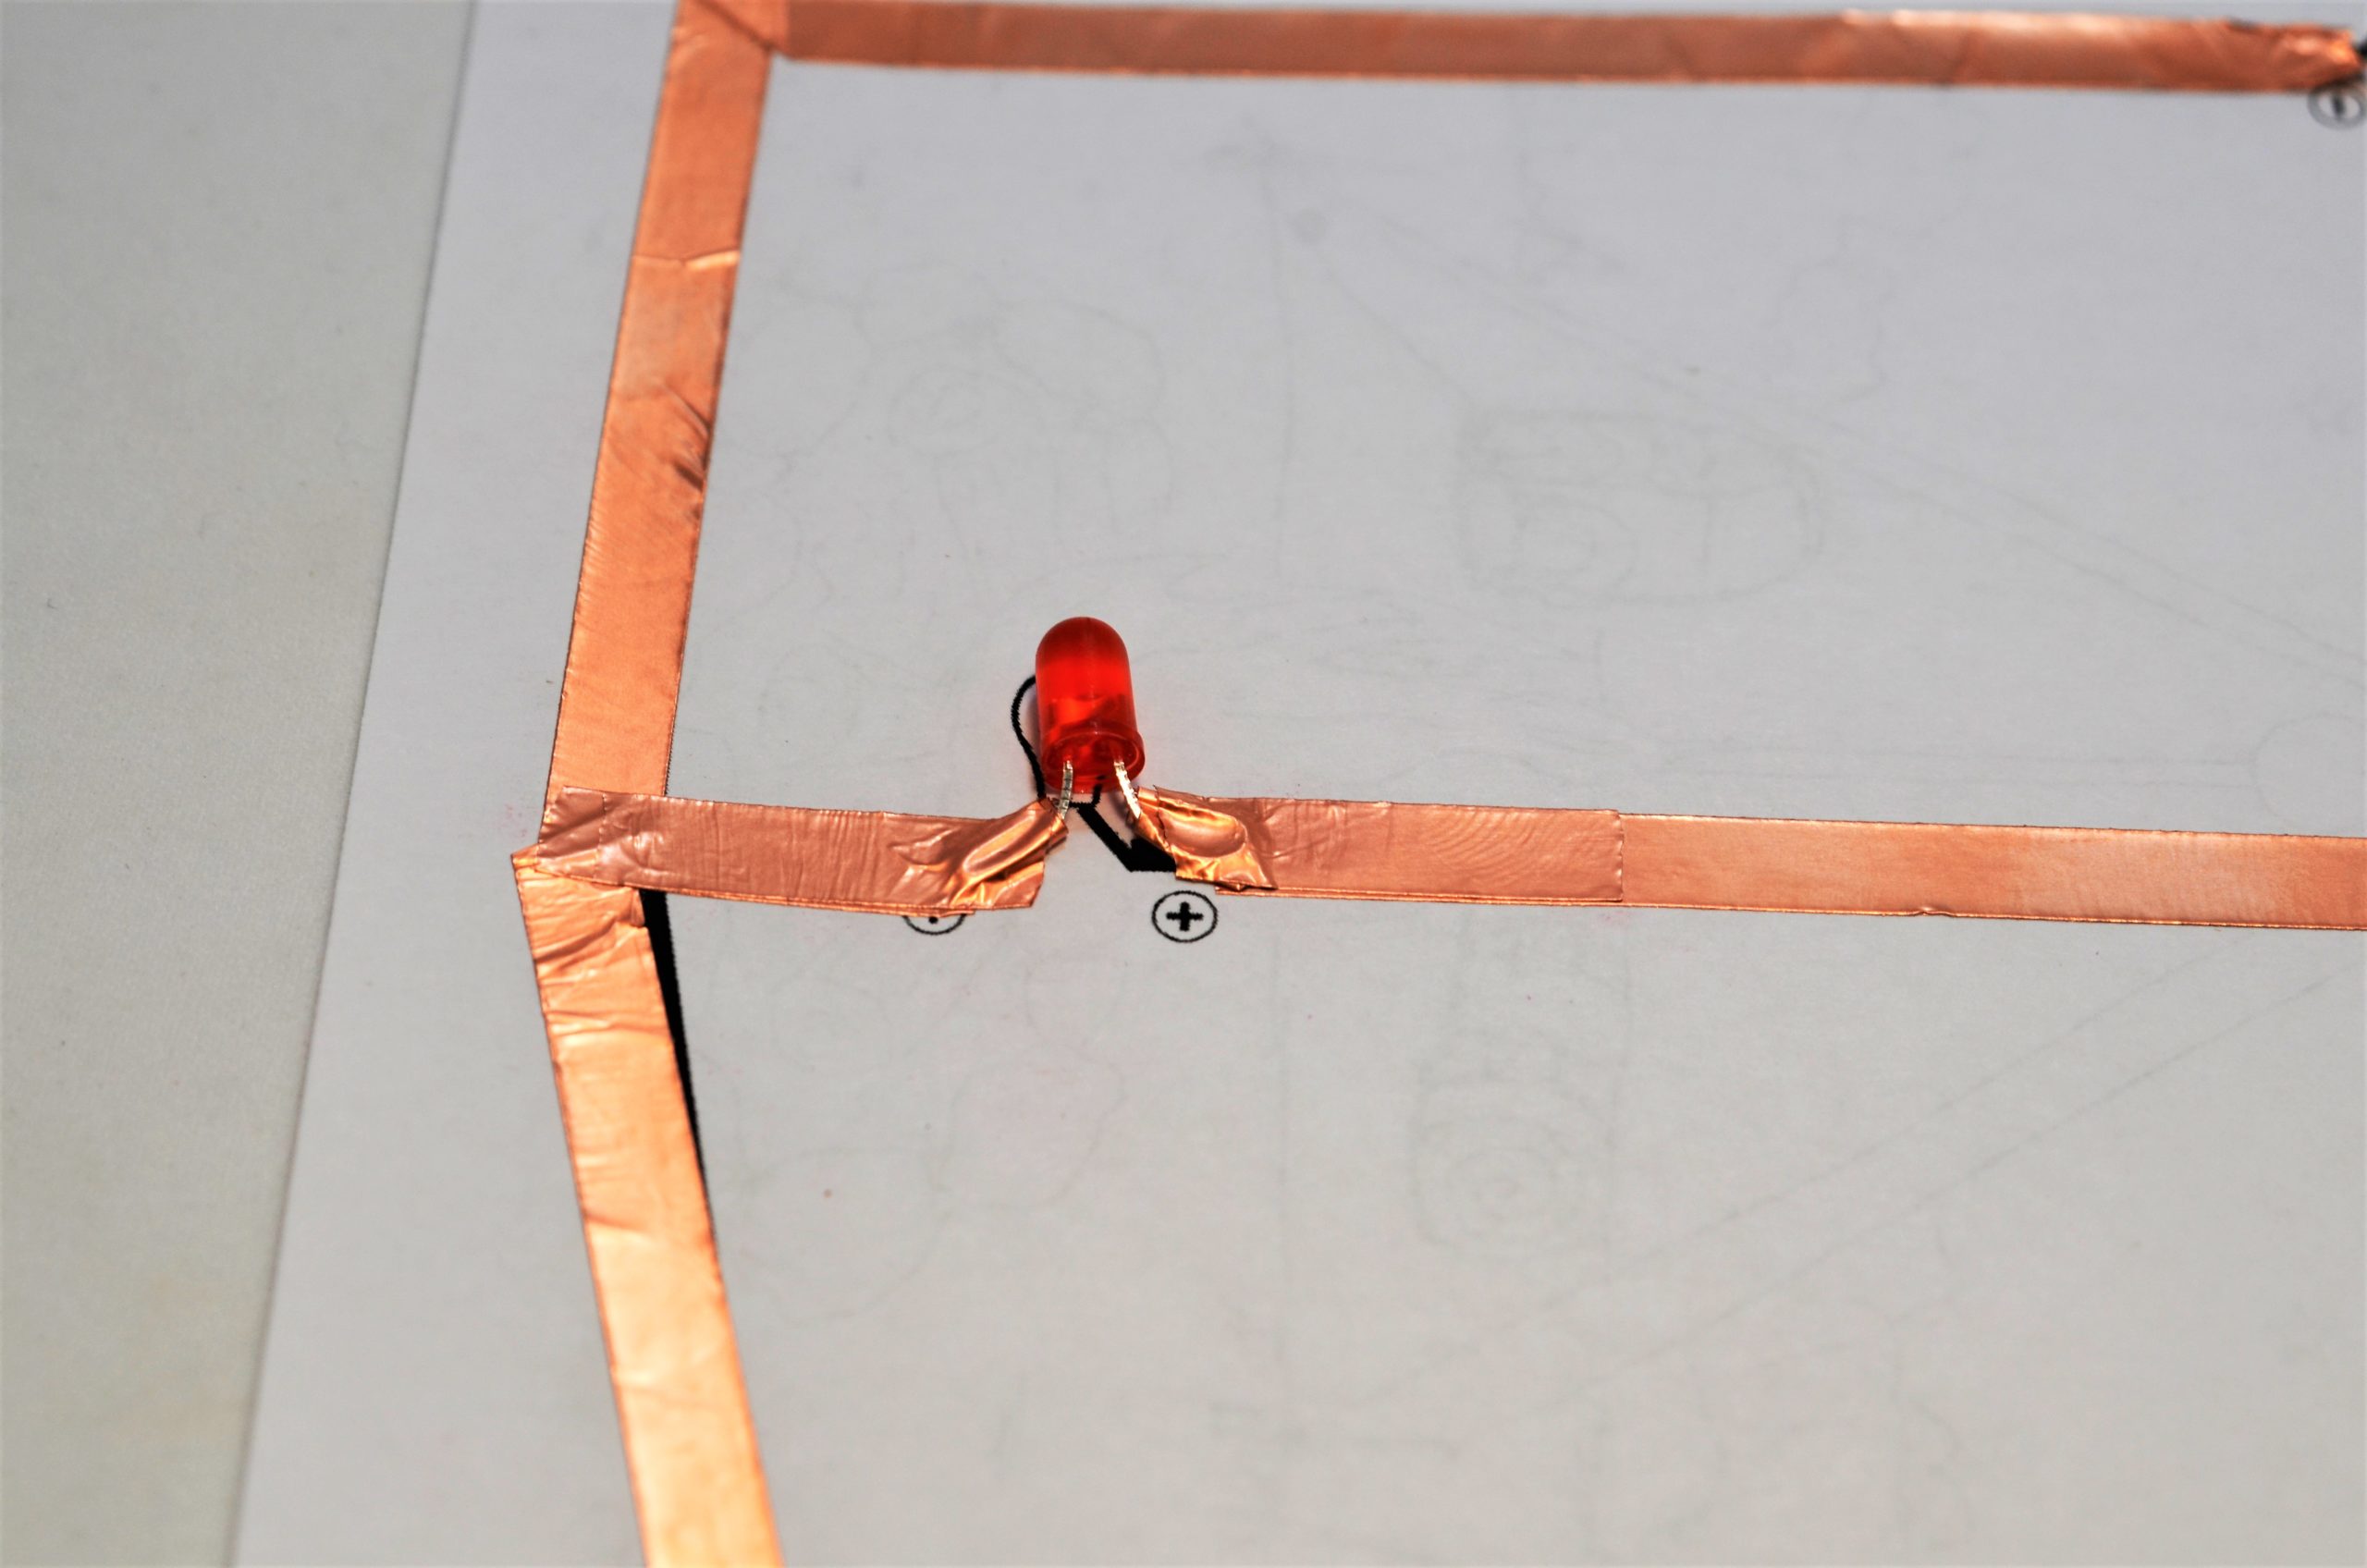
Place the LED on the paper as shown, being careful to line up positive and negative leads correctly.
Step 8
Apply Maker Tape along the lines on the template and OVER the leads of the LED. Use your finger or fingernail to press the tape down against the LED leads.
Step 9
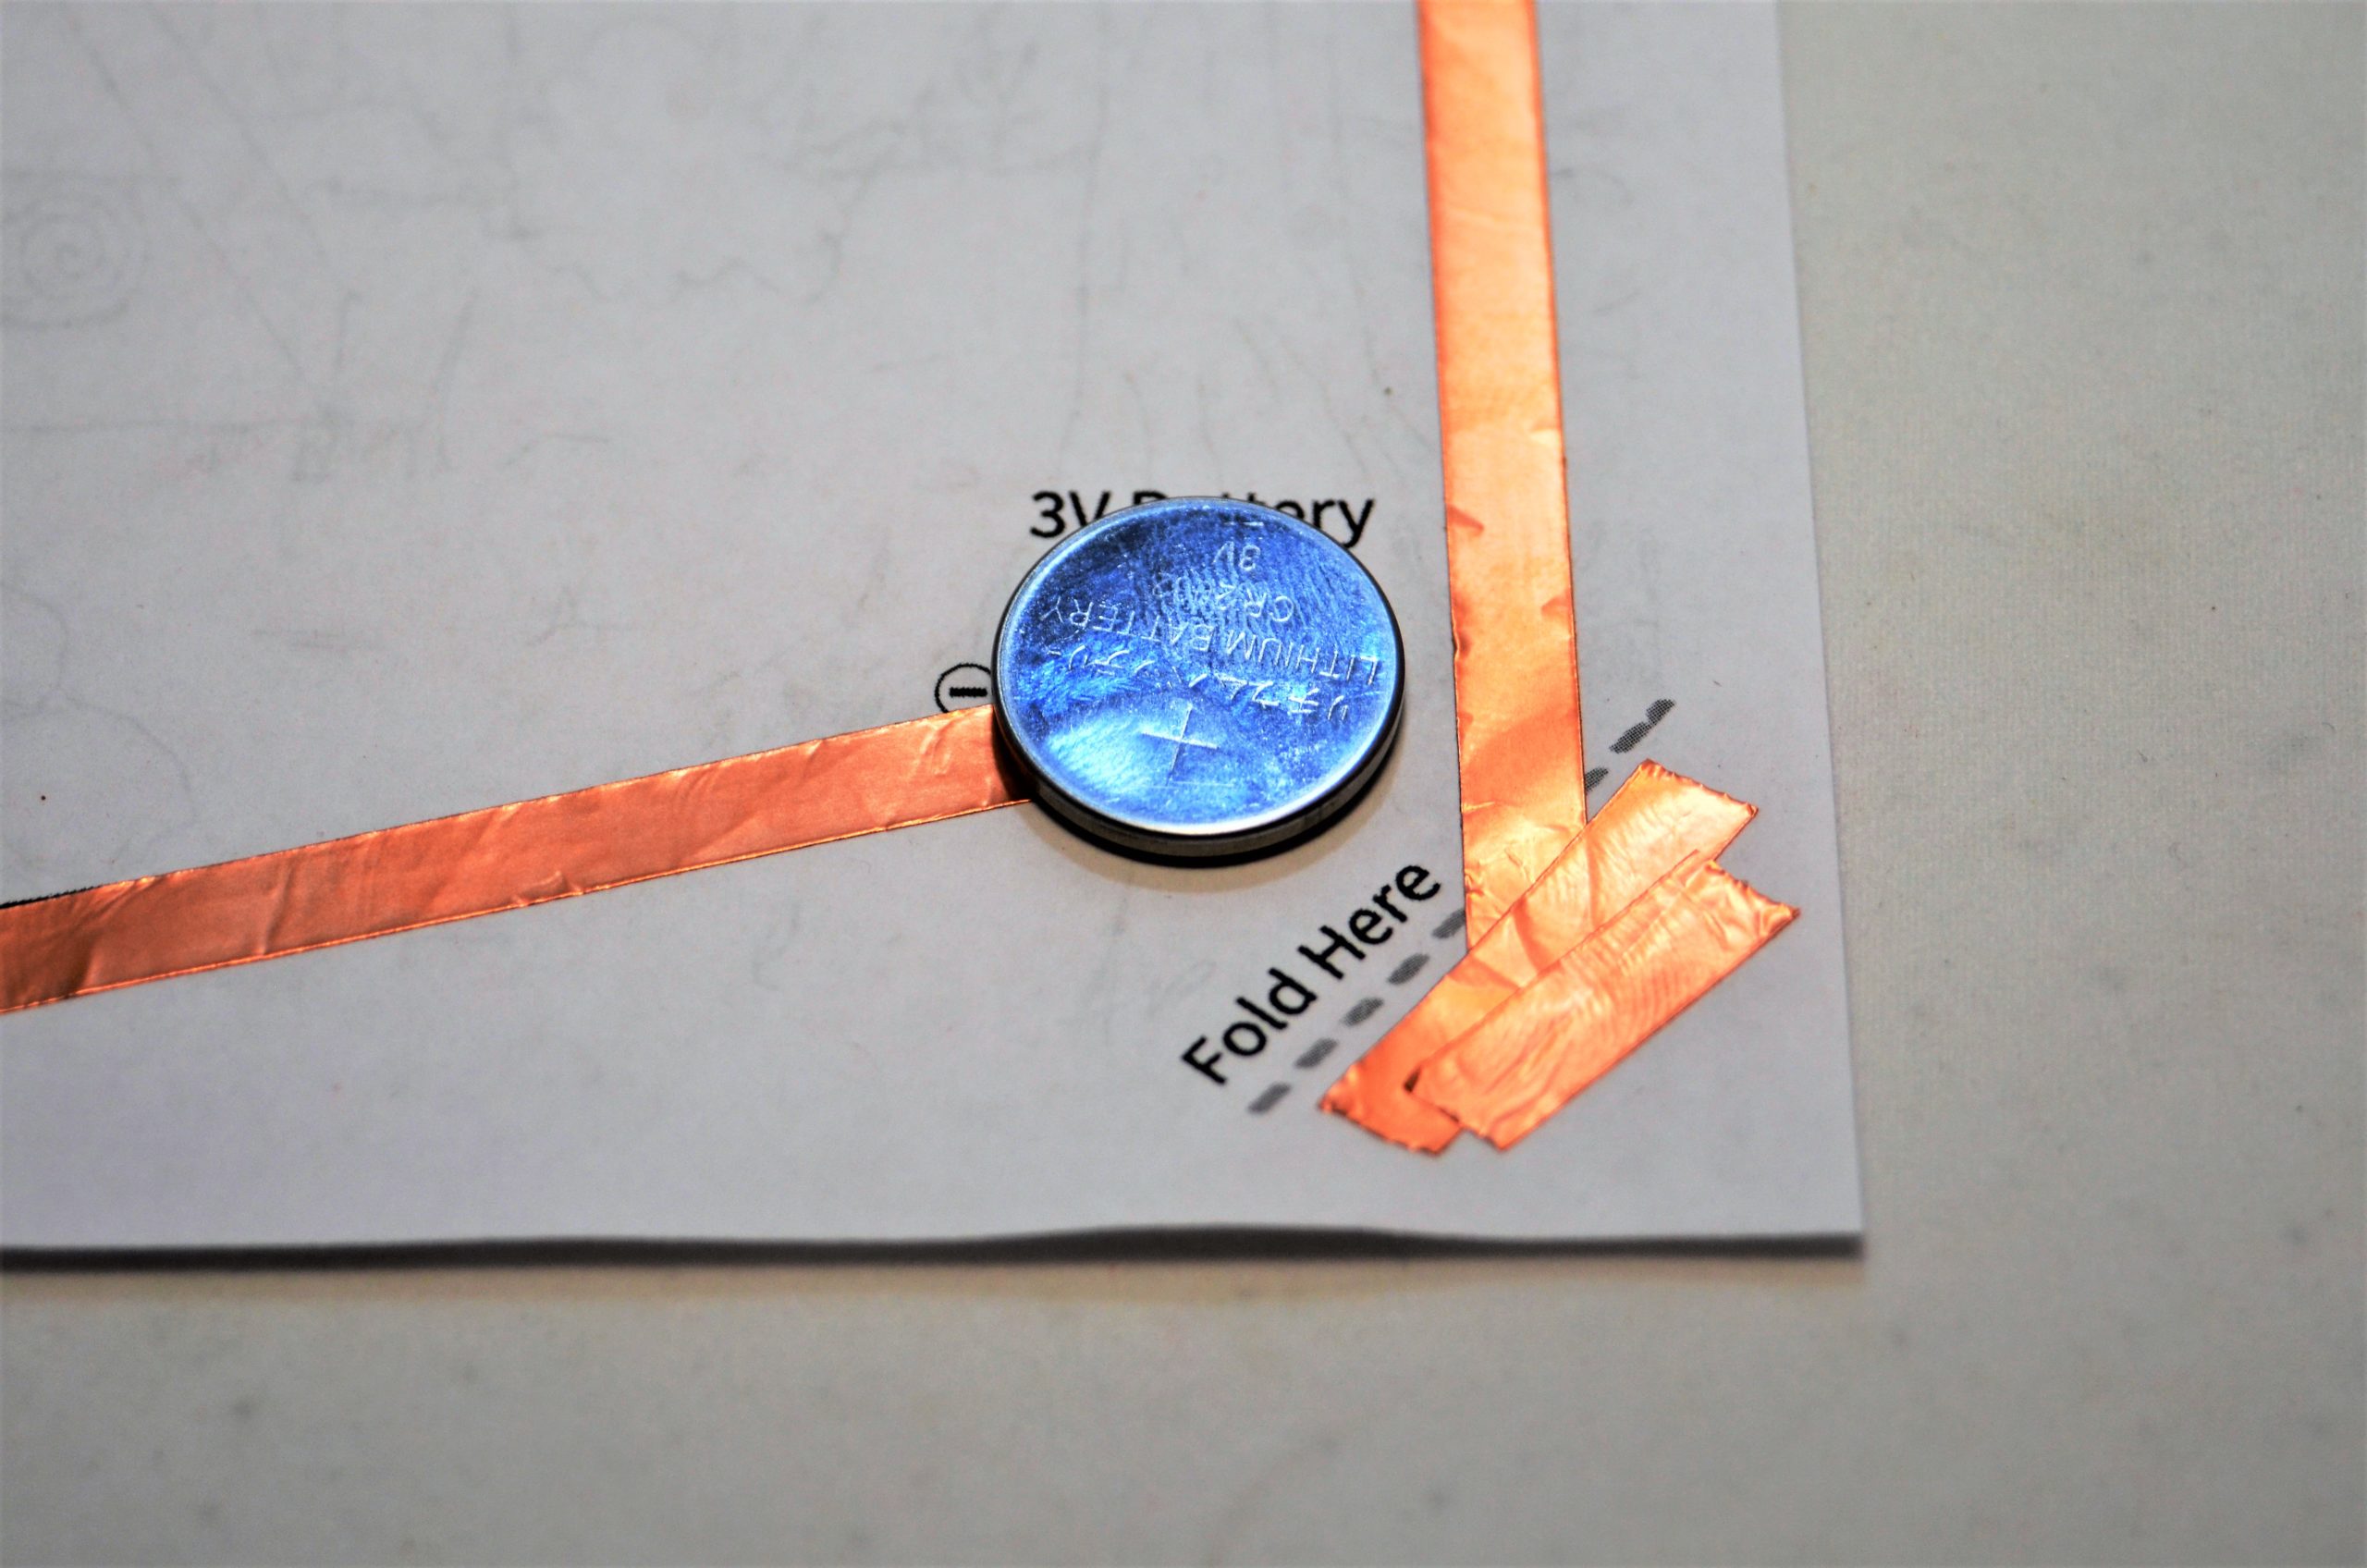
Make a small loop of Maker Tape with the sticky side facing out. Use this to attach your battery to the paper with the negative side down.
Step 10
Fold the paper over along the dotted line and press down to complete the circuit. Your LED should light up!
Step 11
Complete both templates. How are they the same? How do they differ?
Troubleshooting
If your LED doesn’t light up, you may need to troubleshoot your circuit.
Check for breaks or tears in the Maker Tape path and patch them if needed.
Make sure the positive side of the battery is connected to the positive side of the LED, and the negative side of the battery is connected to the negative side of the LED. Students can experiment with turning the battery over.
Make sure the LED is solidly connected to the Maker Tape path. Press down on the LED to test if the connection is an issue.
Make sure the battery is not out of charge.
Make sure you are not “shorting” the circuit by overlapping the Maker Tape in the wrong location or allowing the tape to touch both sides of the battery. A short allows current to travel along an unintended path.