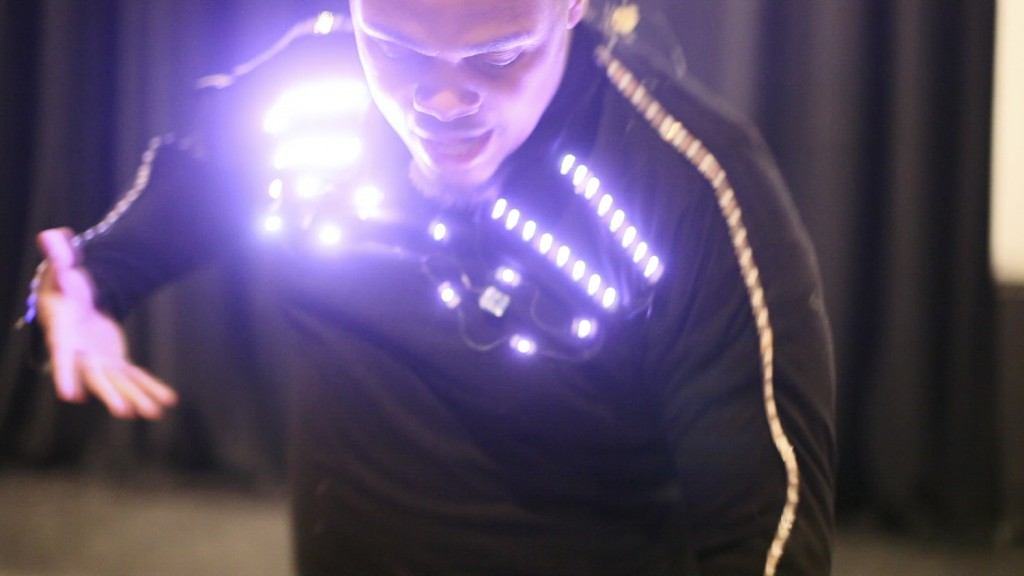
You’ll take your knowledge of circuits and use it to create a soft circuit on fabric. First, a light-up wrist cuff, then make and customize your own wearable!
Overview:
Campers will take their knowledge of circuits and use it to create a wearable soft circuit on fabric. They’ll create a light-up wrist cuff first, then create their own wearable.
Objectives:
Introduce soft circuits that use fabric to create a wearable project.
Encourage campers to design their own circuits for specific purposes.
Discover Soft Circuits
Imagine a world of wearable electronics. What kinds of circuits or electronics could you like to add to your clothing to make it better? Are there any electronics you’re already wearing? If you were to invent a new fabric, what would it be like?
Cut Your Felt
We’re going to start today by making a simple no-sew light-up wrist cuff. Use the template to guide you.
Step 1
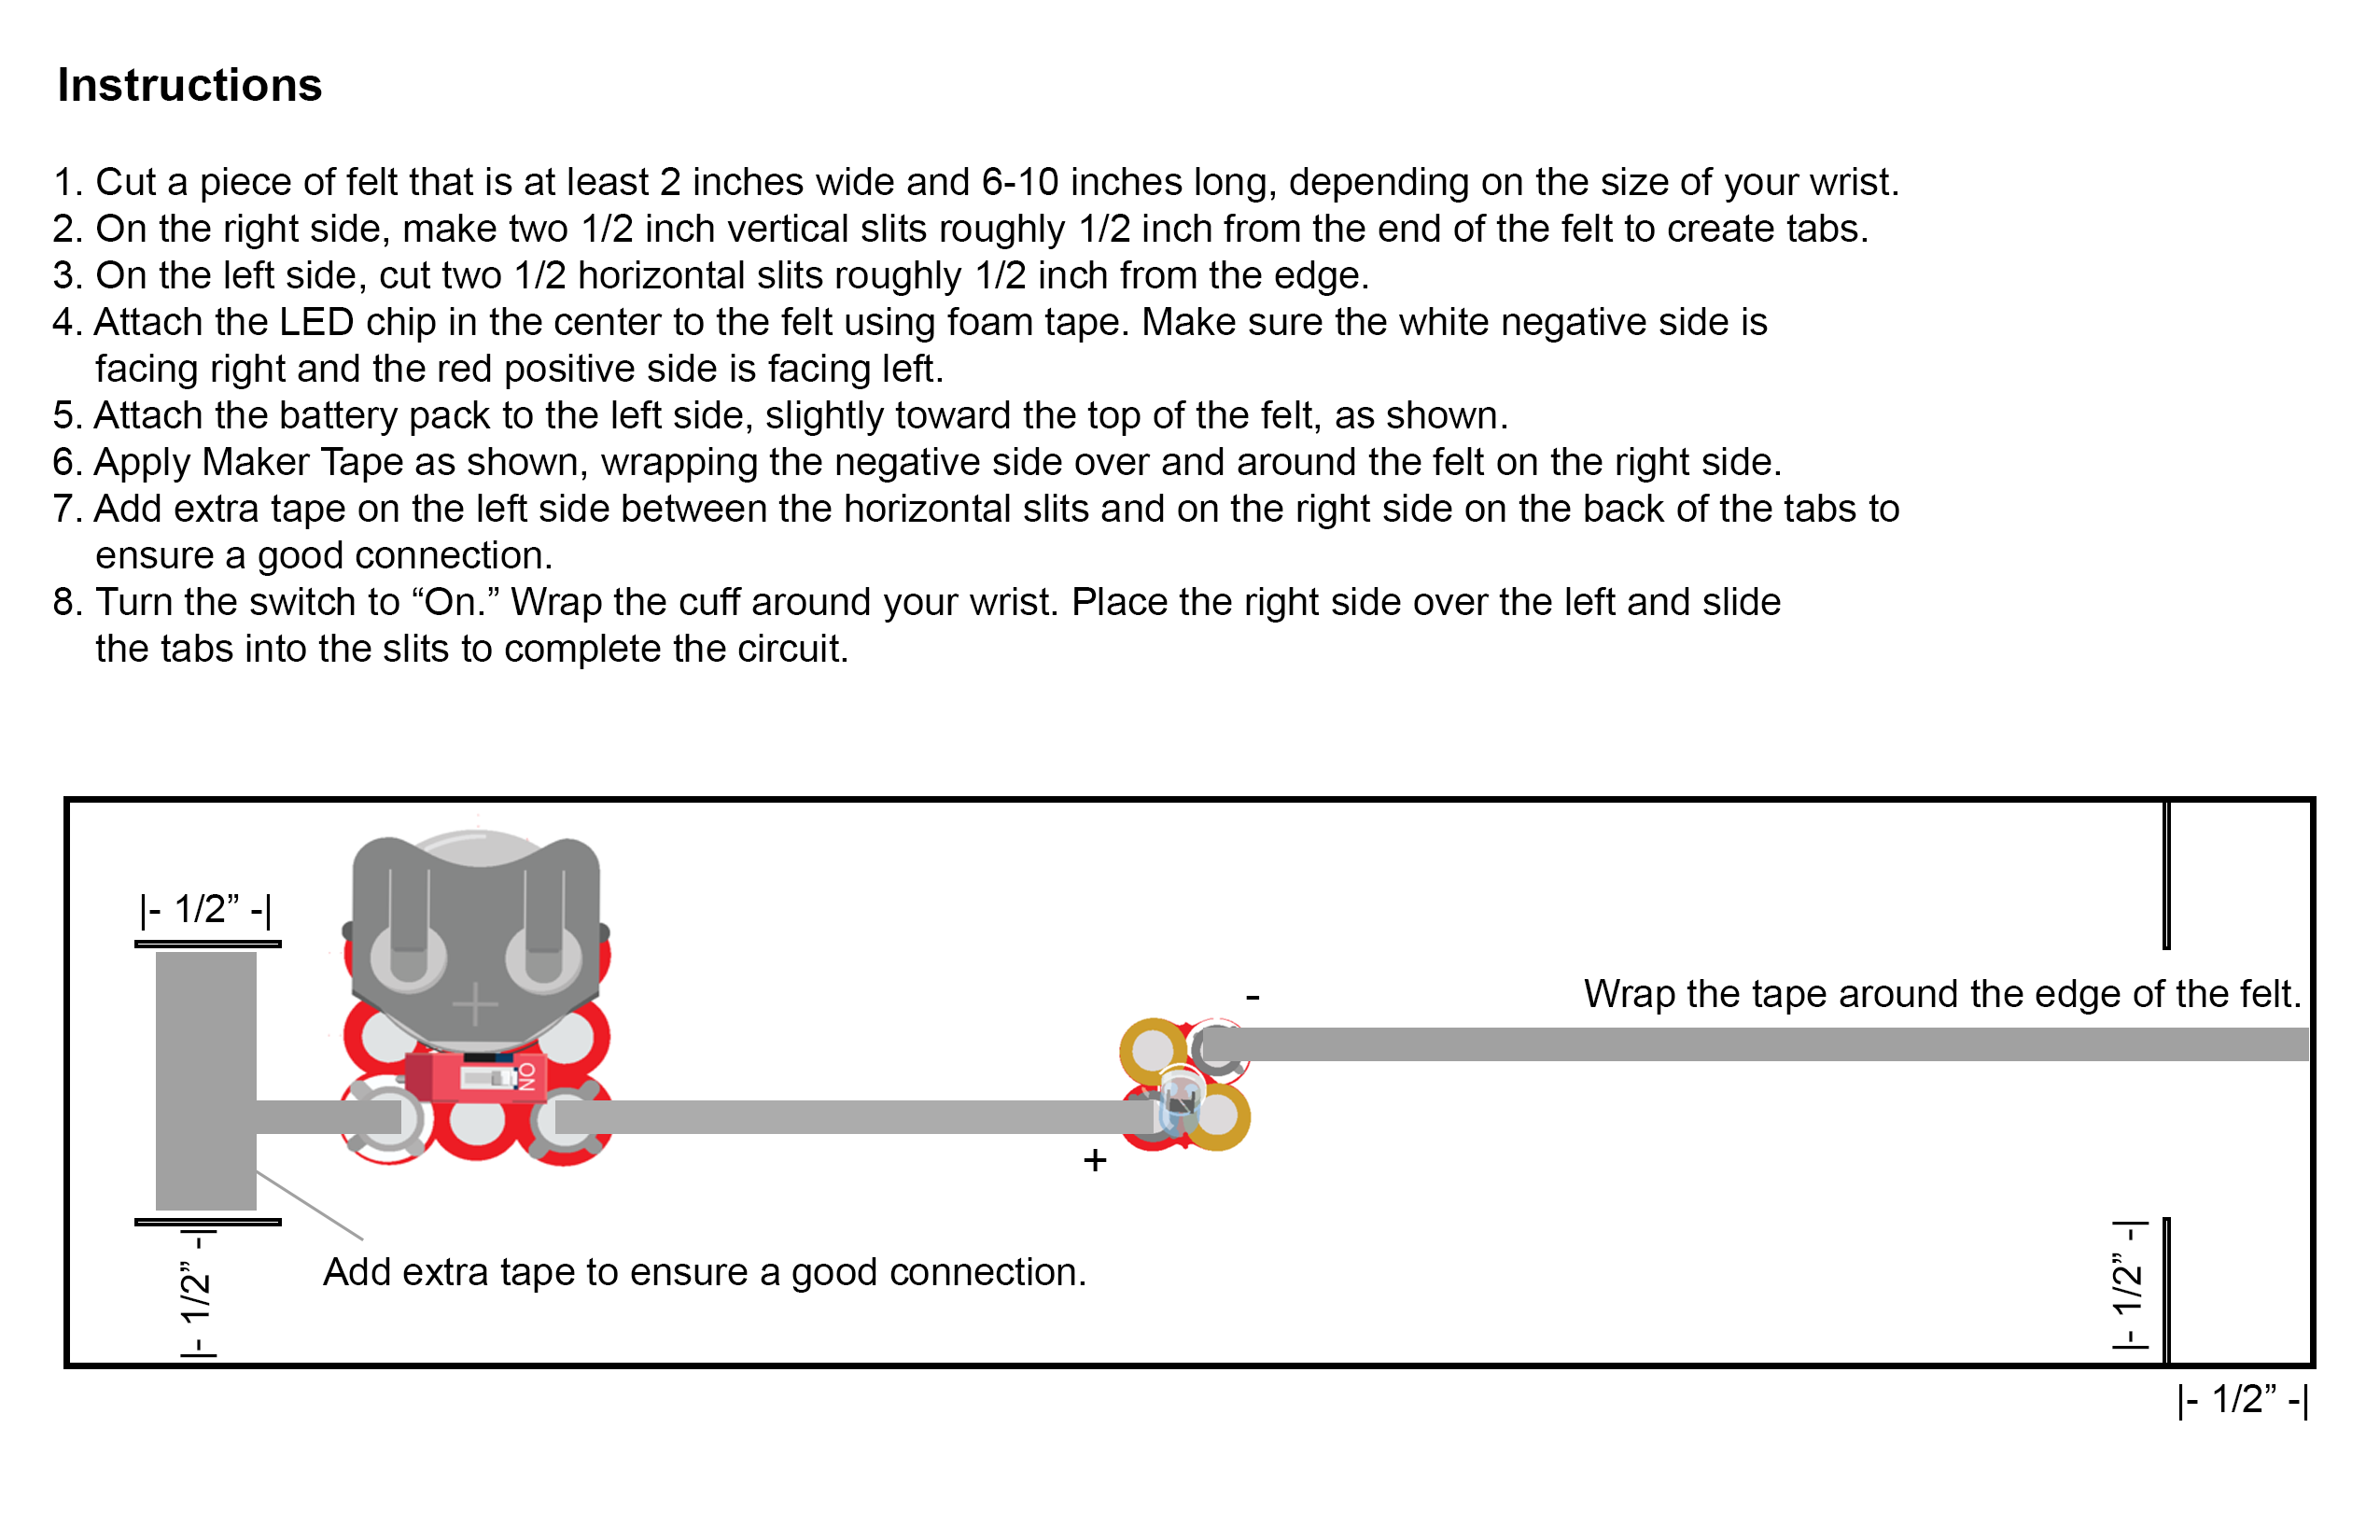
Cut a piece of felt that is at least 2 inches wide and 6-10 inches long, depending on the size of your wrist.
Step 2
On the right side, make two 1/2 inch vertical slits roughly 1/2 inch from the end of the felt to create tabs.
Step 3
On the left side, cut two 1/2 horizontal slits roughly 1/2 inch from the edge.
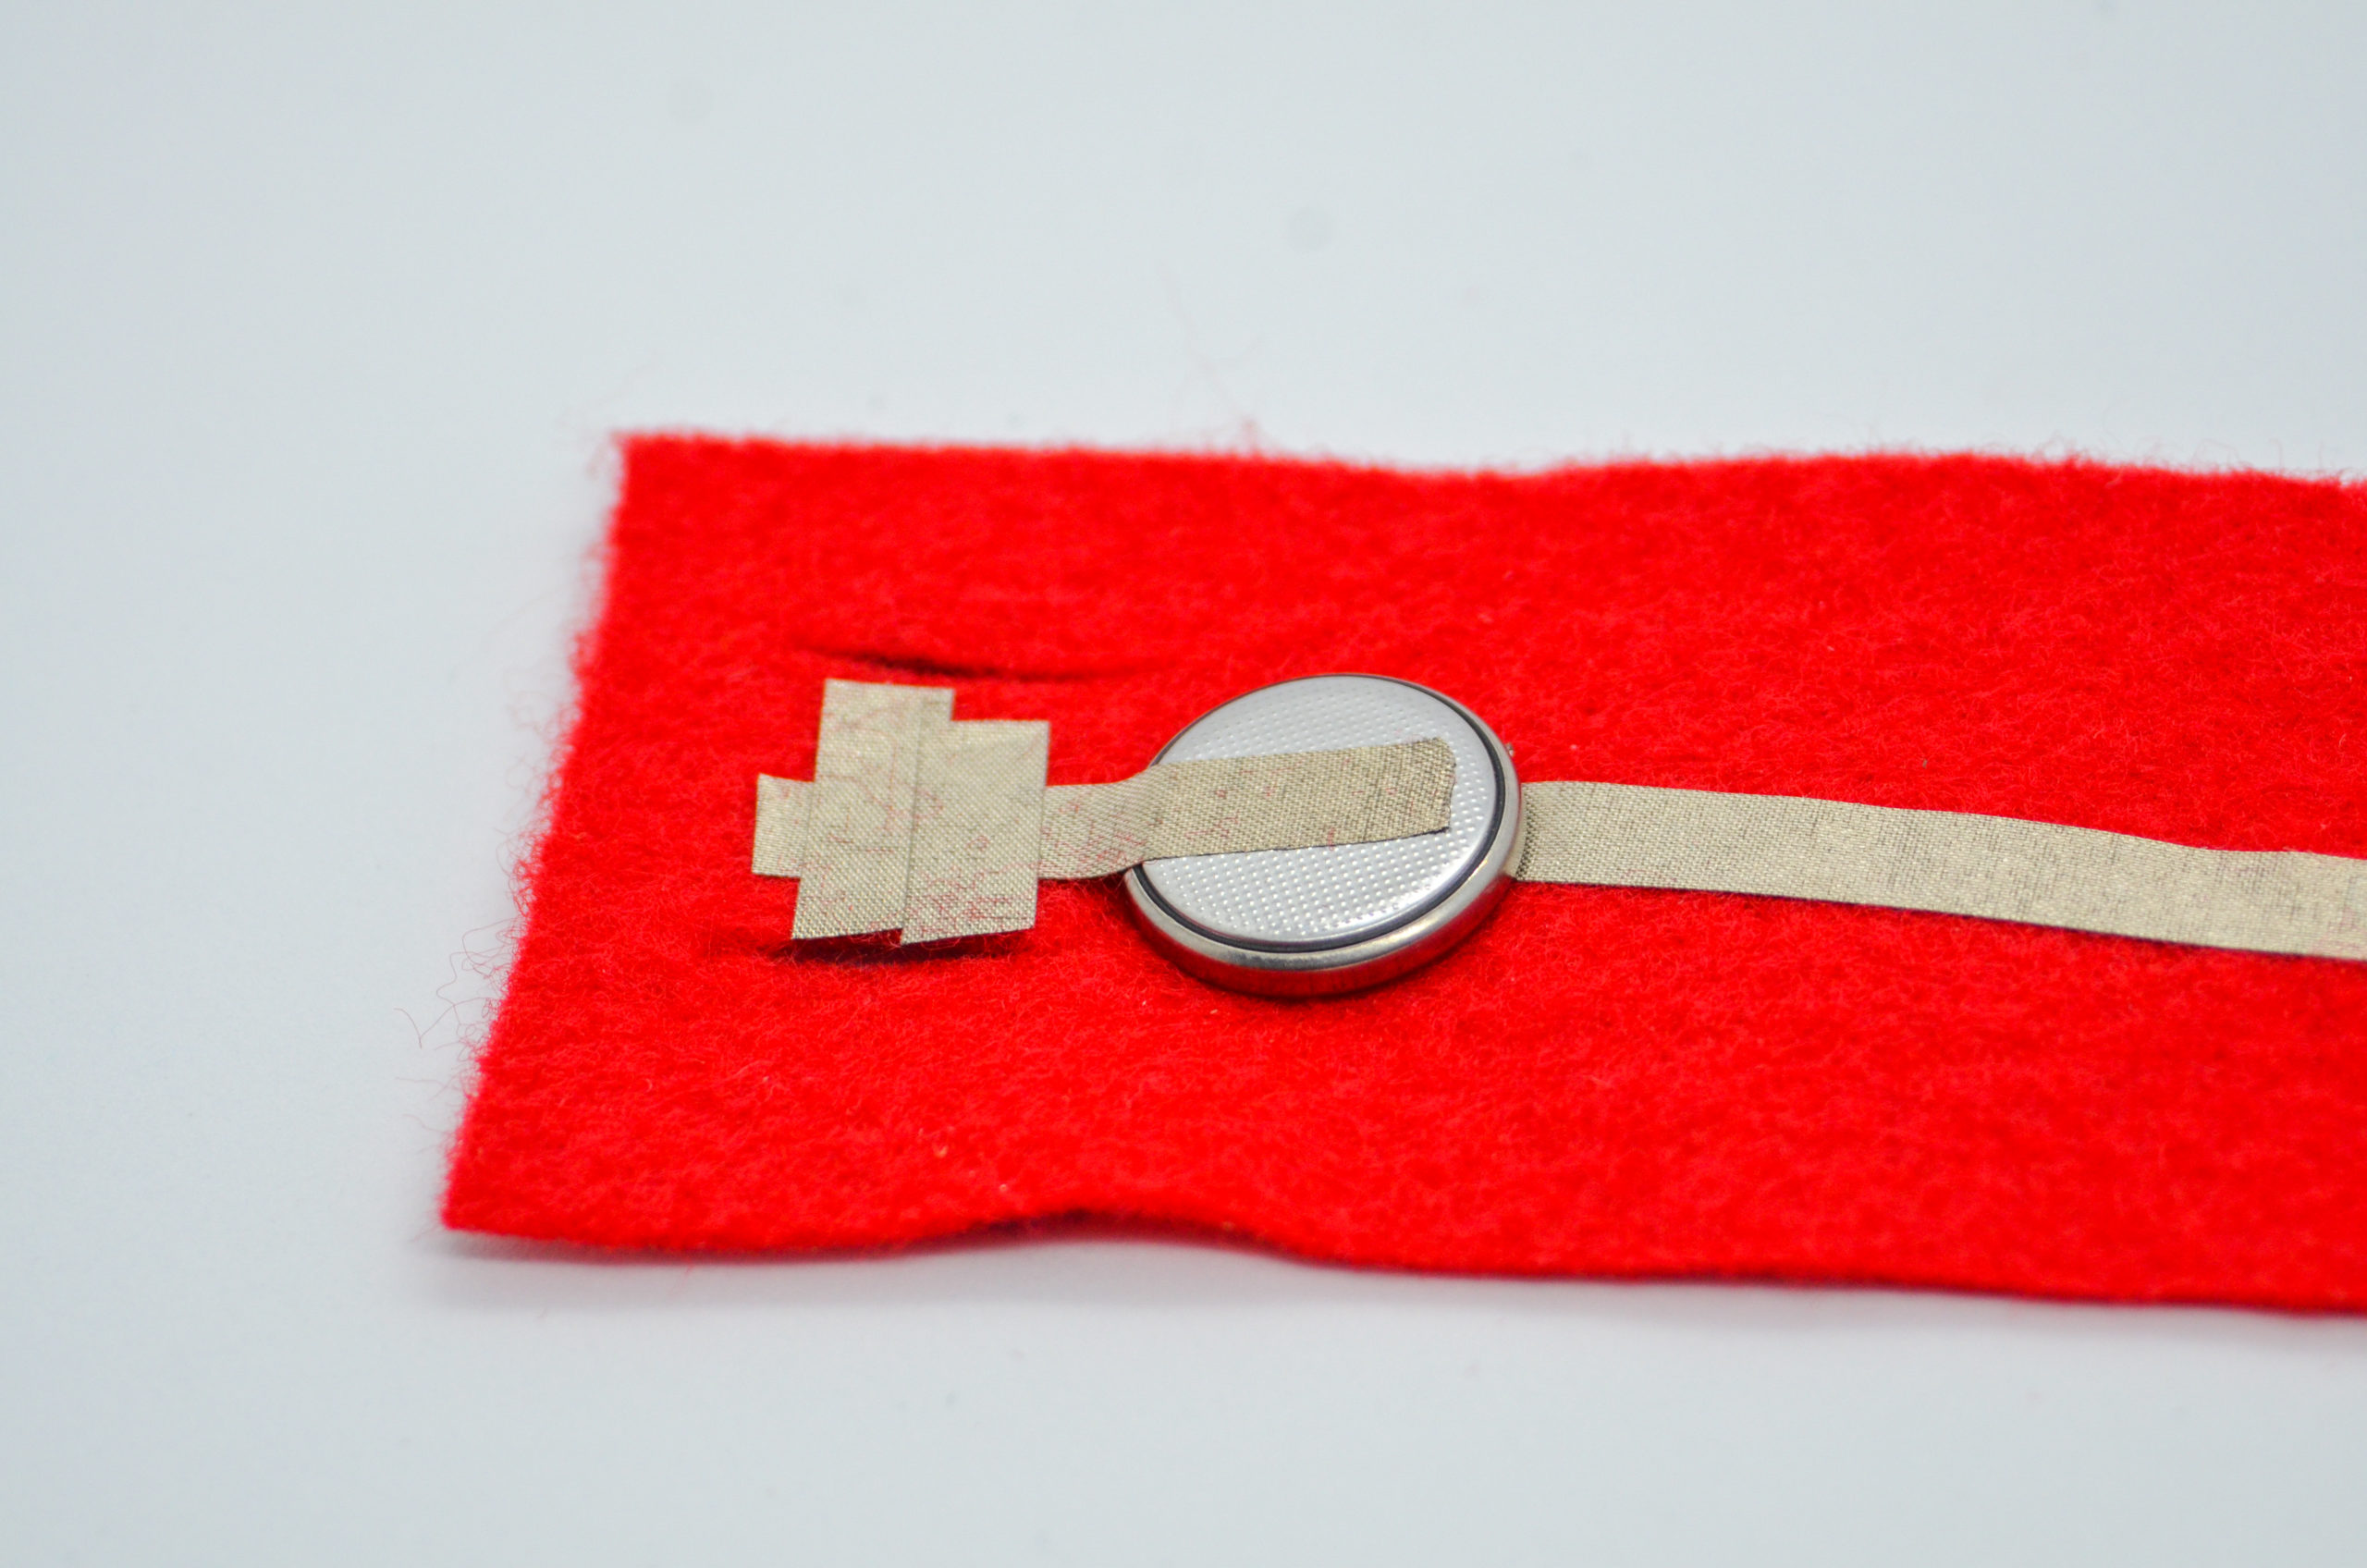
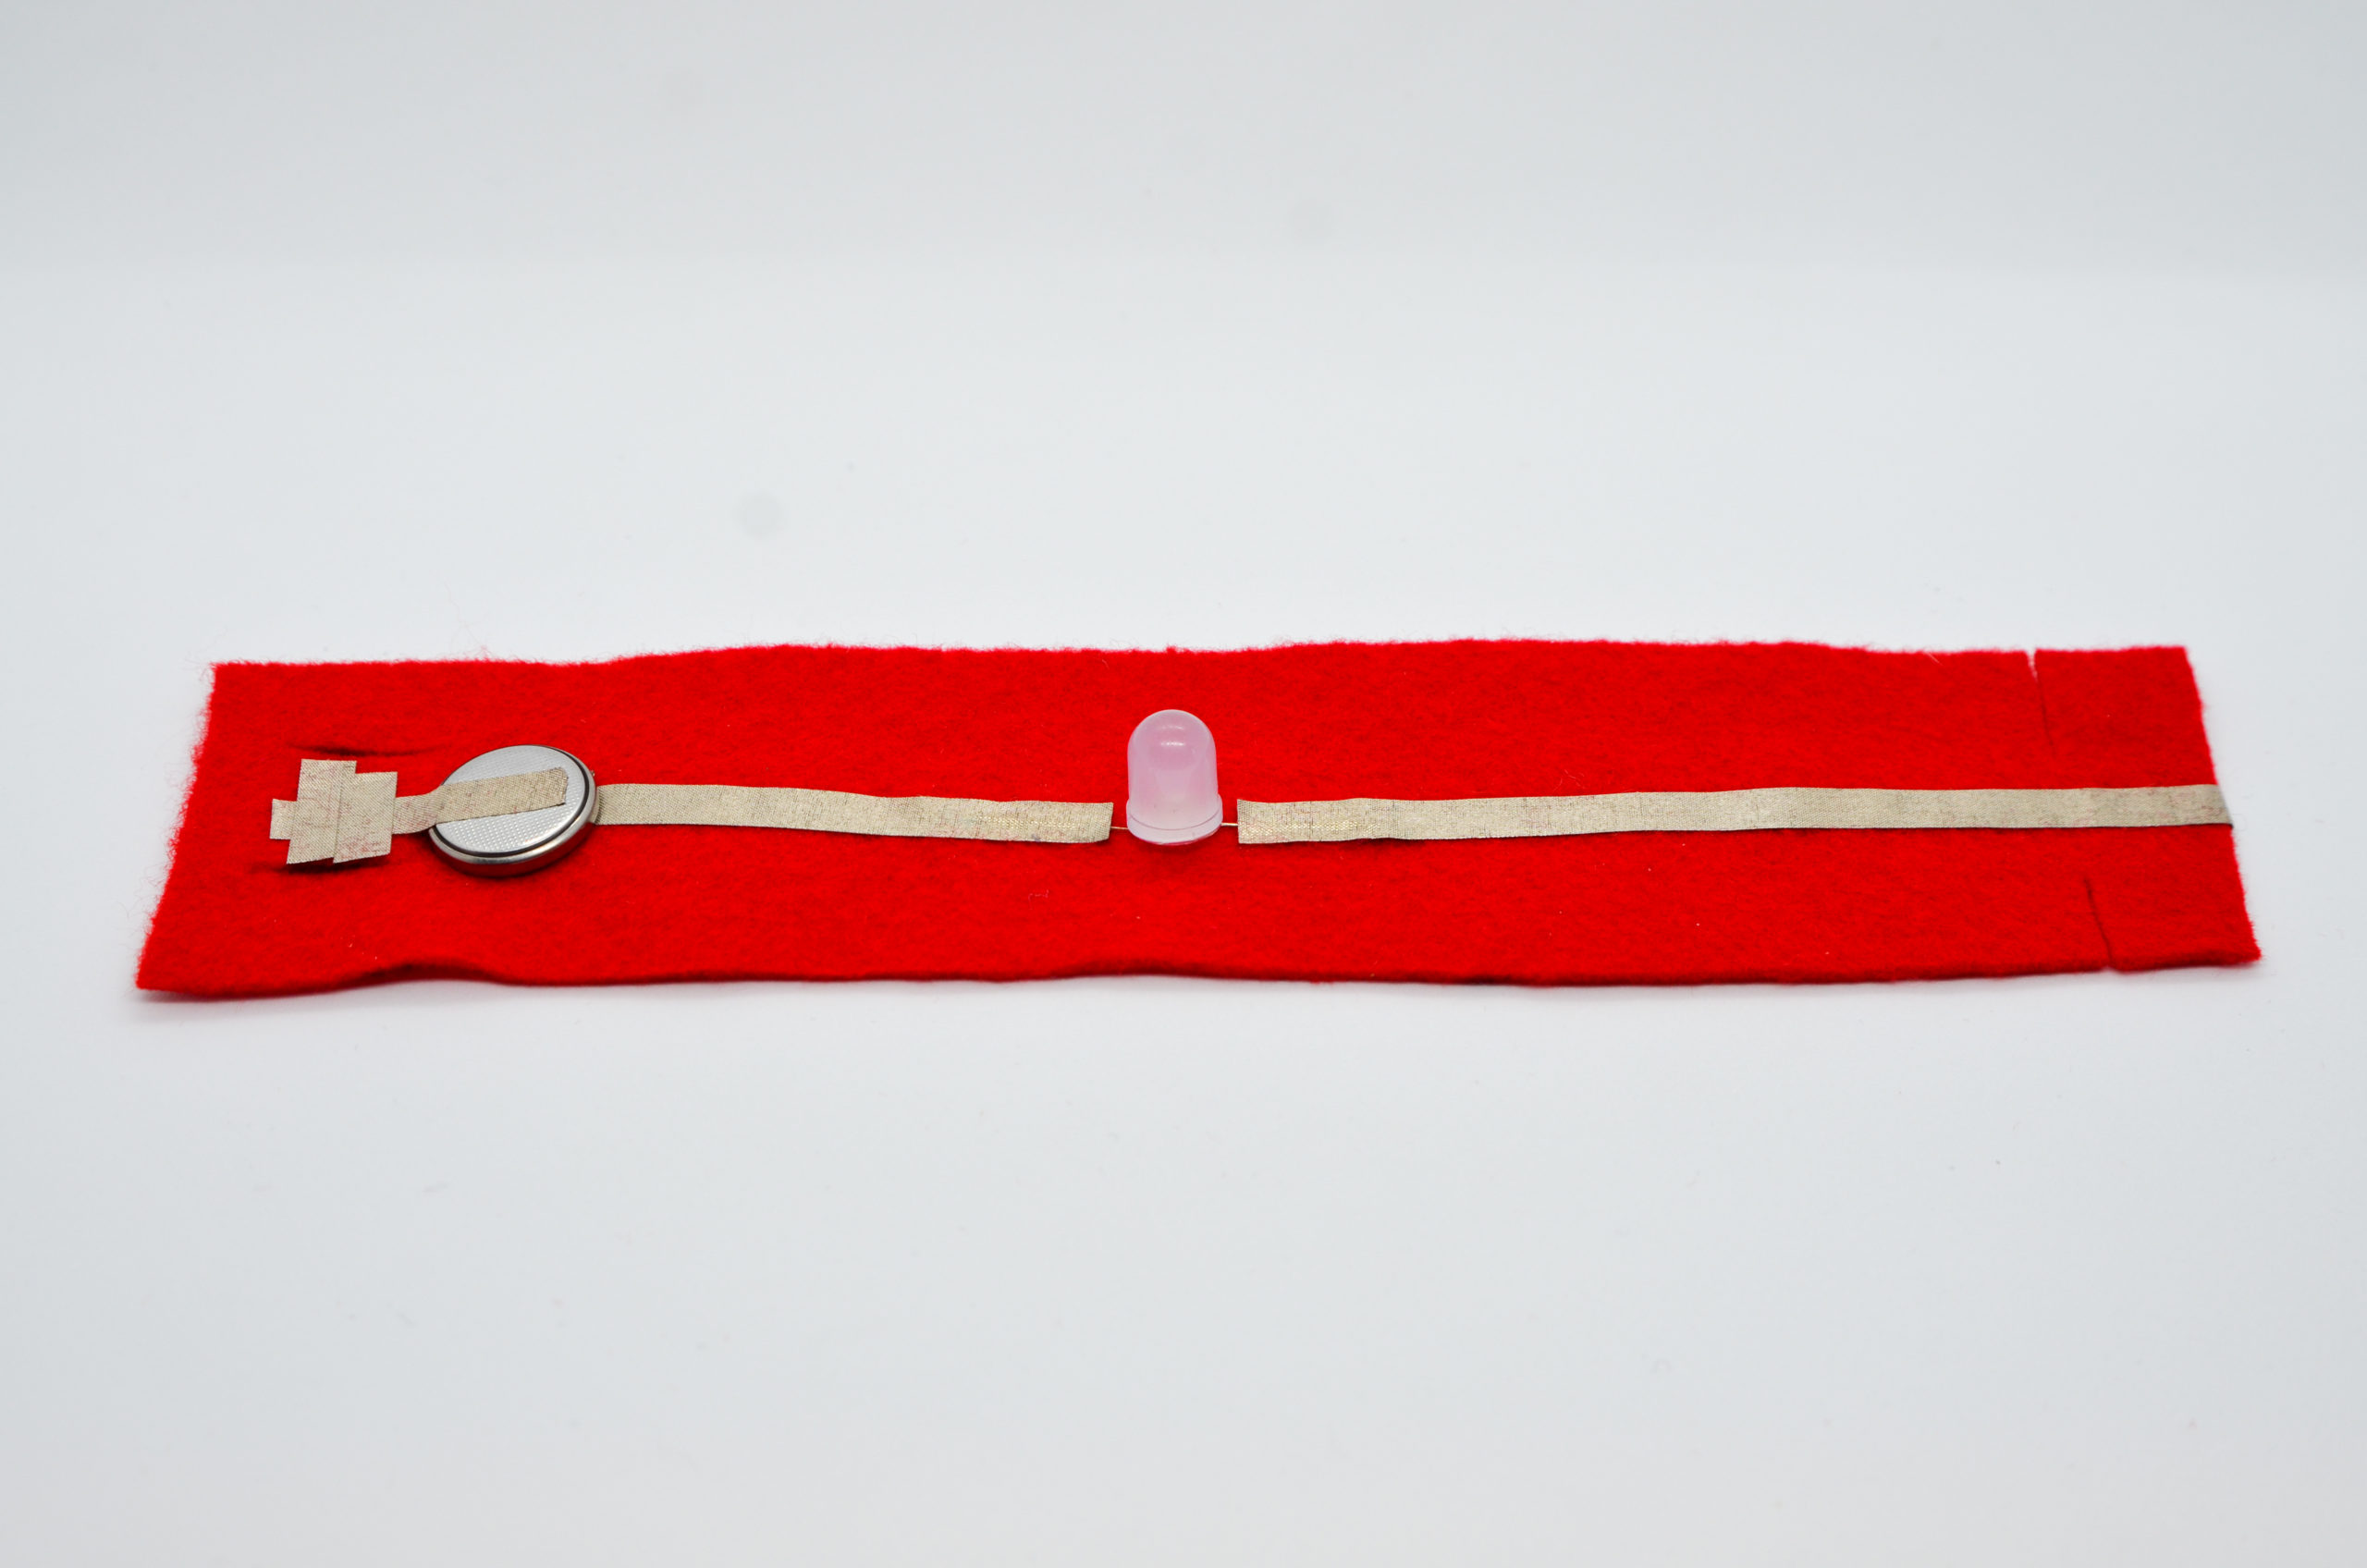
Attach Your Components With Foam Tape
Step 4
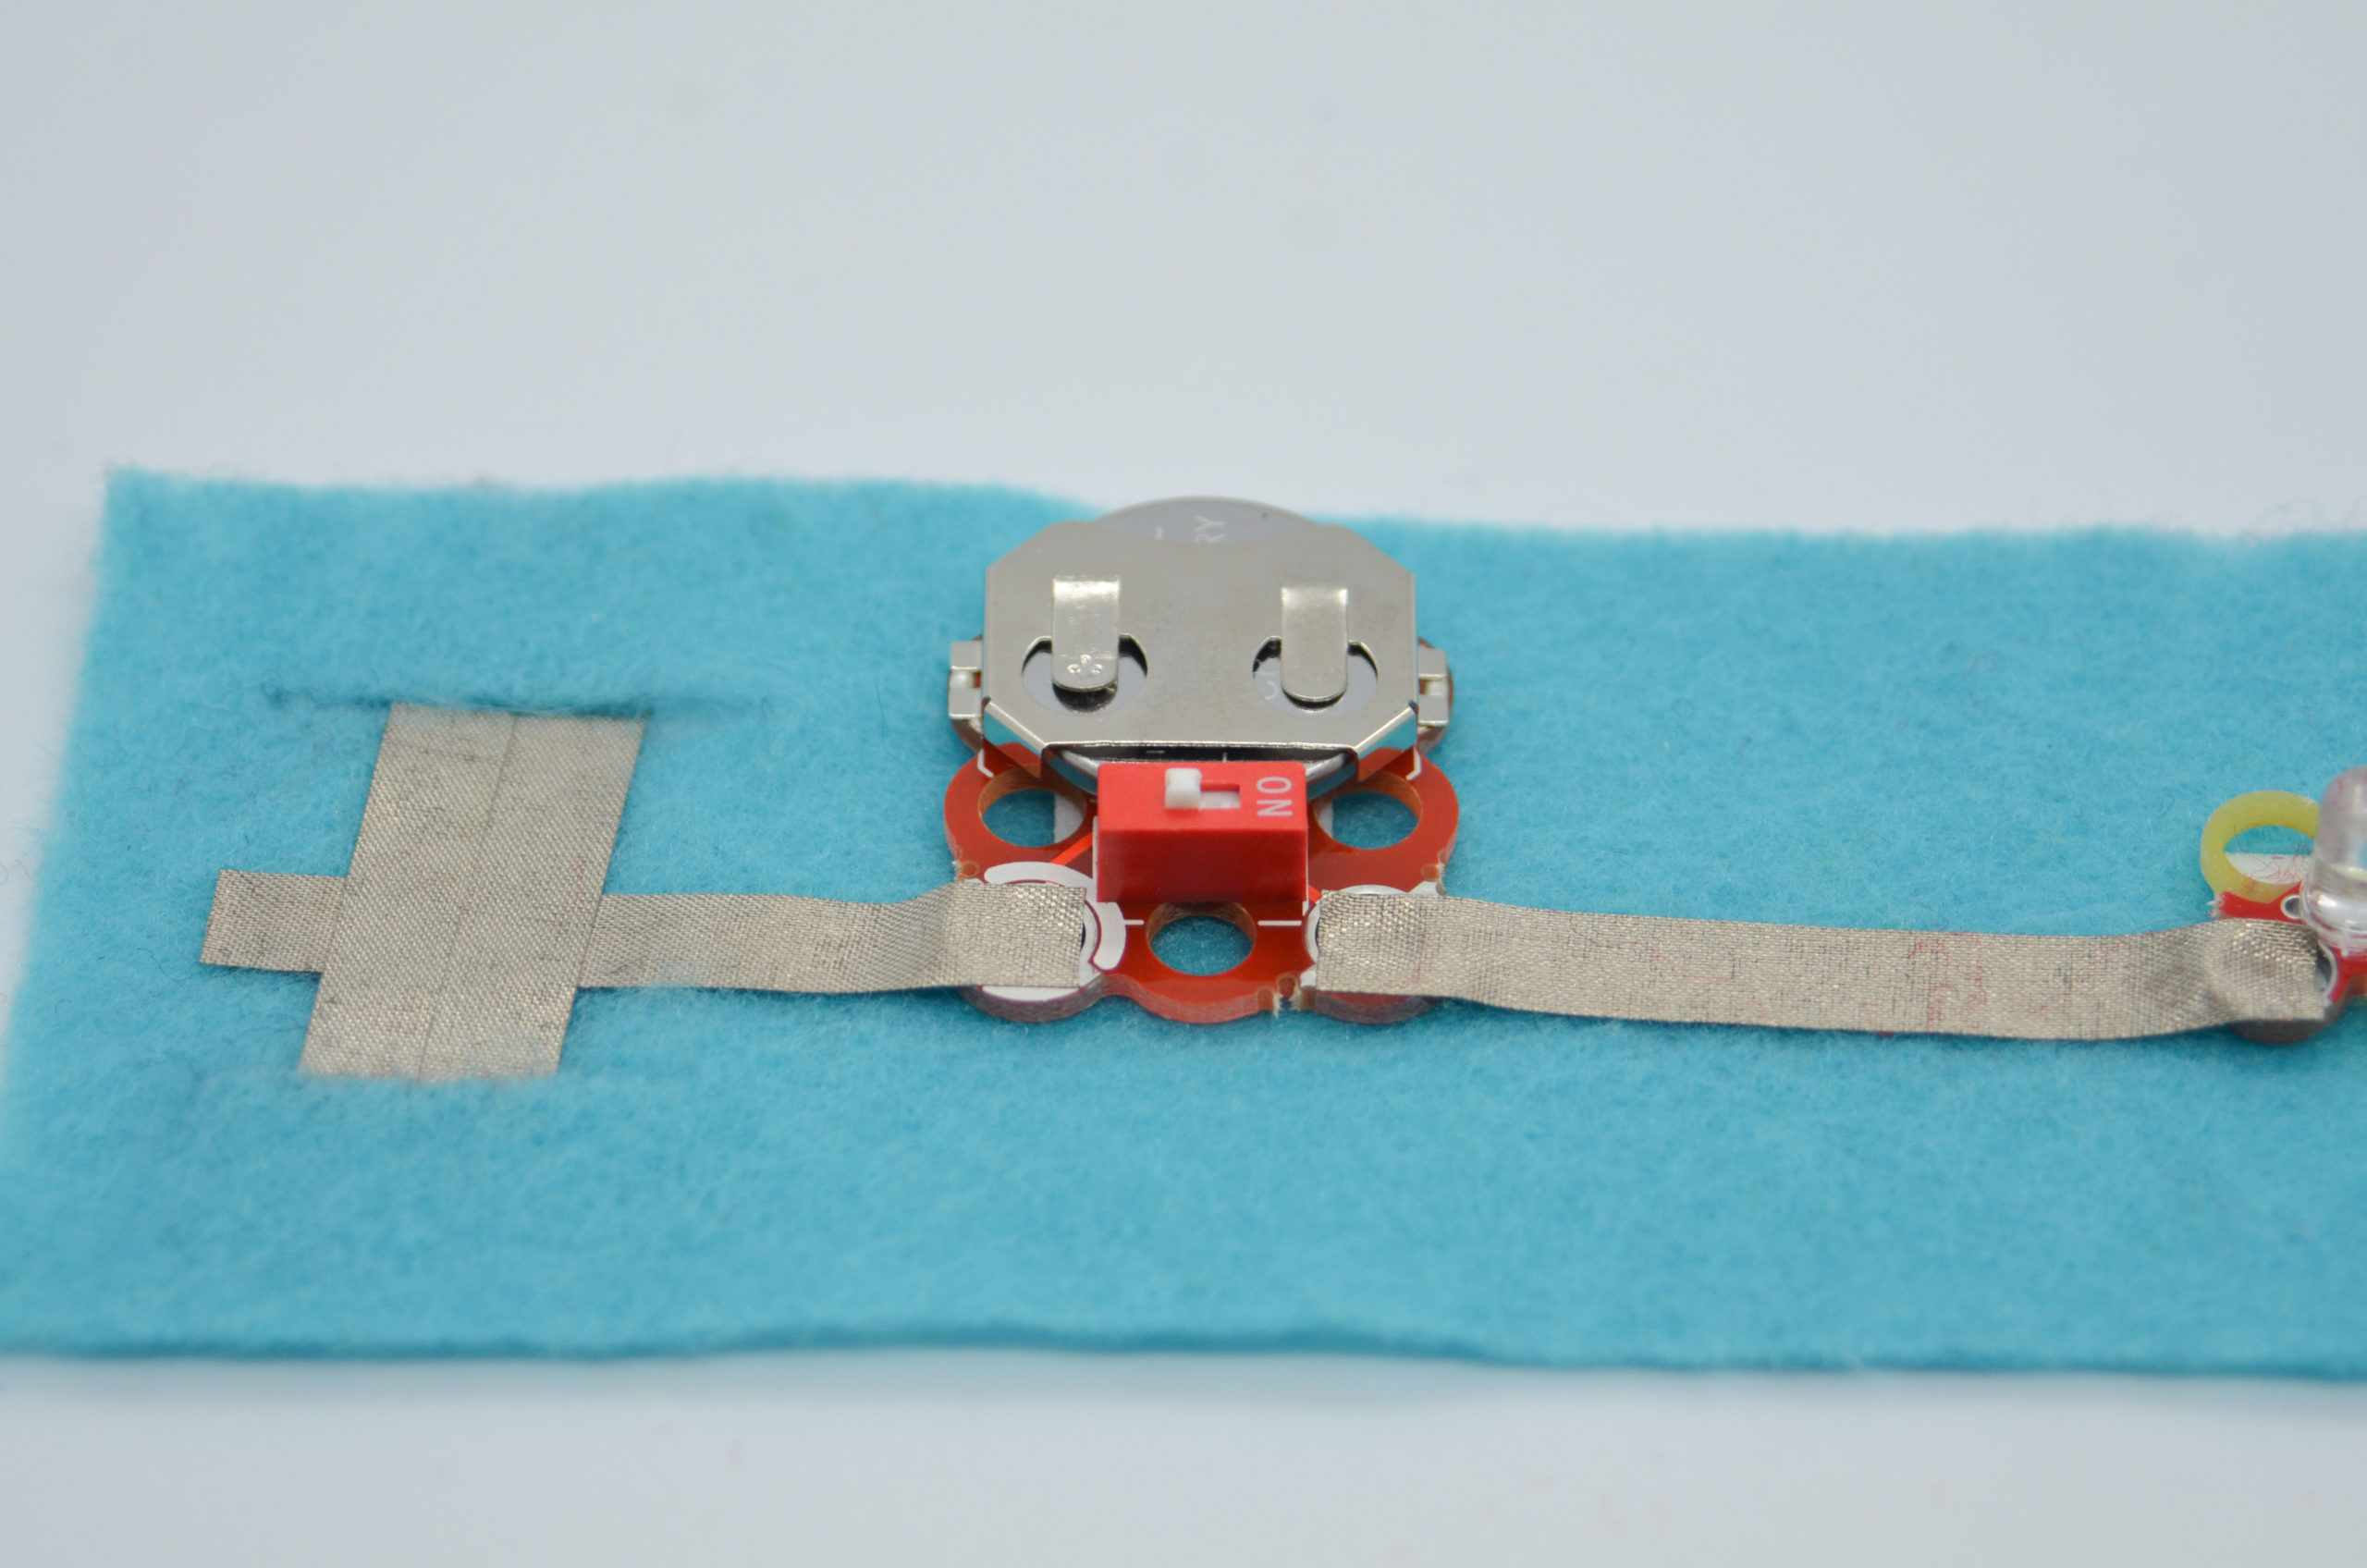
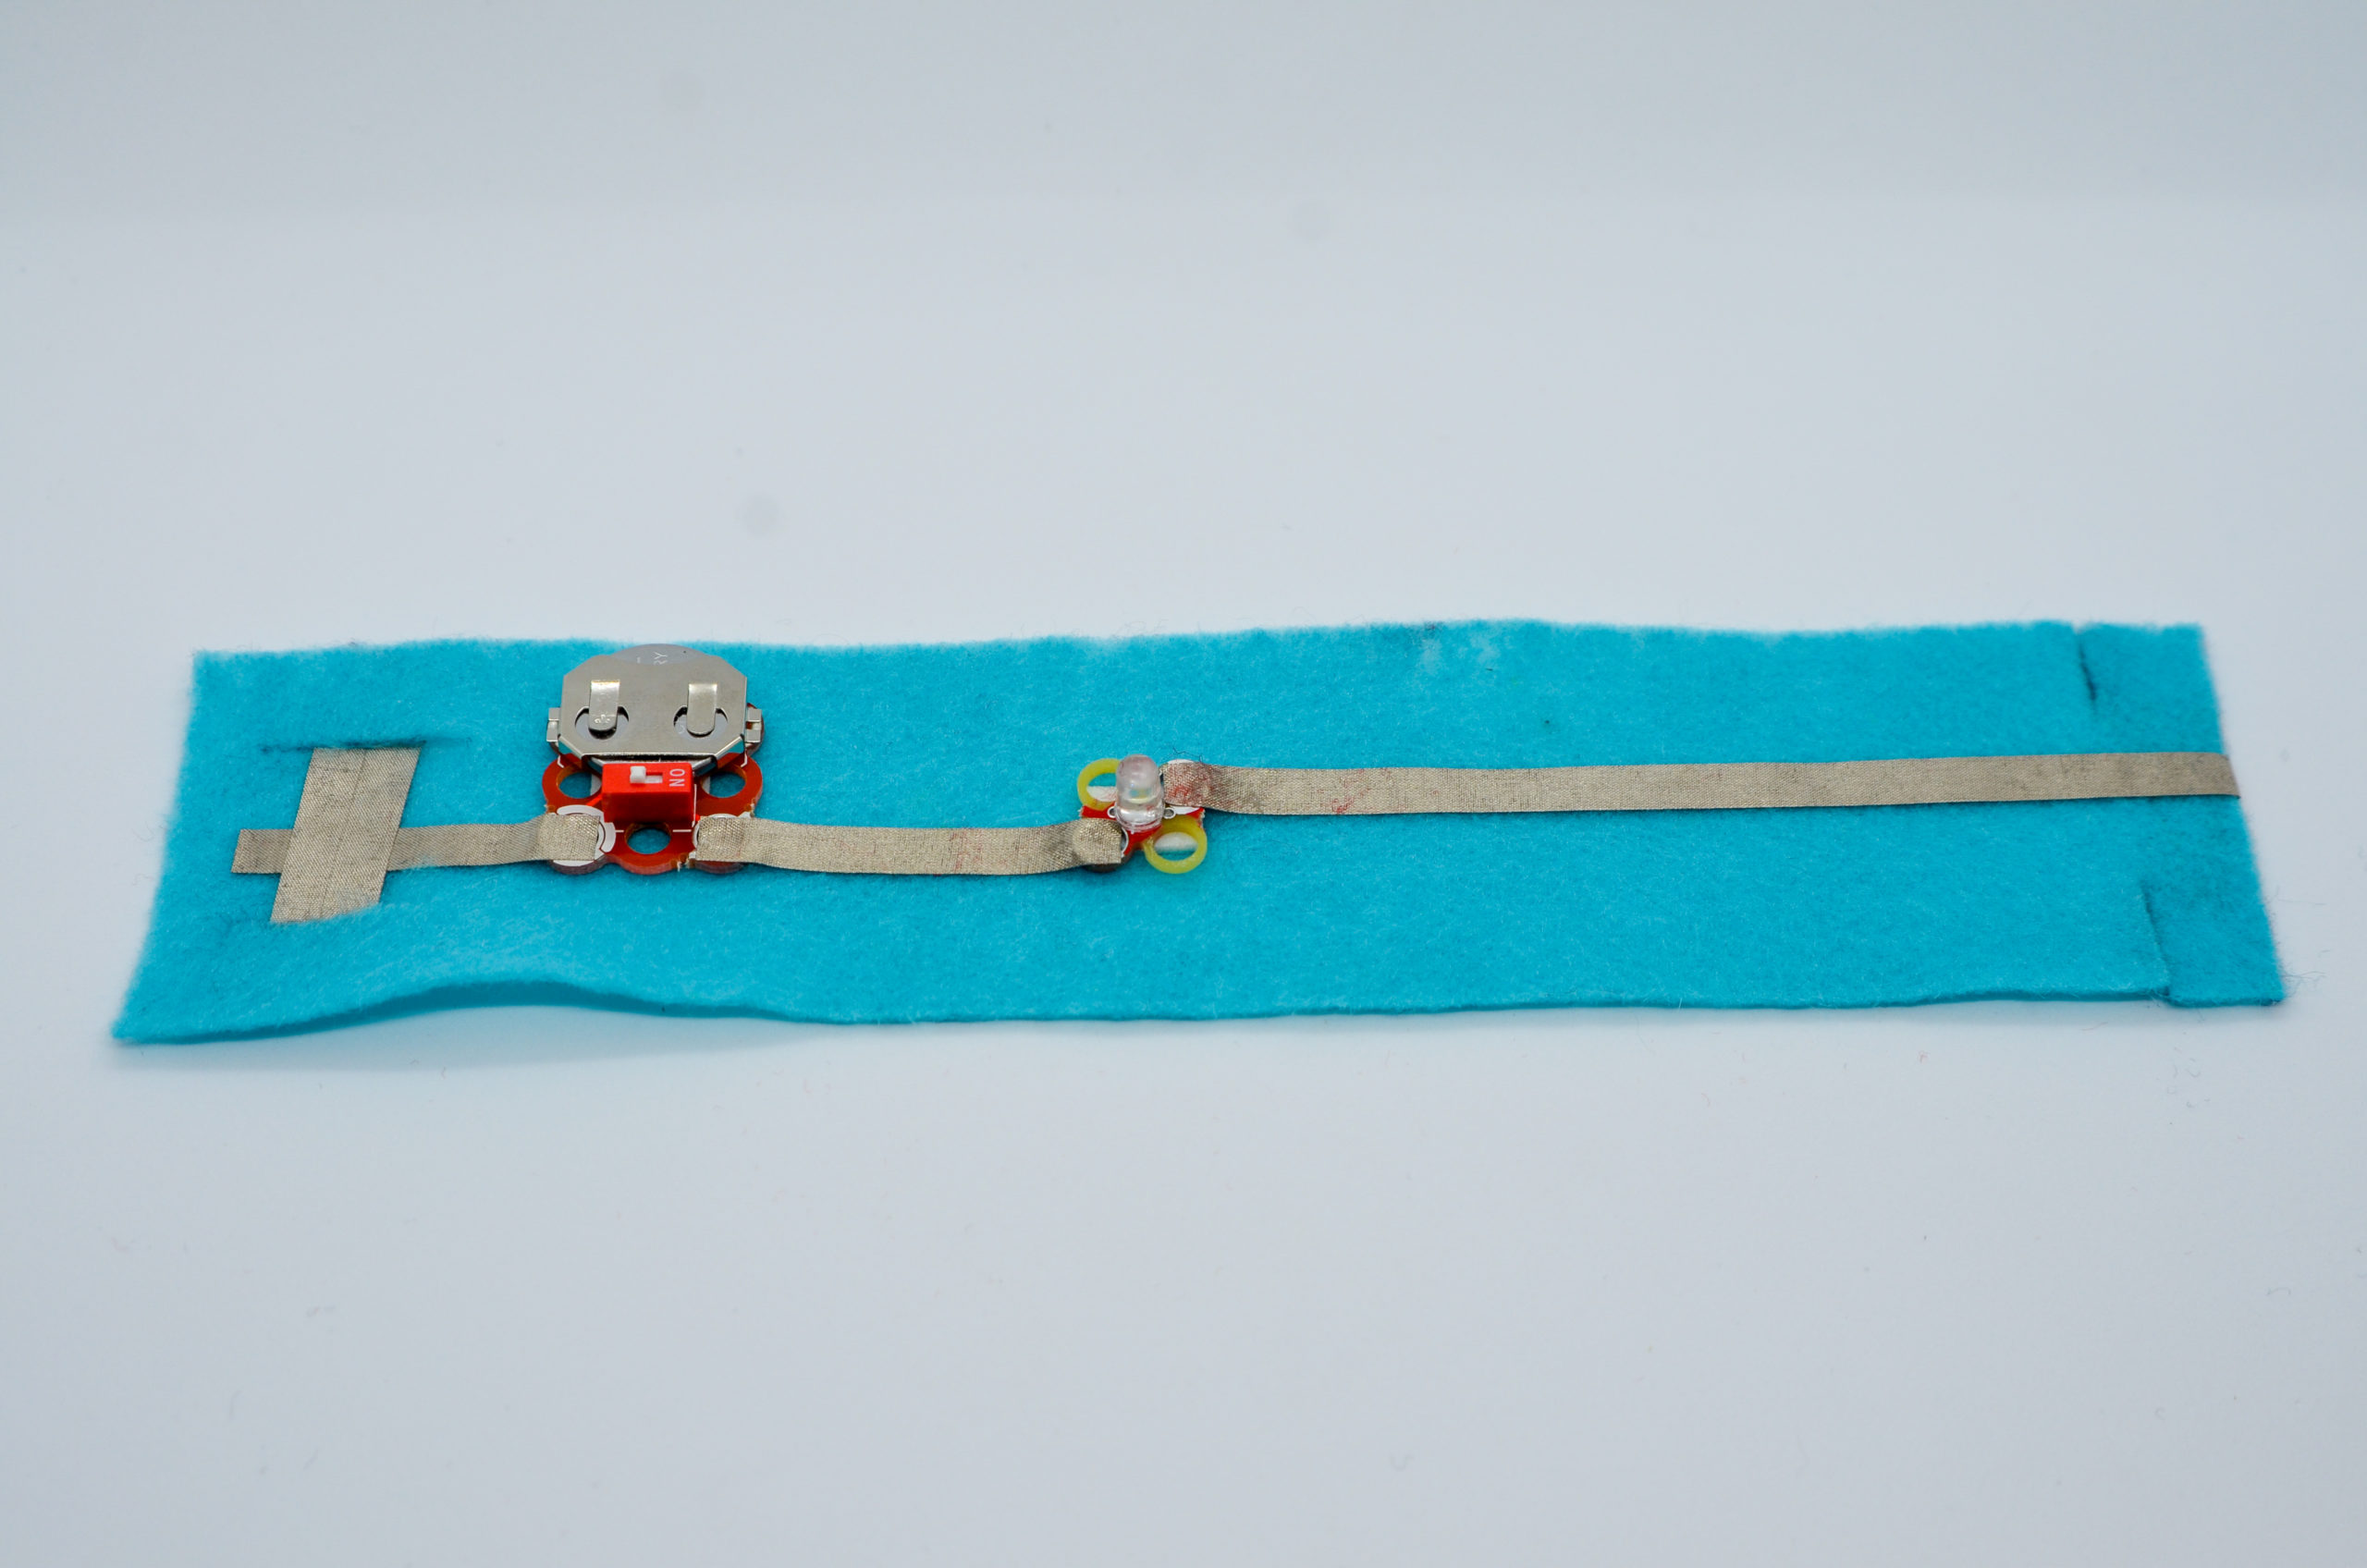
Attach the battery pack to the left side, slightly toward the top of the felt, as shown.
Step 5
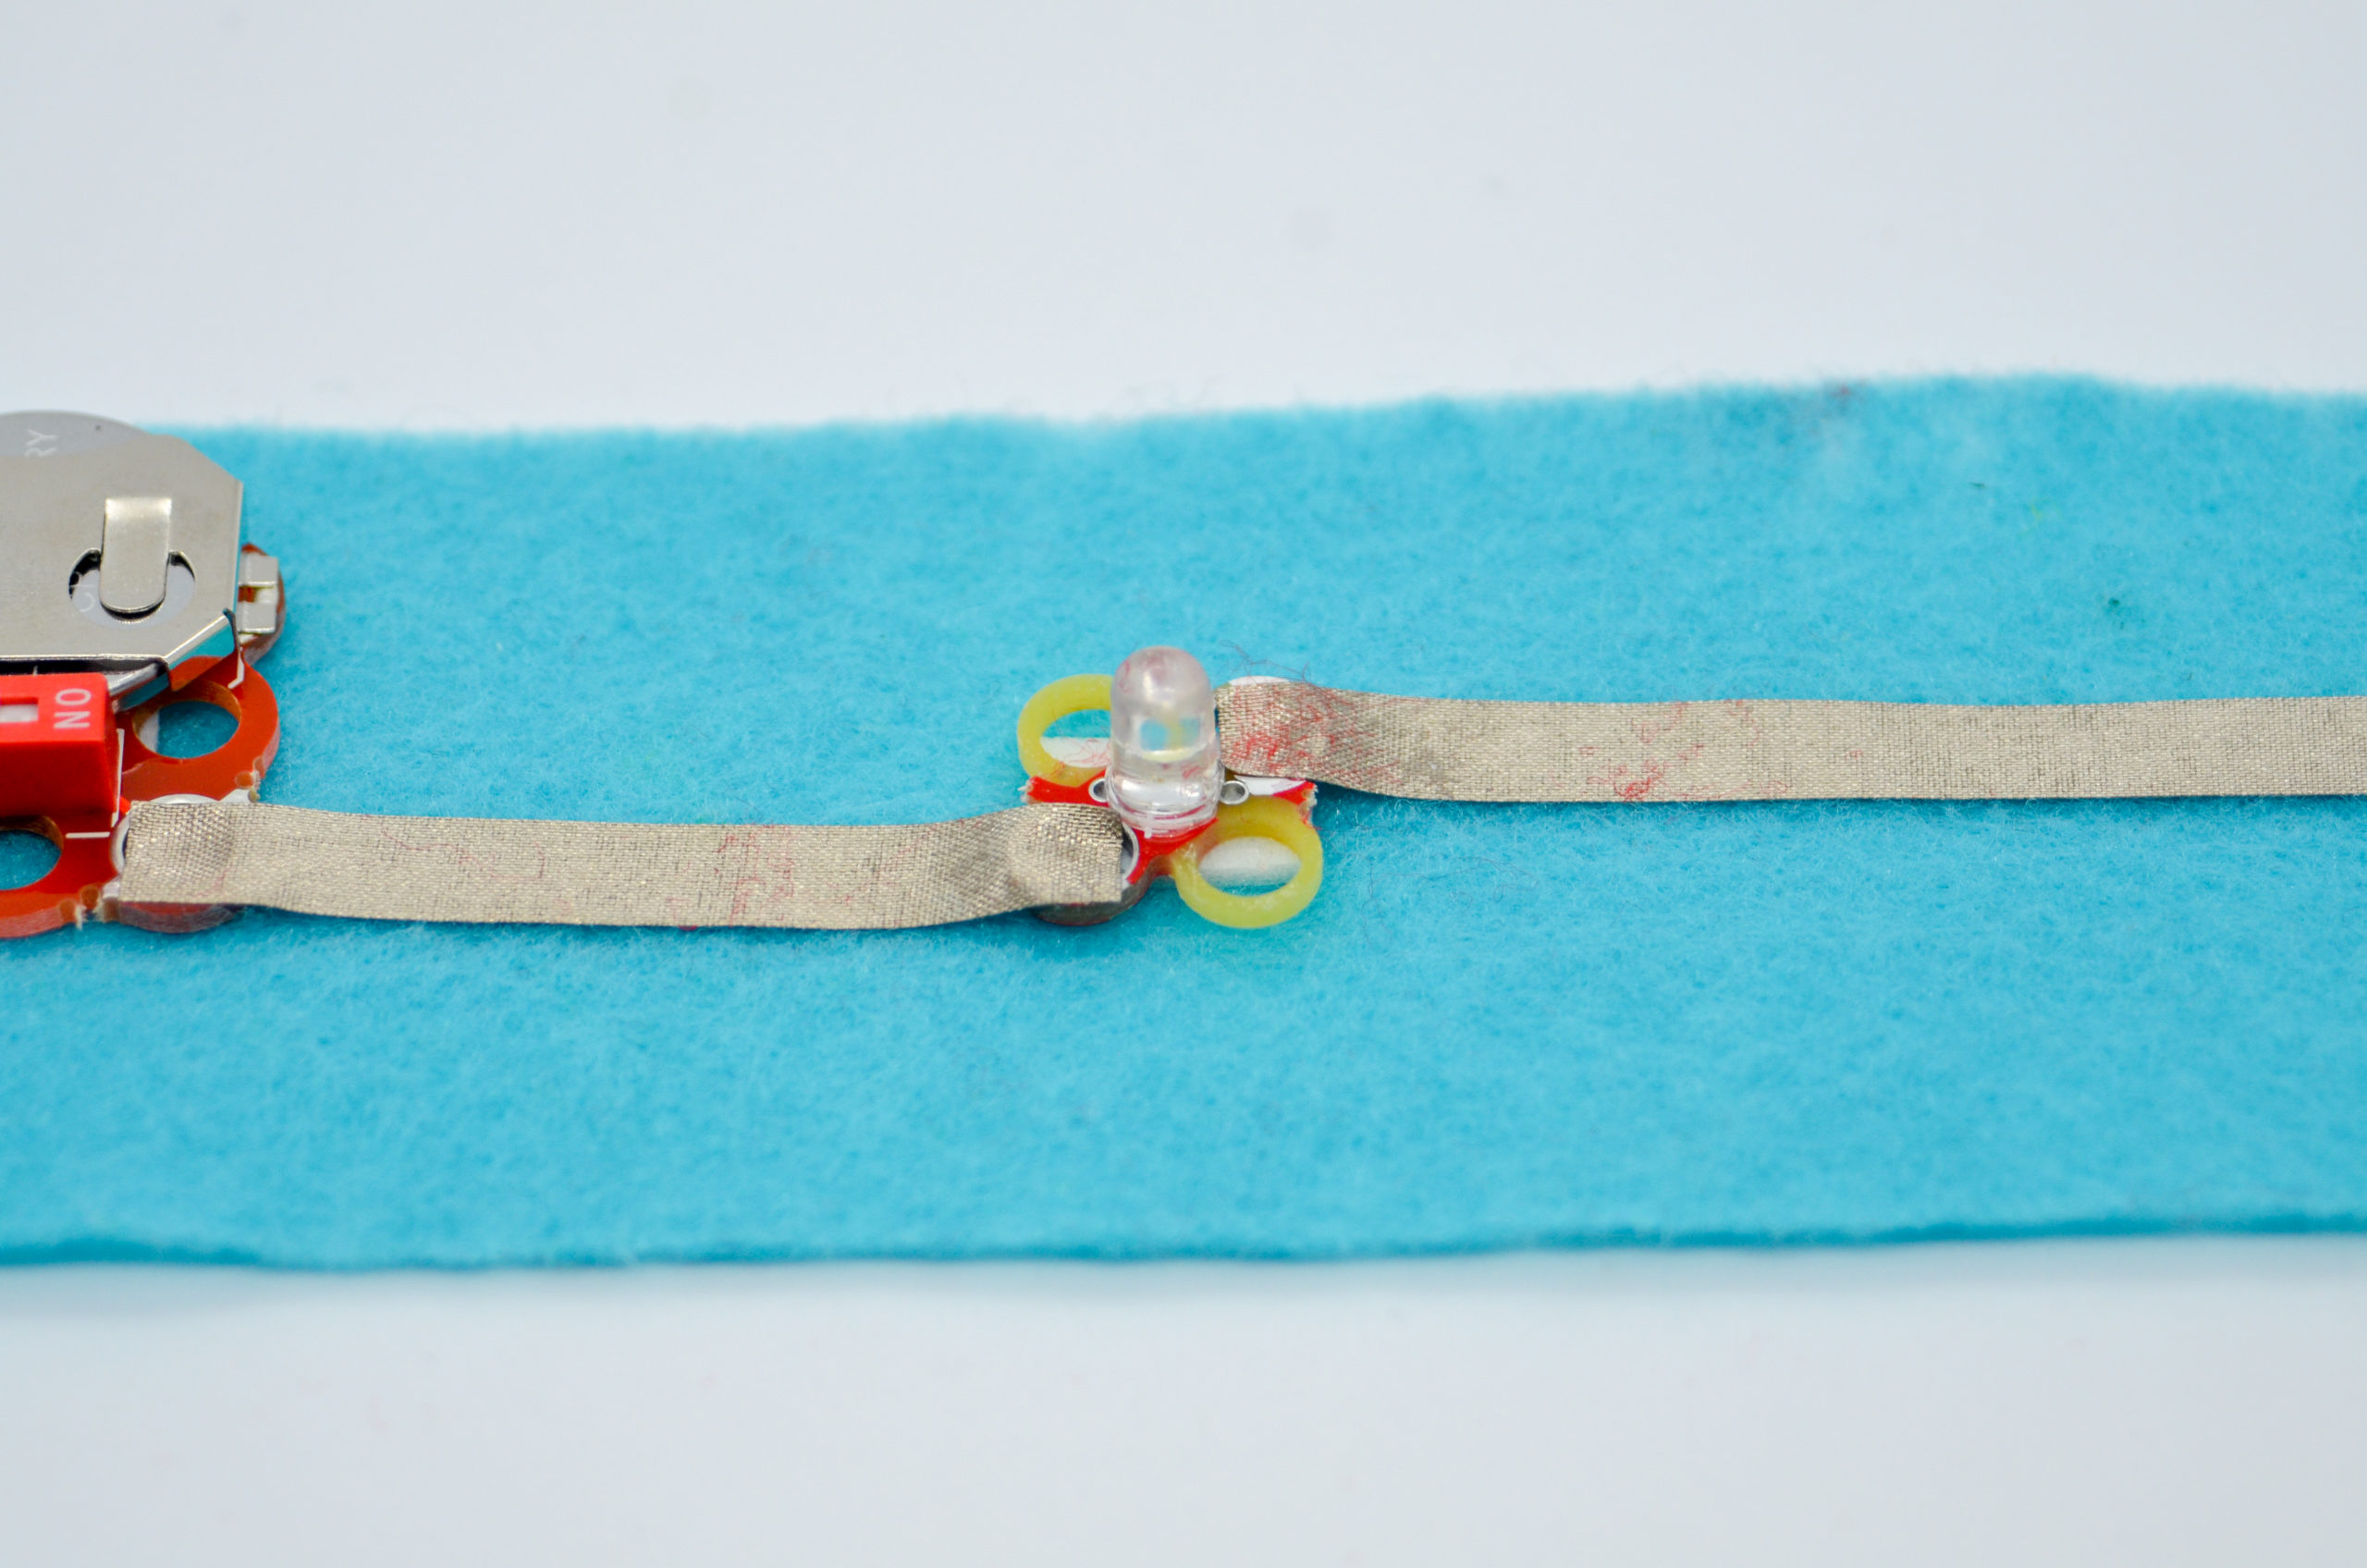
Attach the LED chip in the center. Make sure the white negative side is facing right and the red positive side is facing left.
Complete the Circuit
Step 6
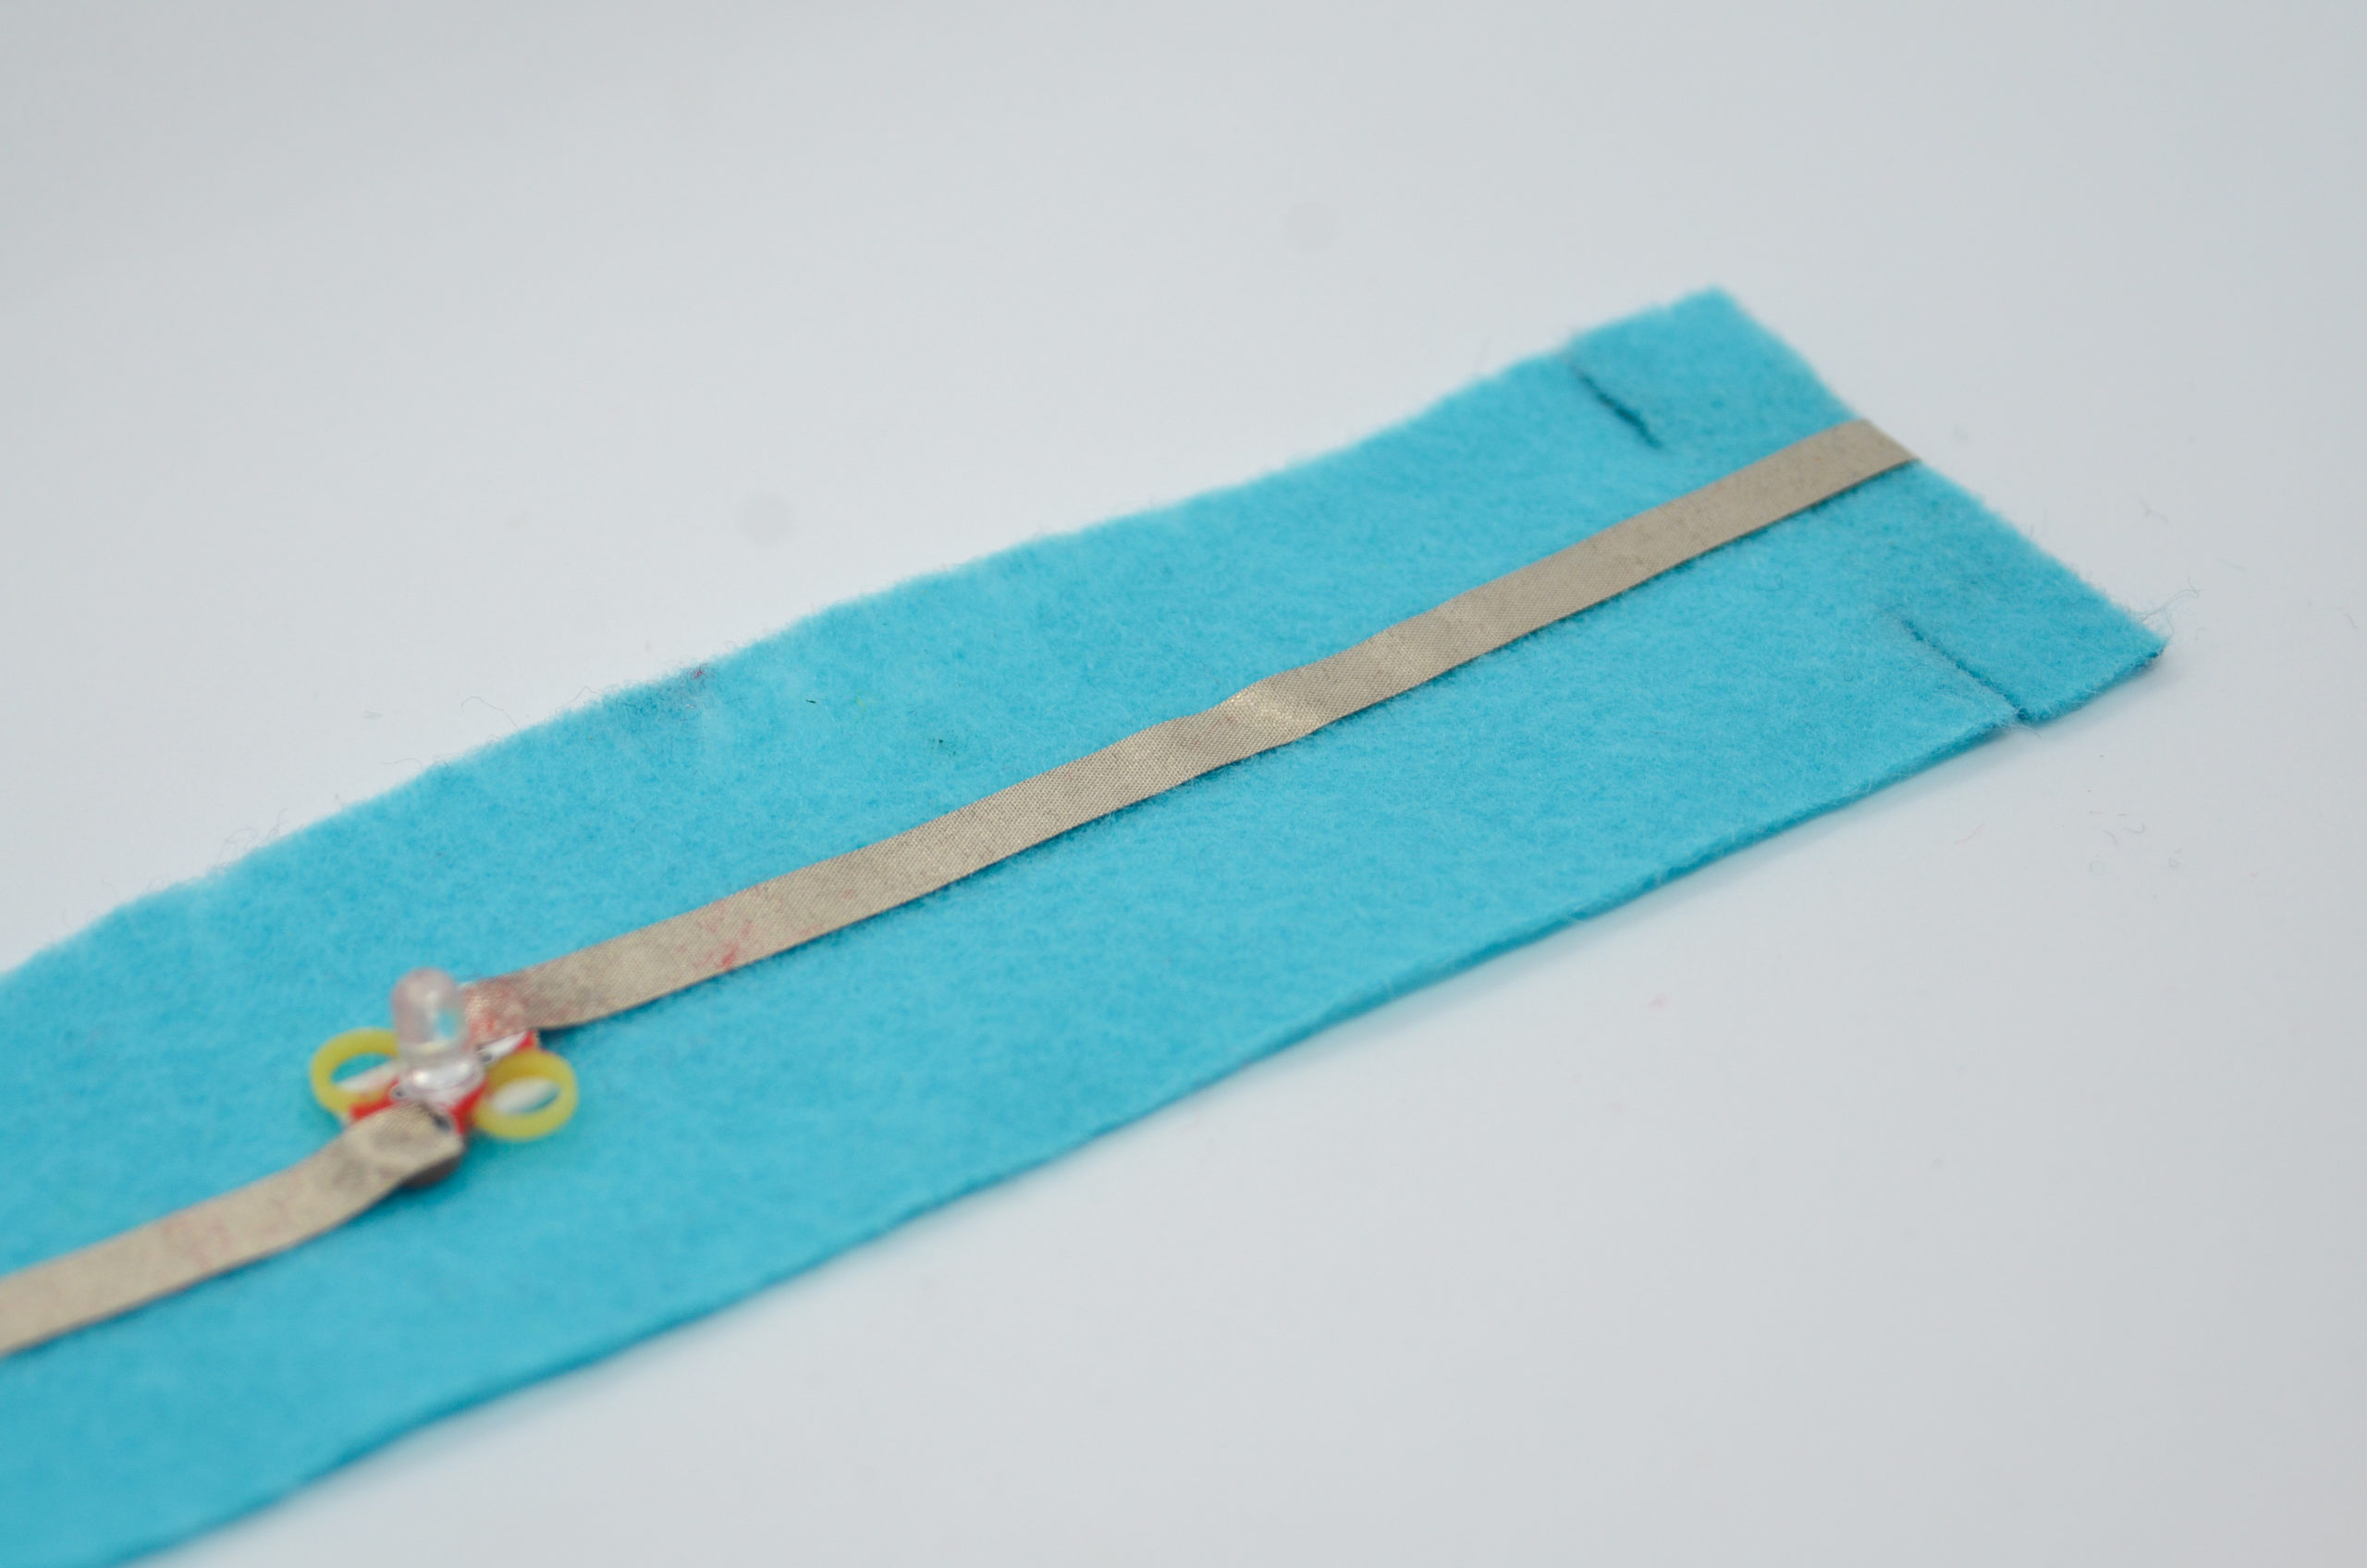
Apply Maker Tape as shown, wrapping the negative side over and around the felt on the right side.
Step 7
Add extra tape on the left side between the horizontal slits and on the right side on the back of the tabs to ensure a good connection.
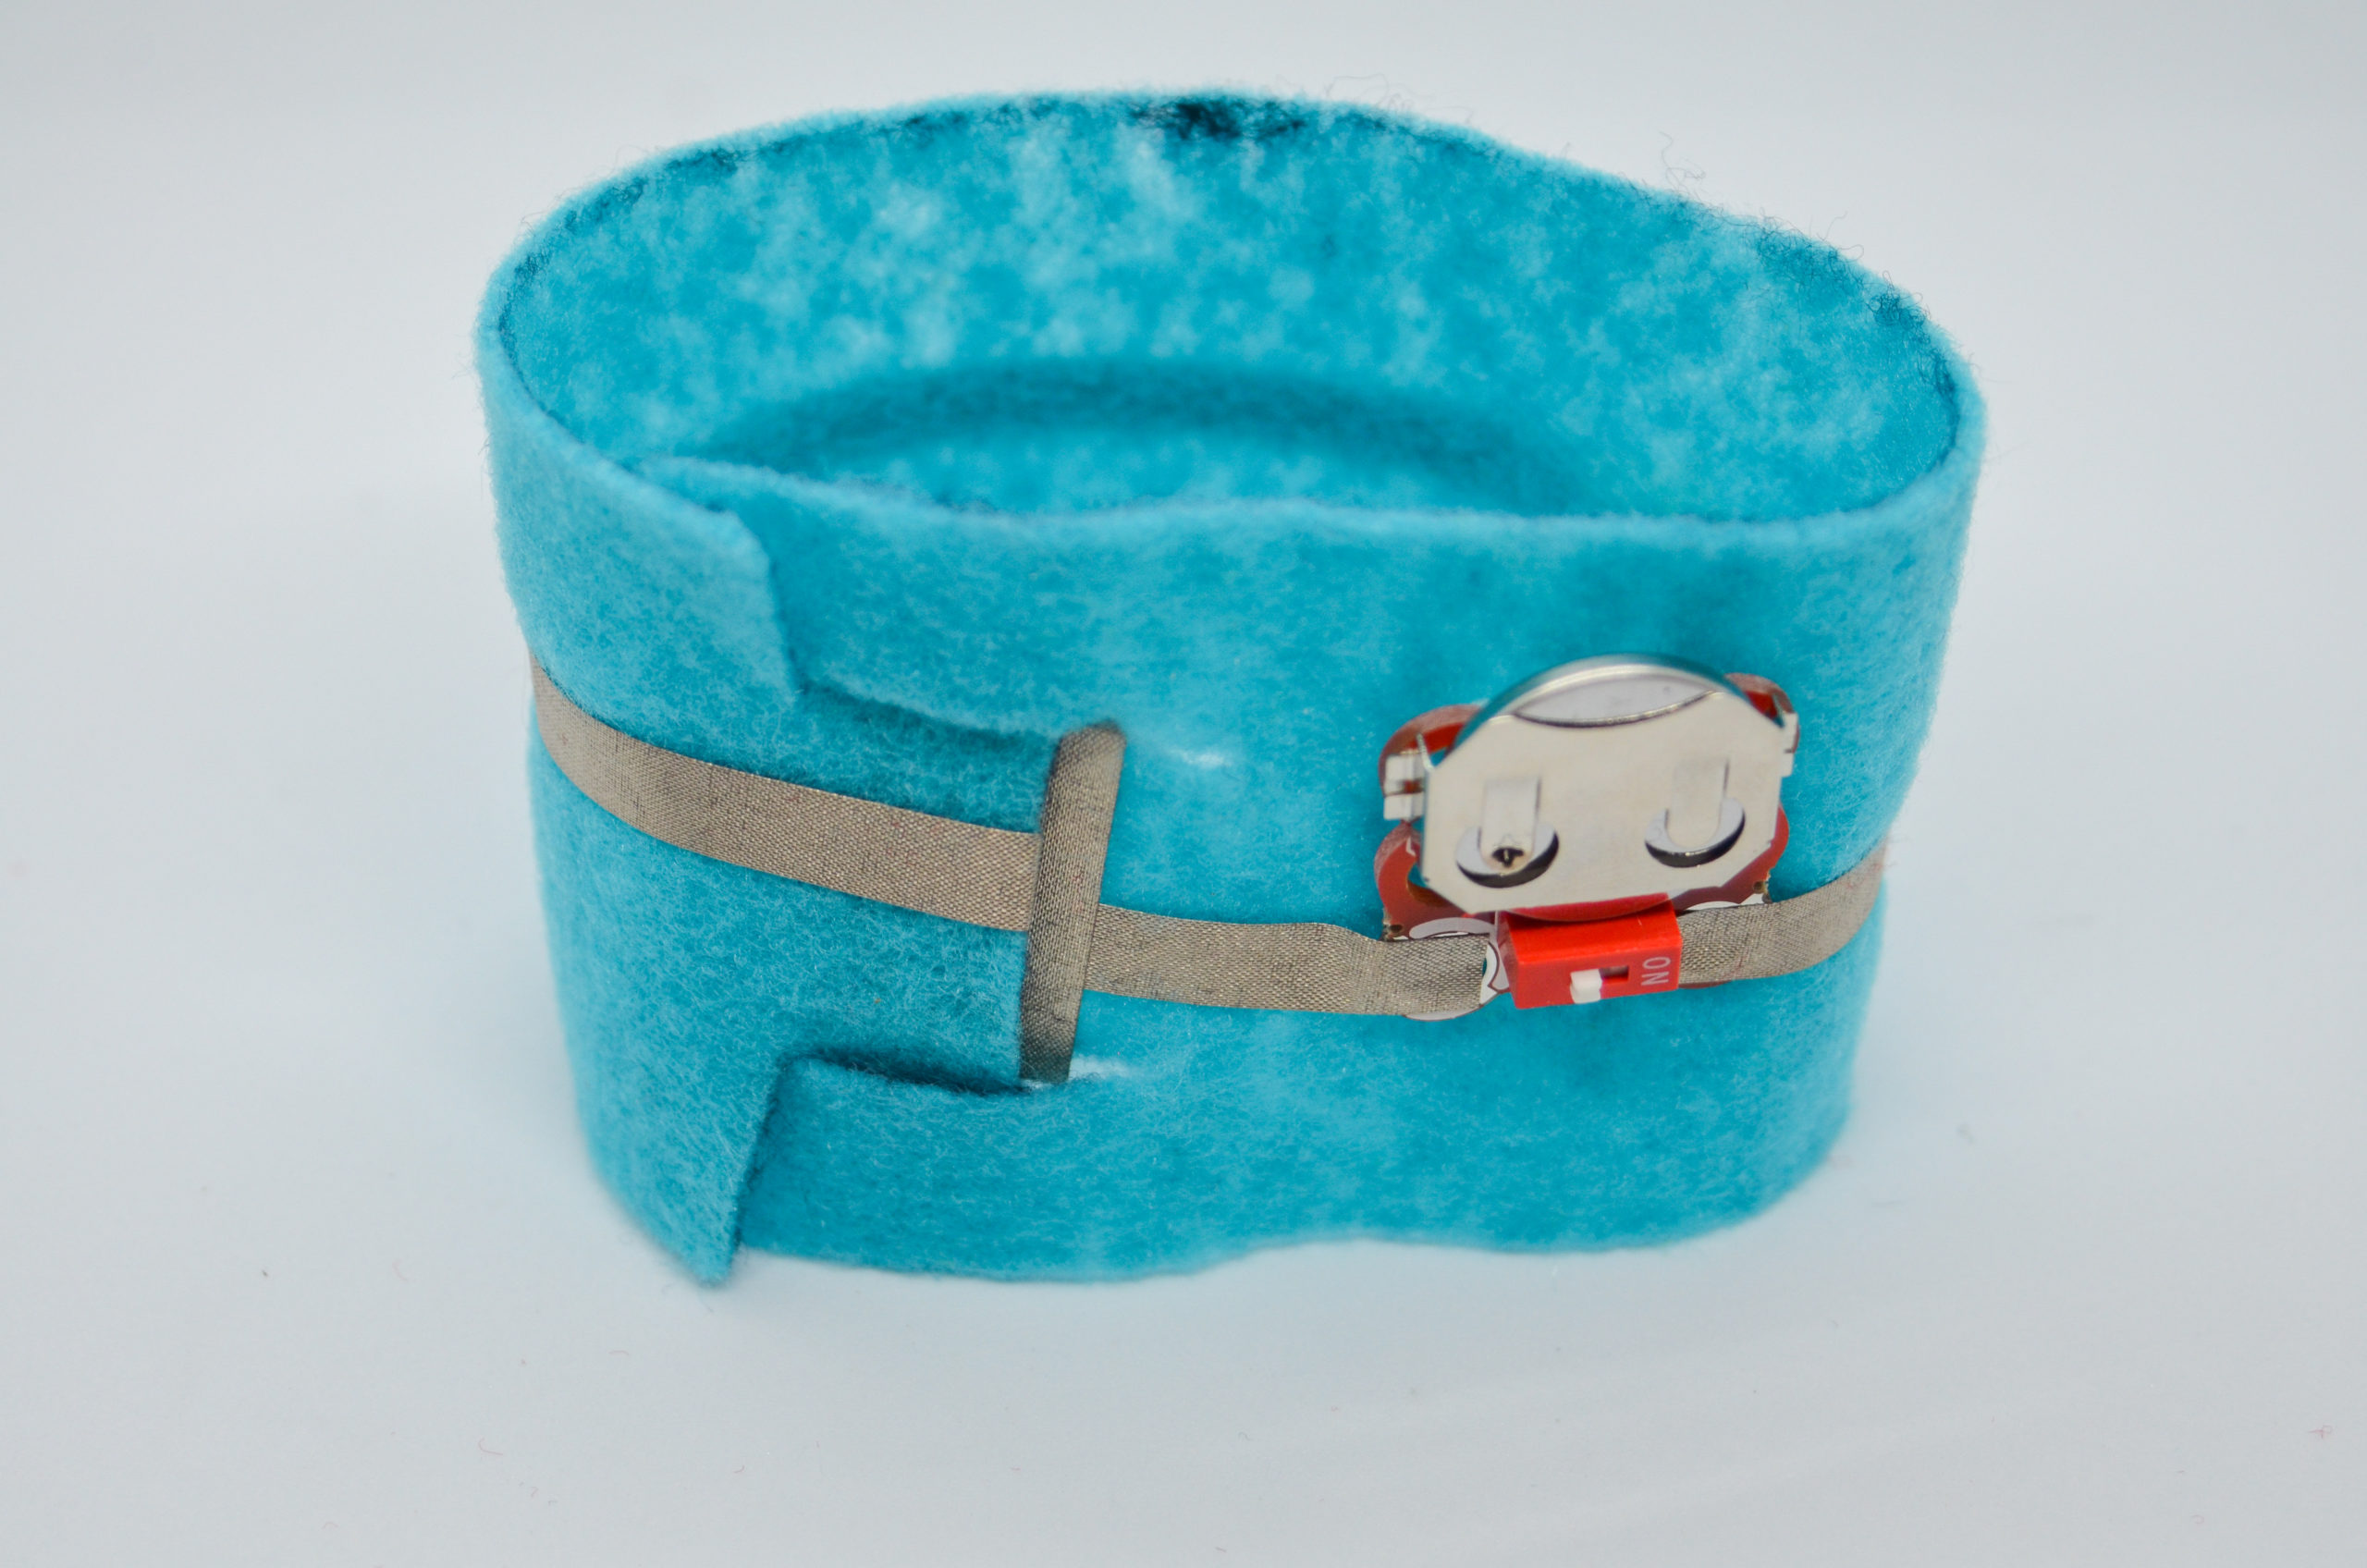
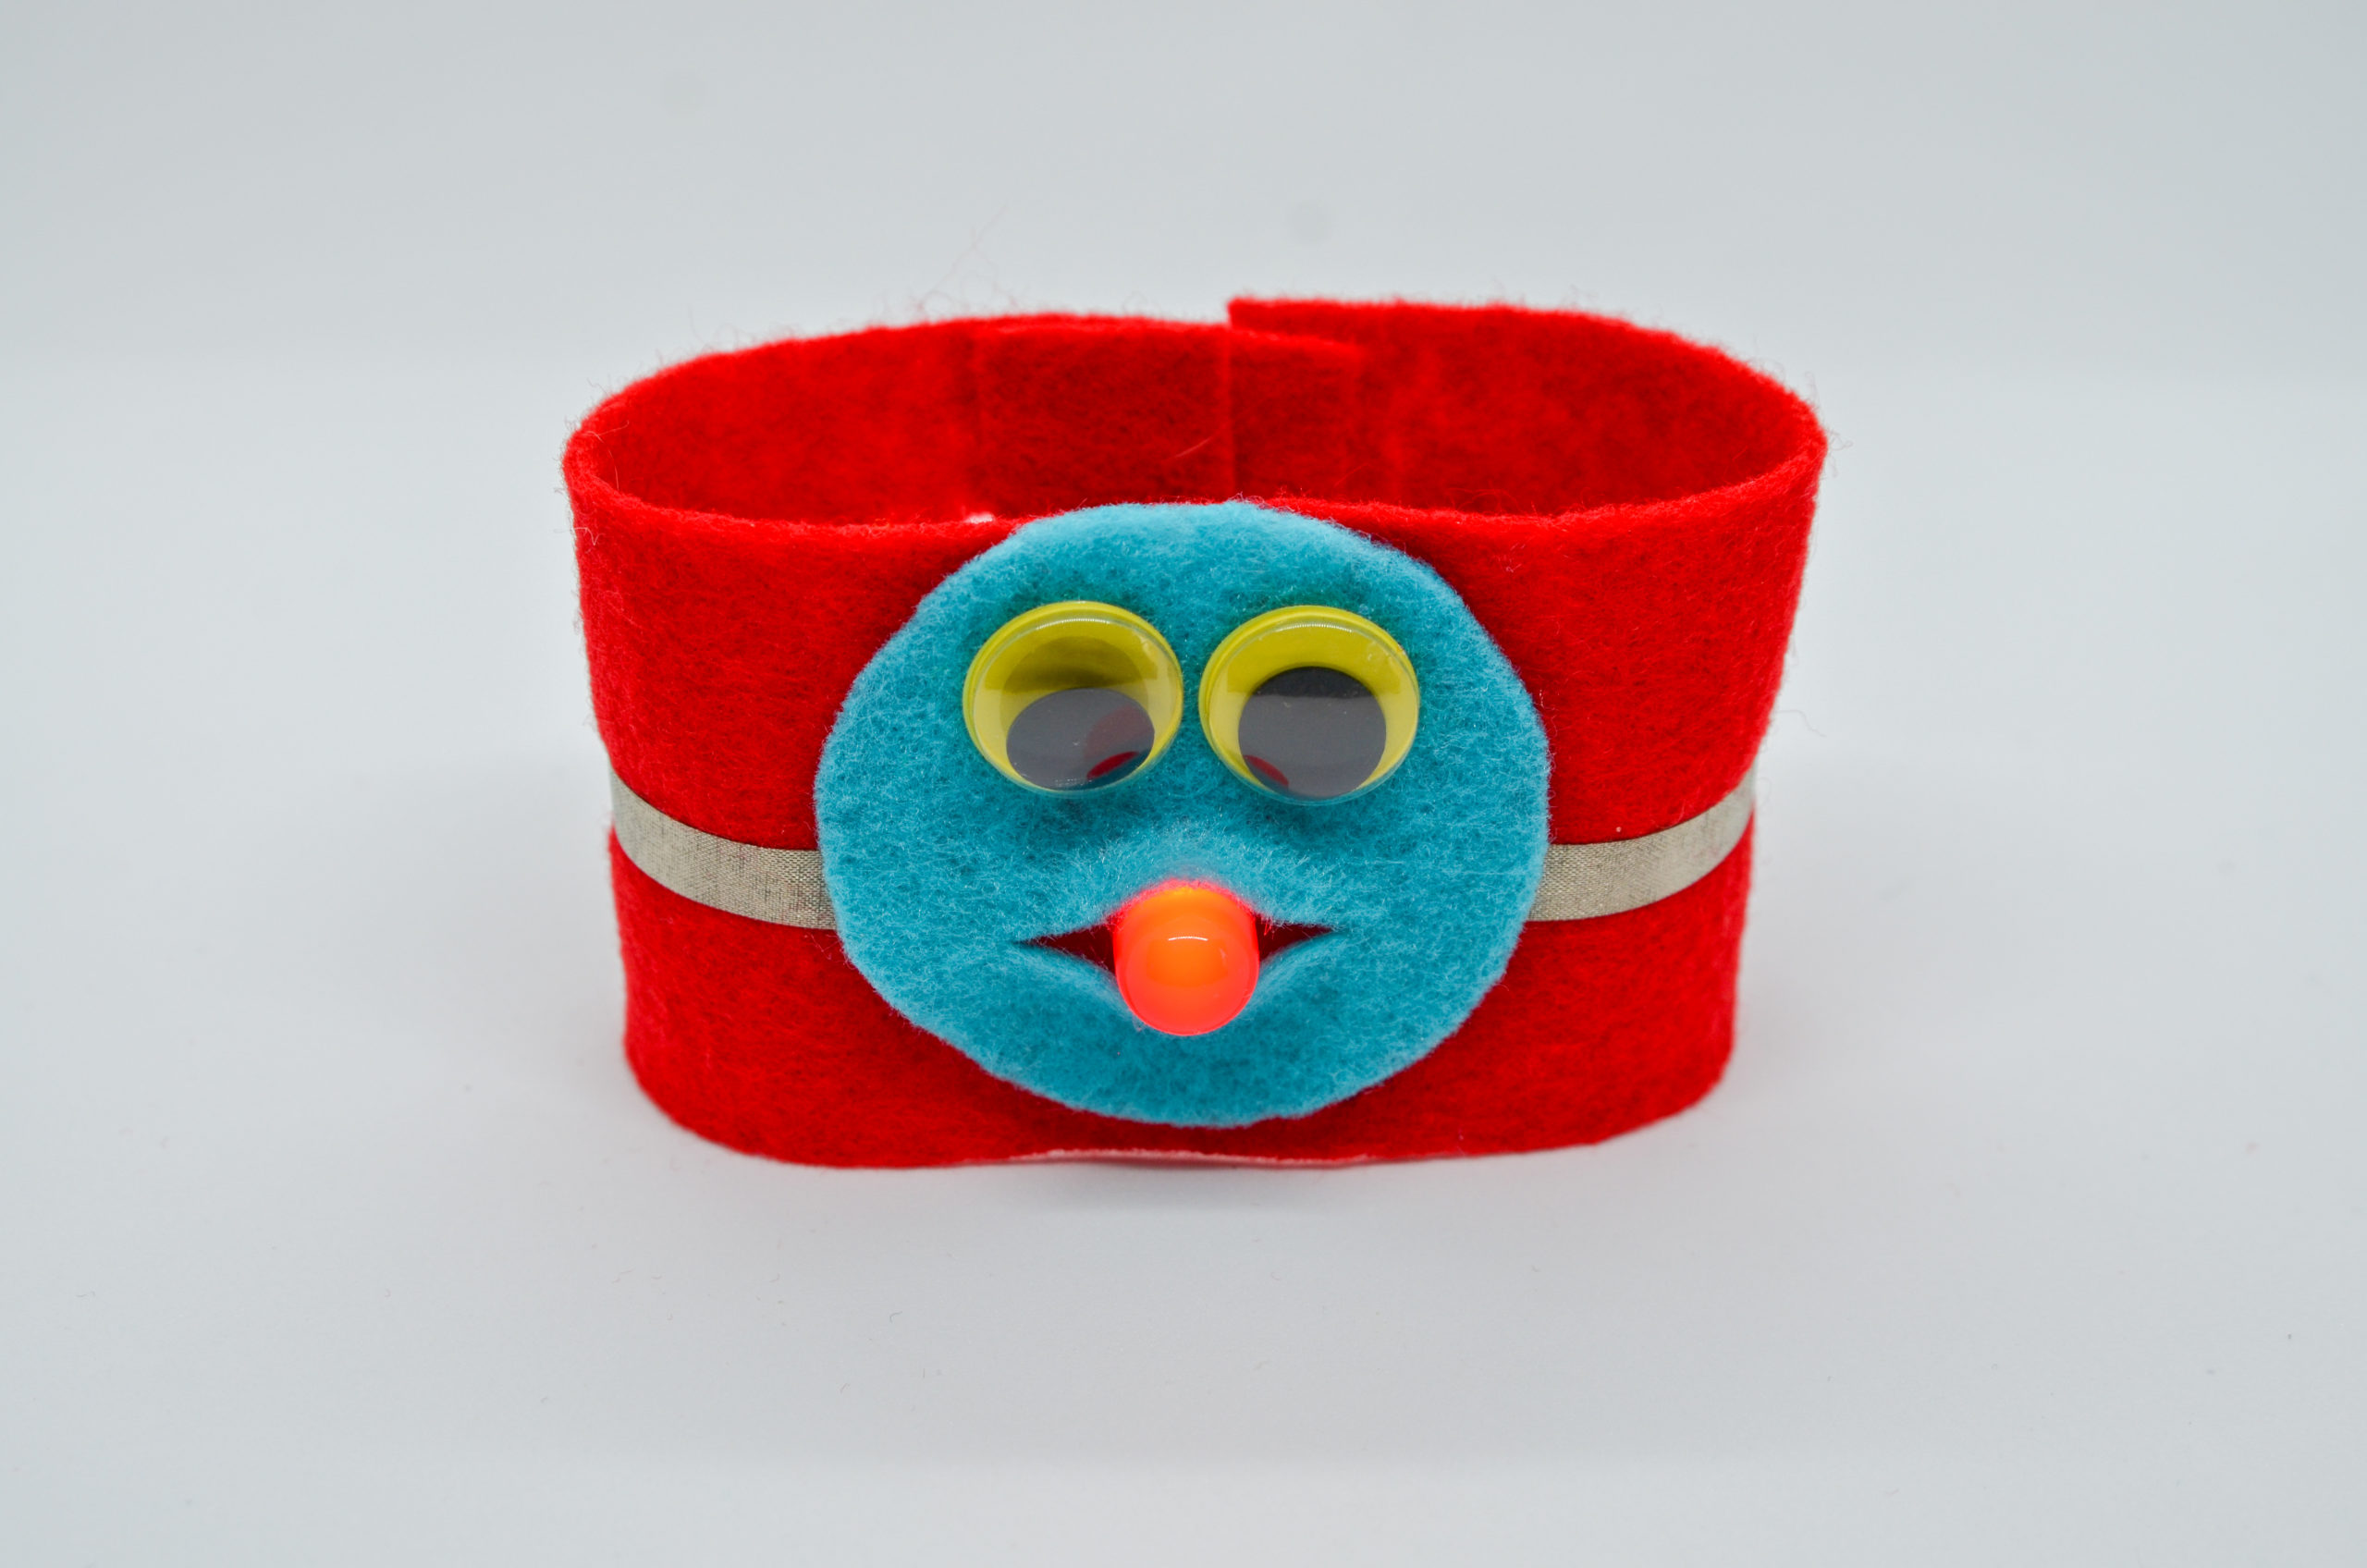
Complete the Cuff
Step 8
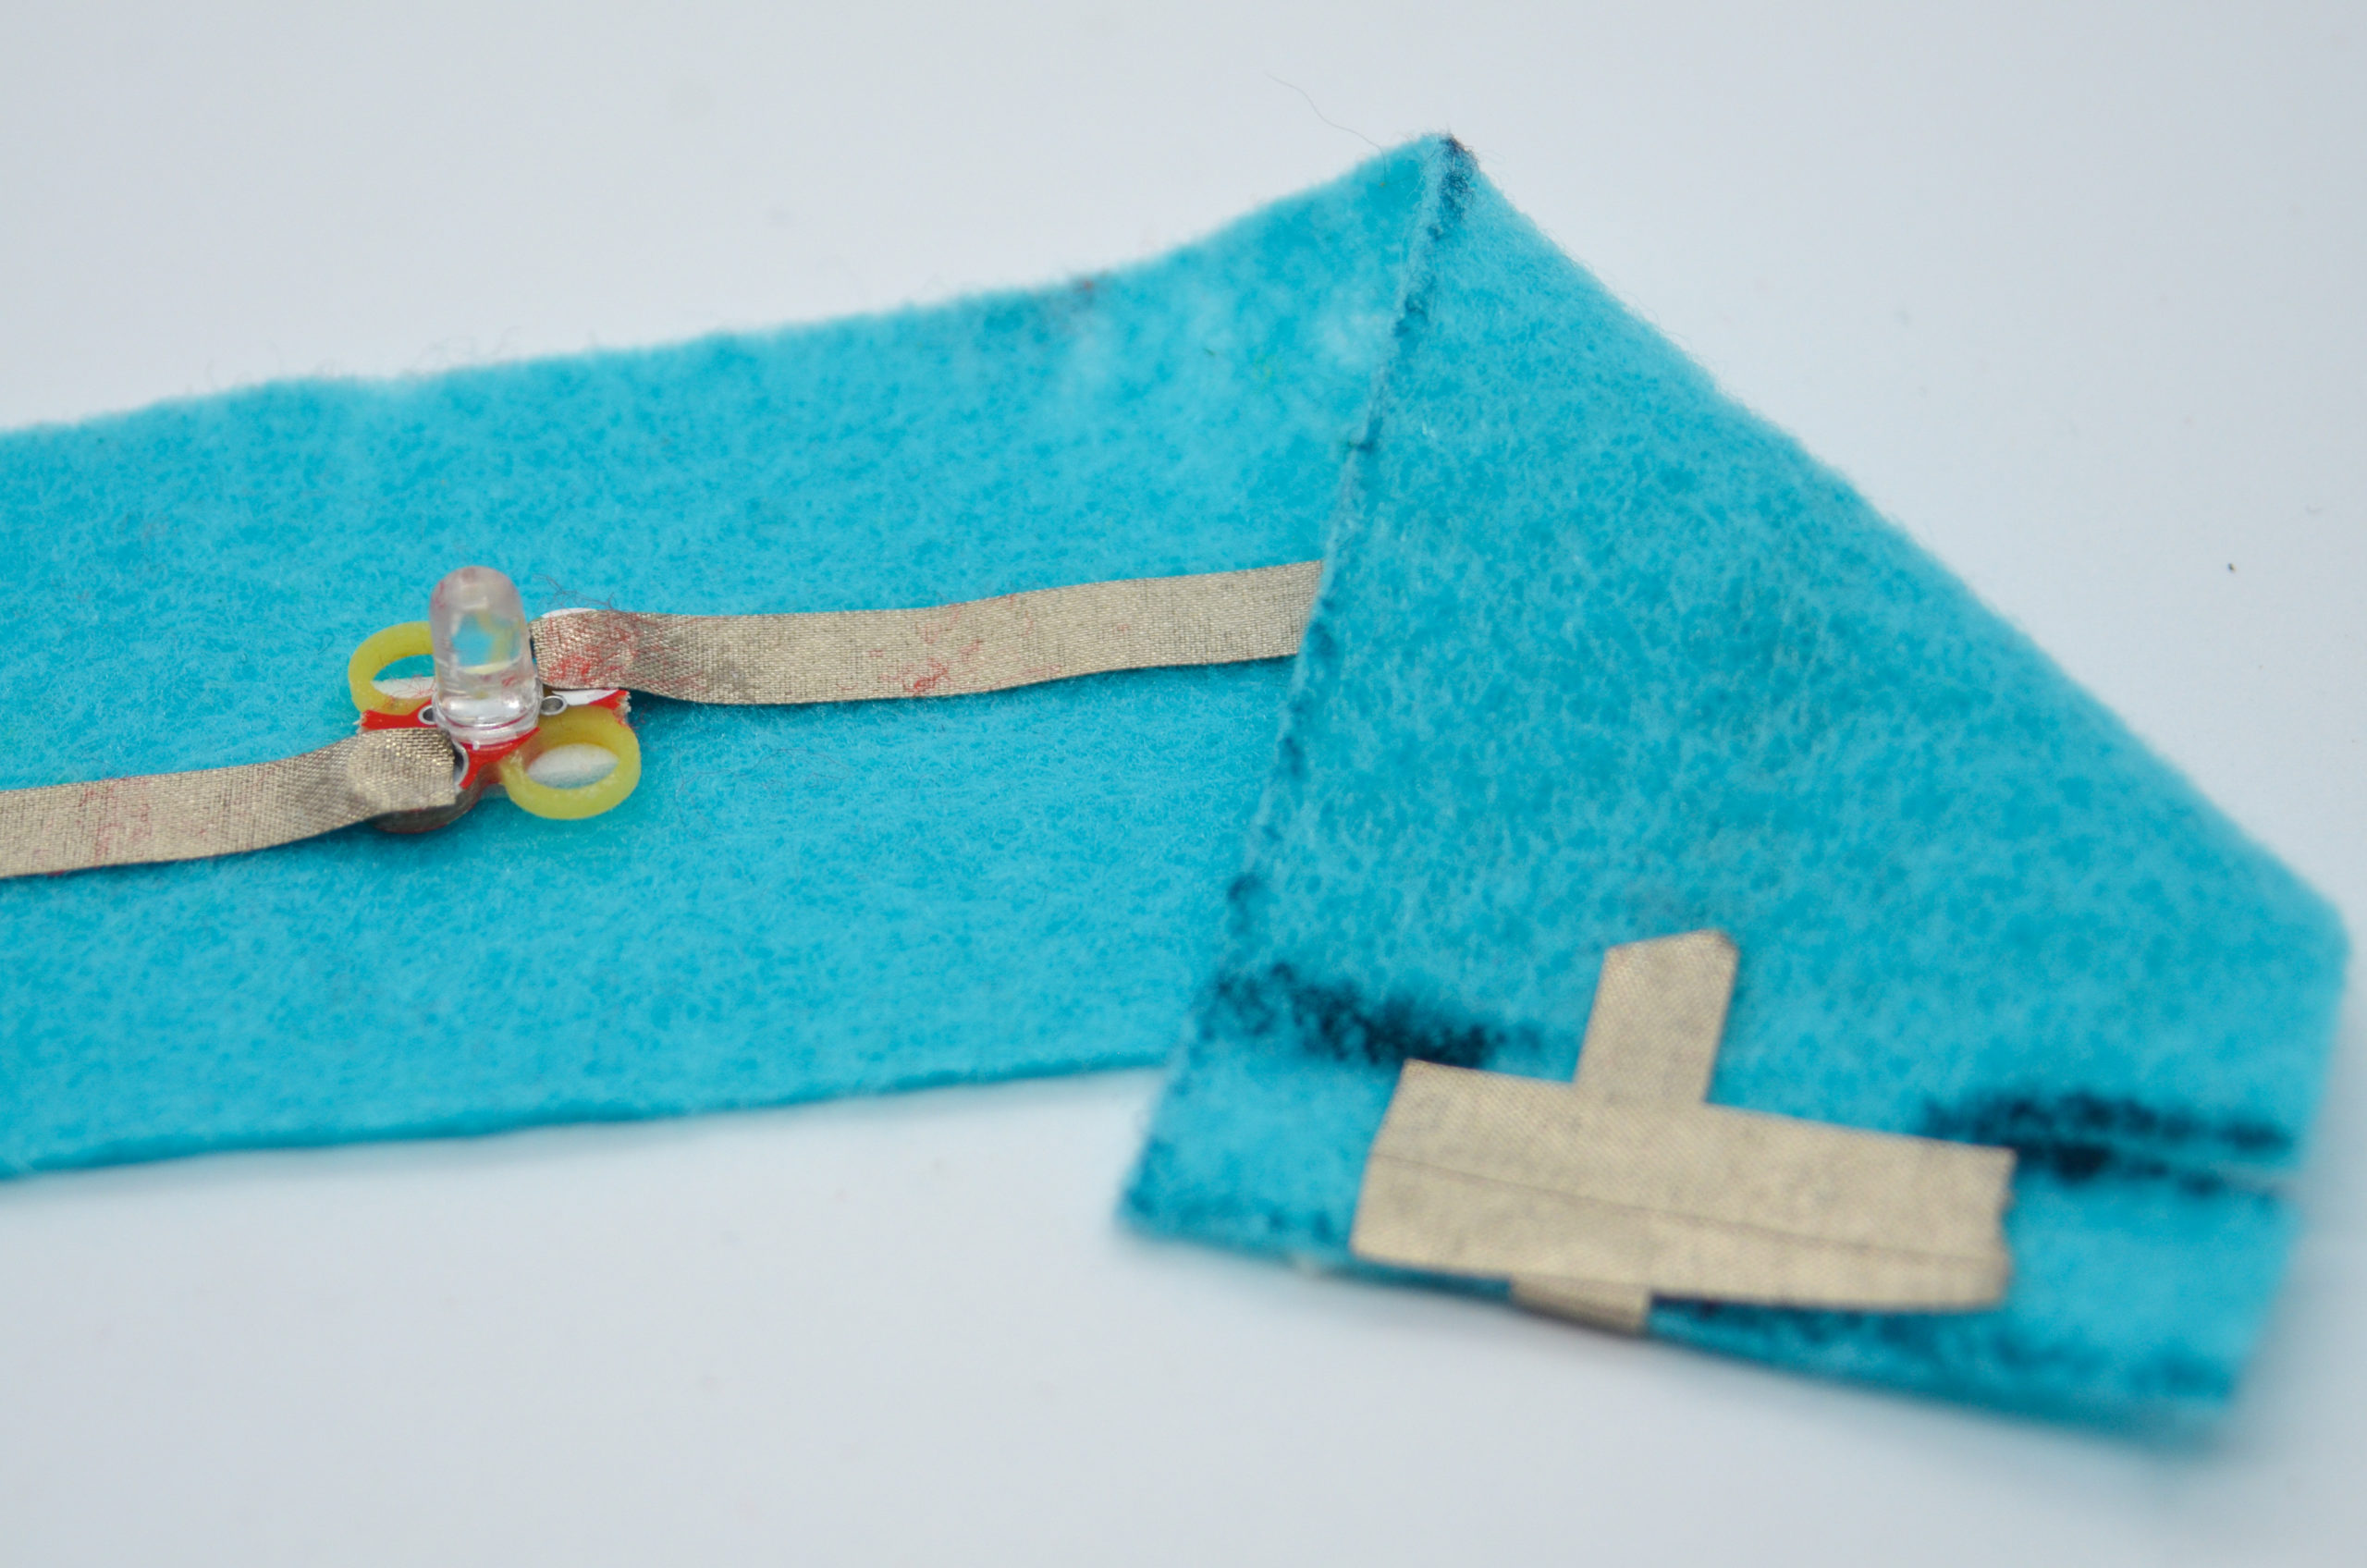
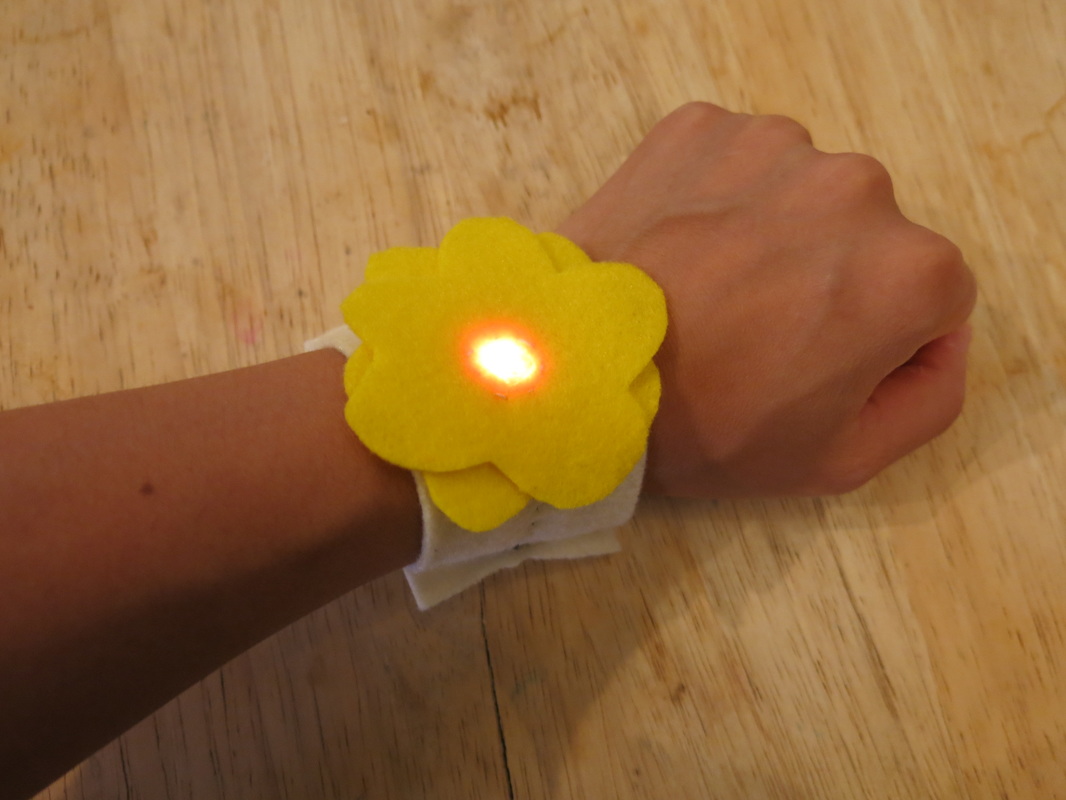
Turn the switch to “On.” Wrap the cuff around your wrist. Place the right side over the left and slide the tabs into the slits to complete the circuit. (Figure 4e, 4f)
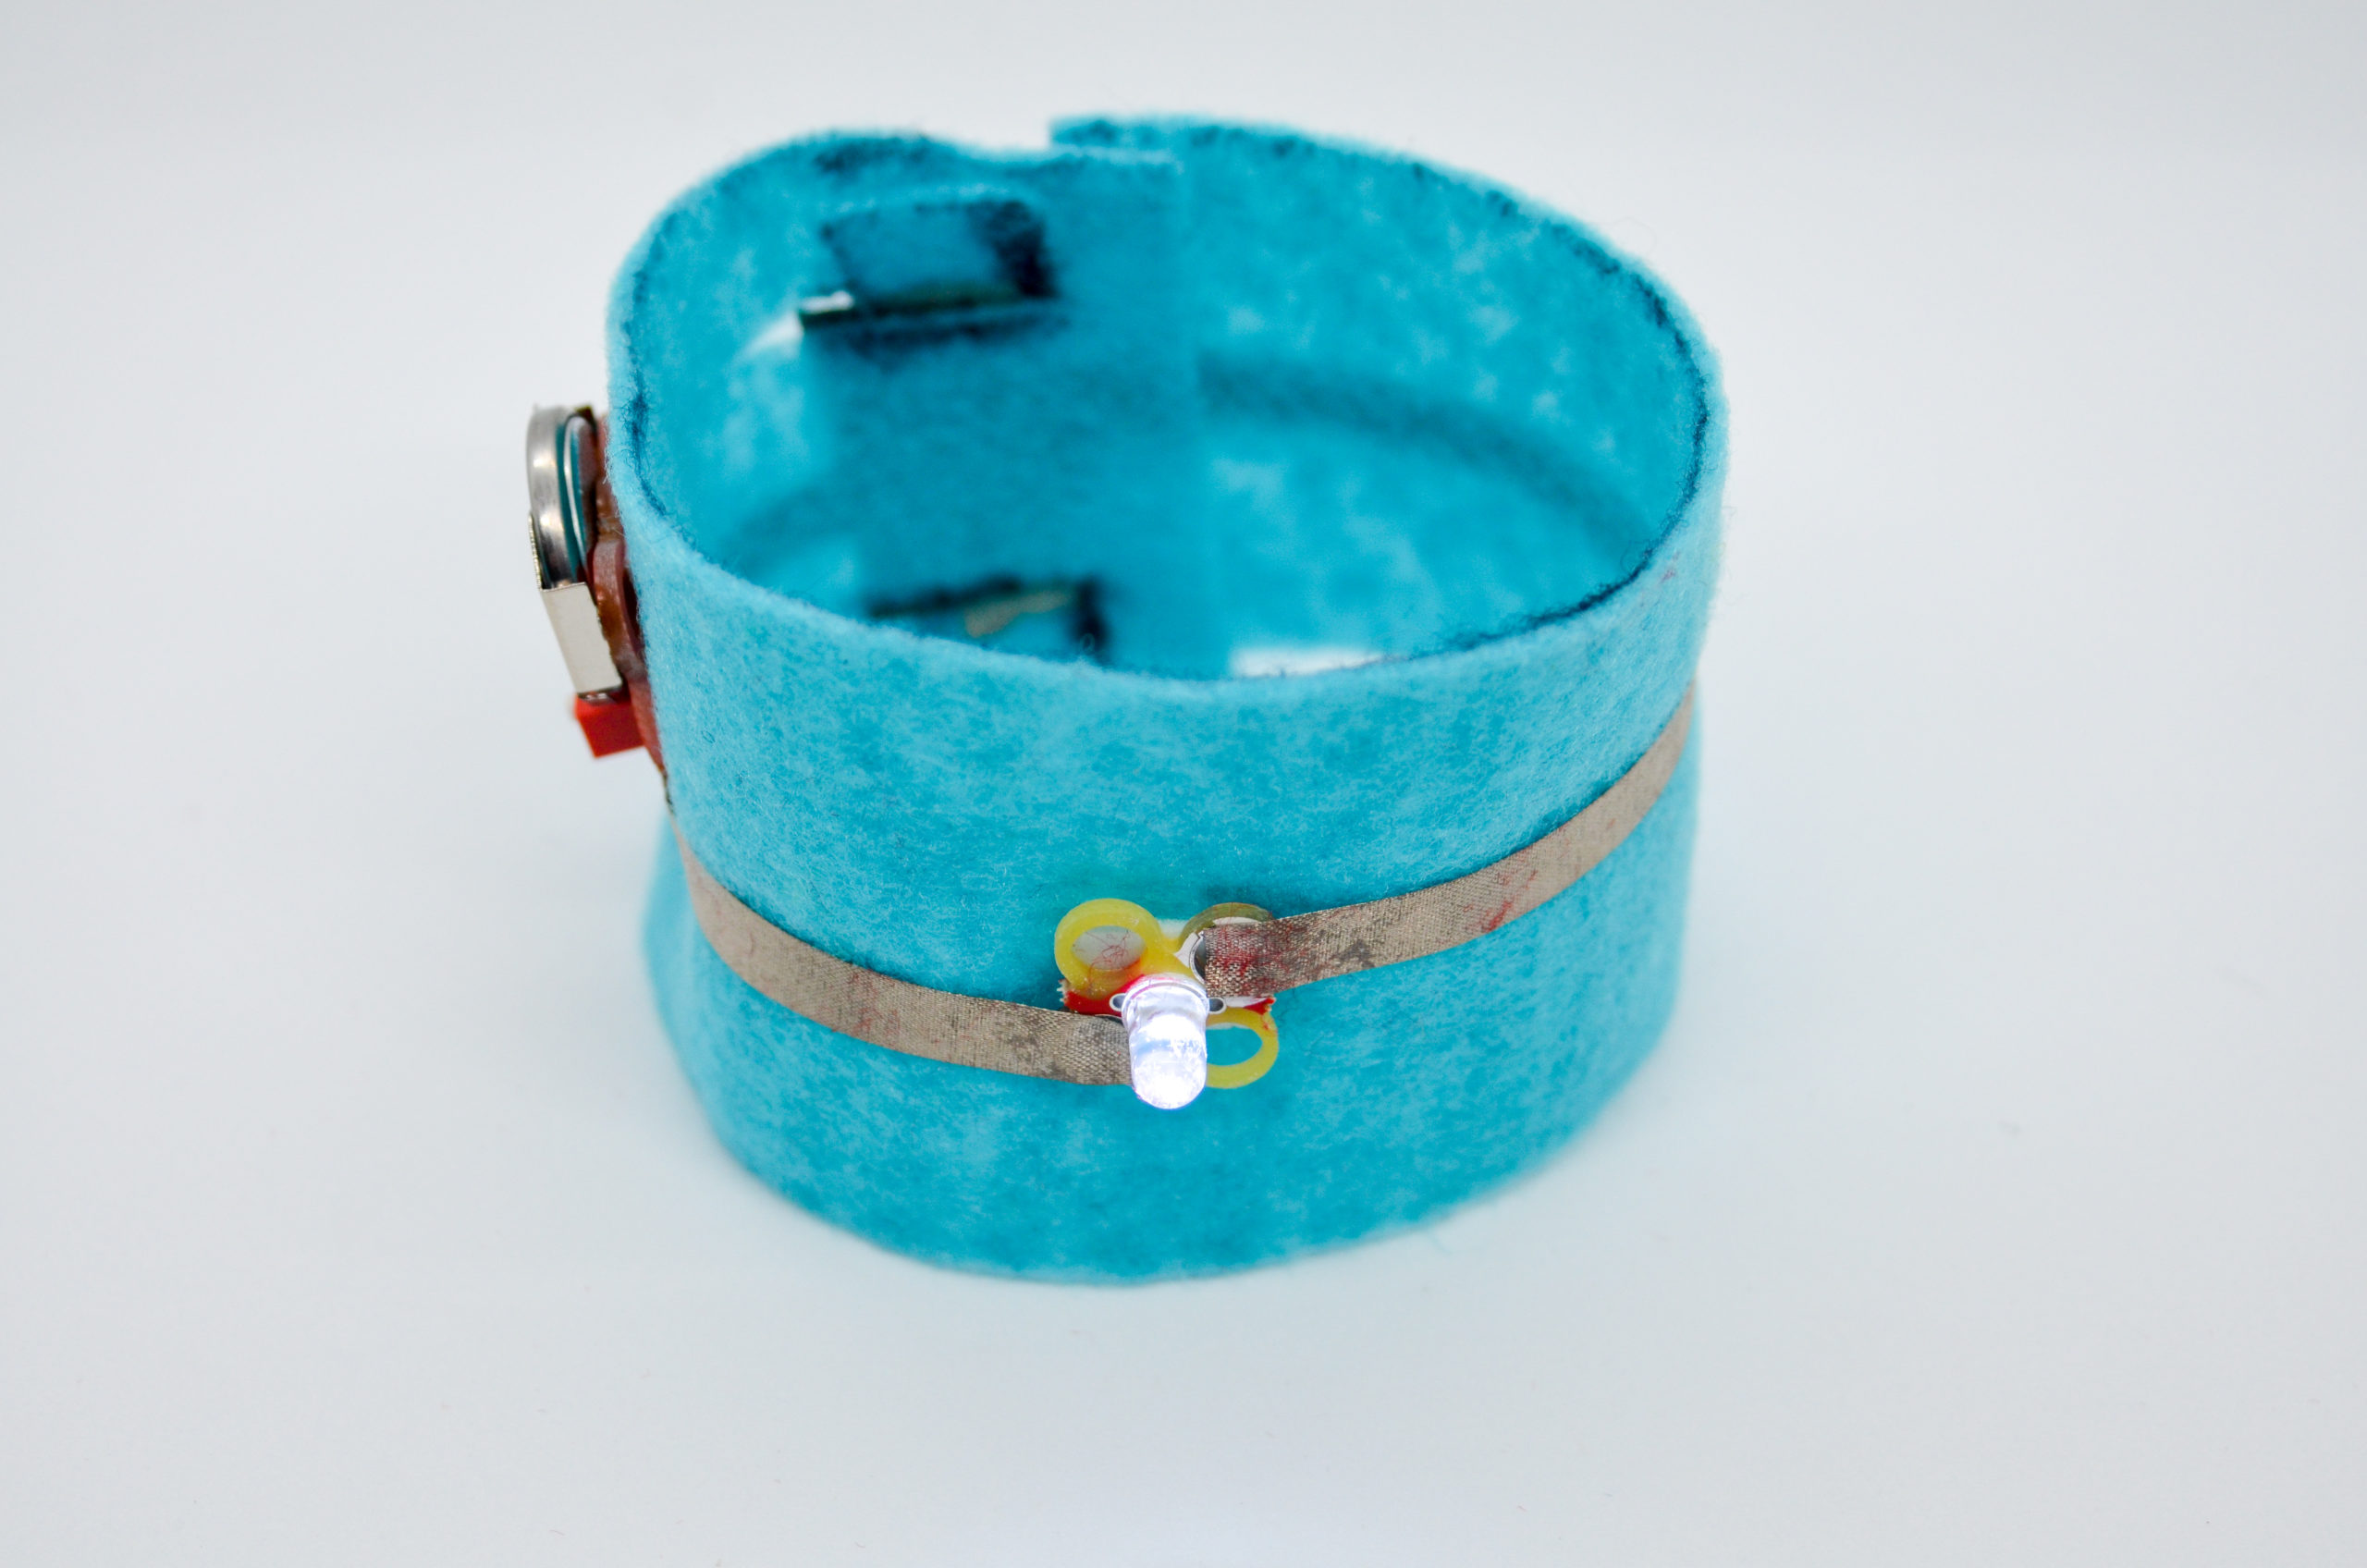
Step 9
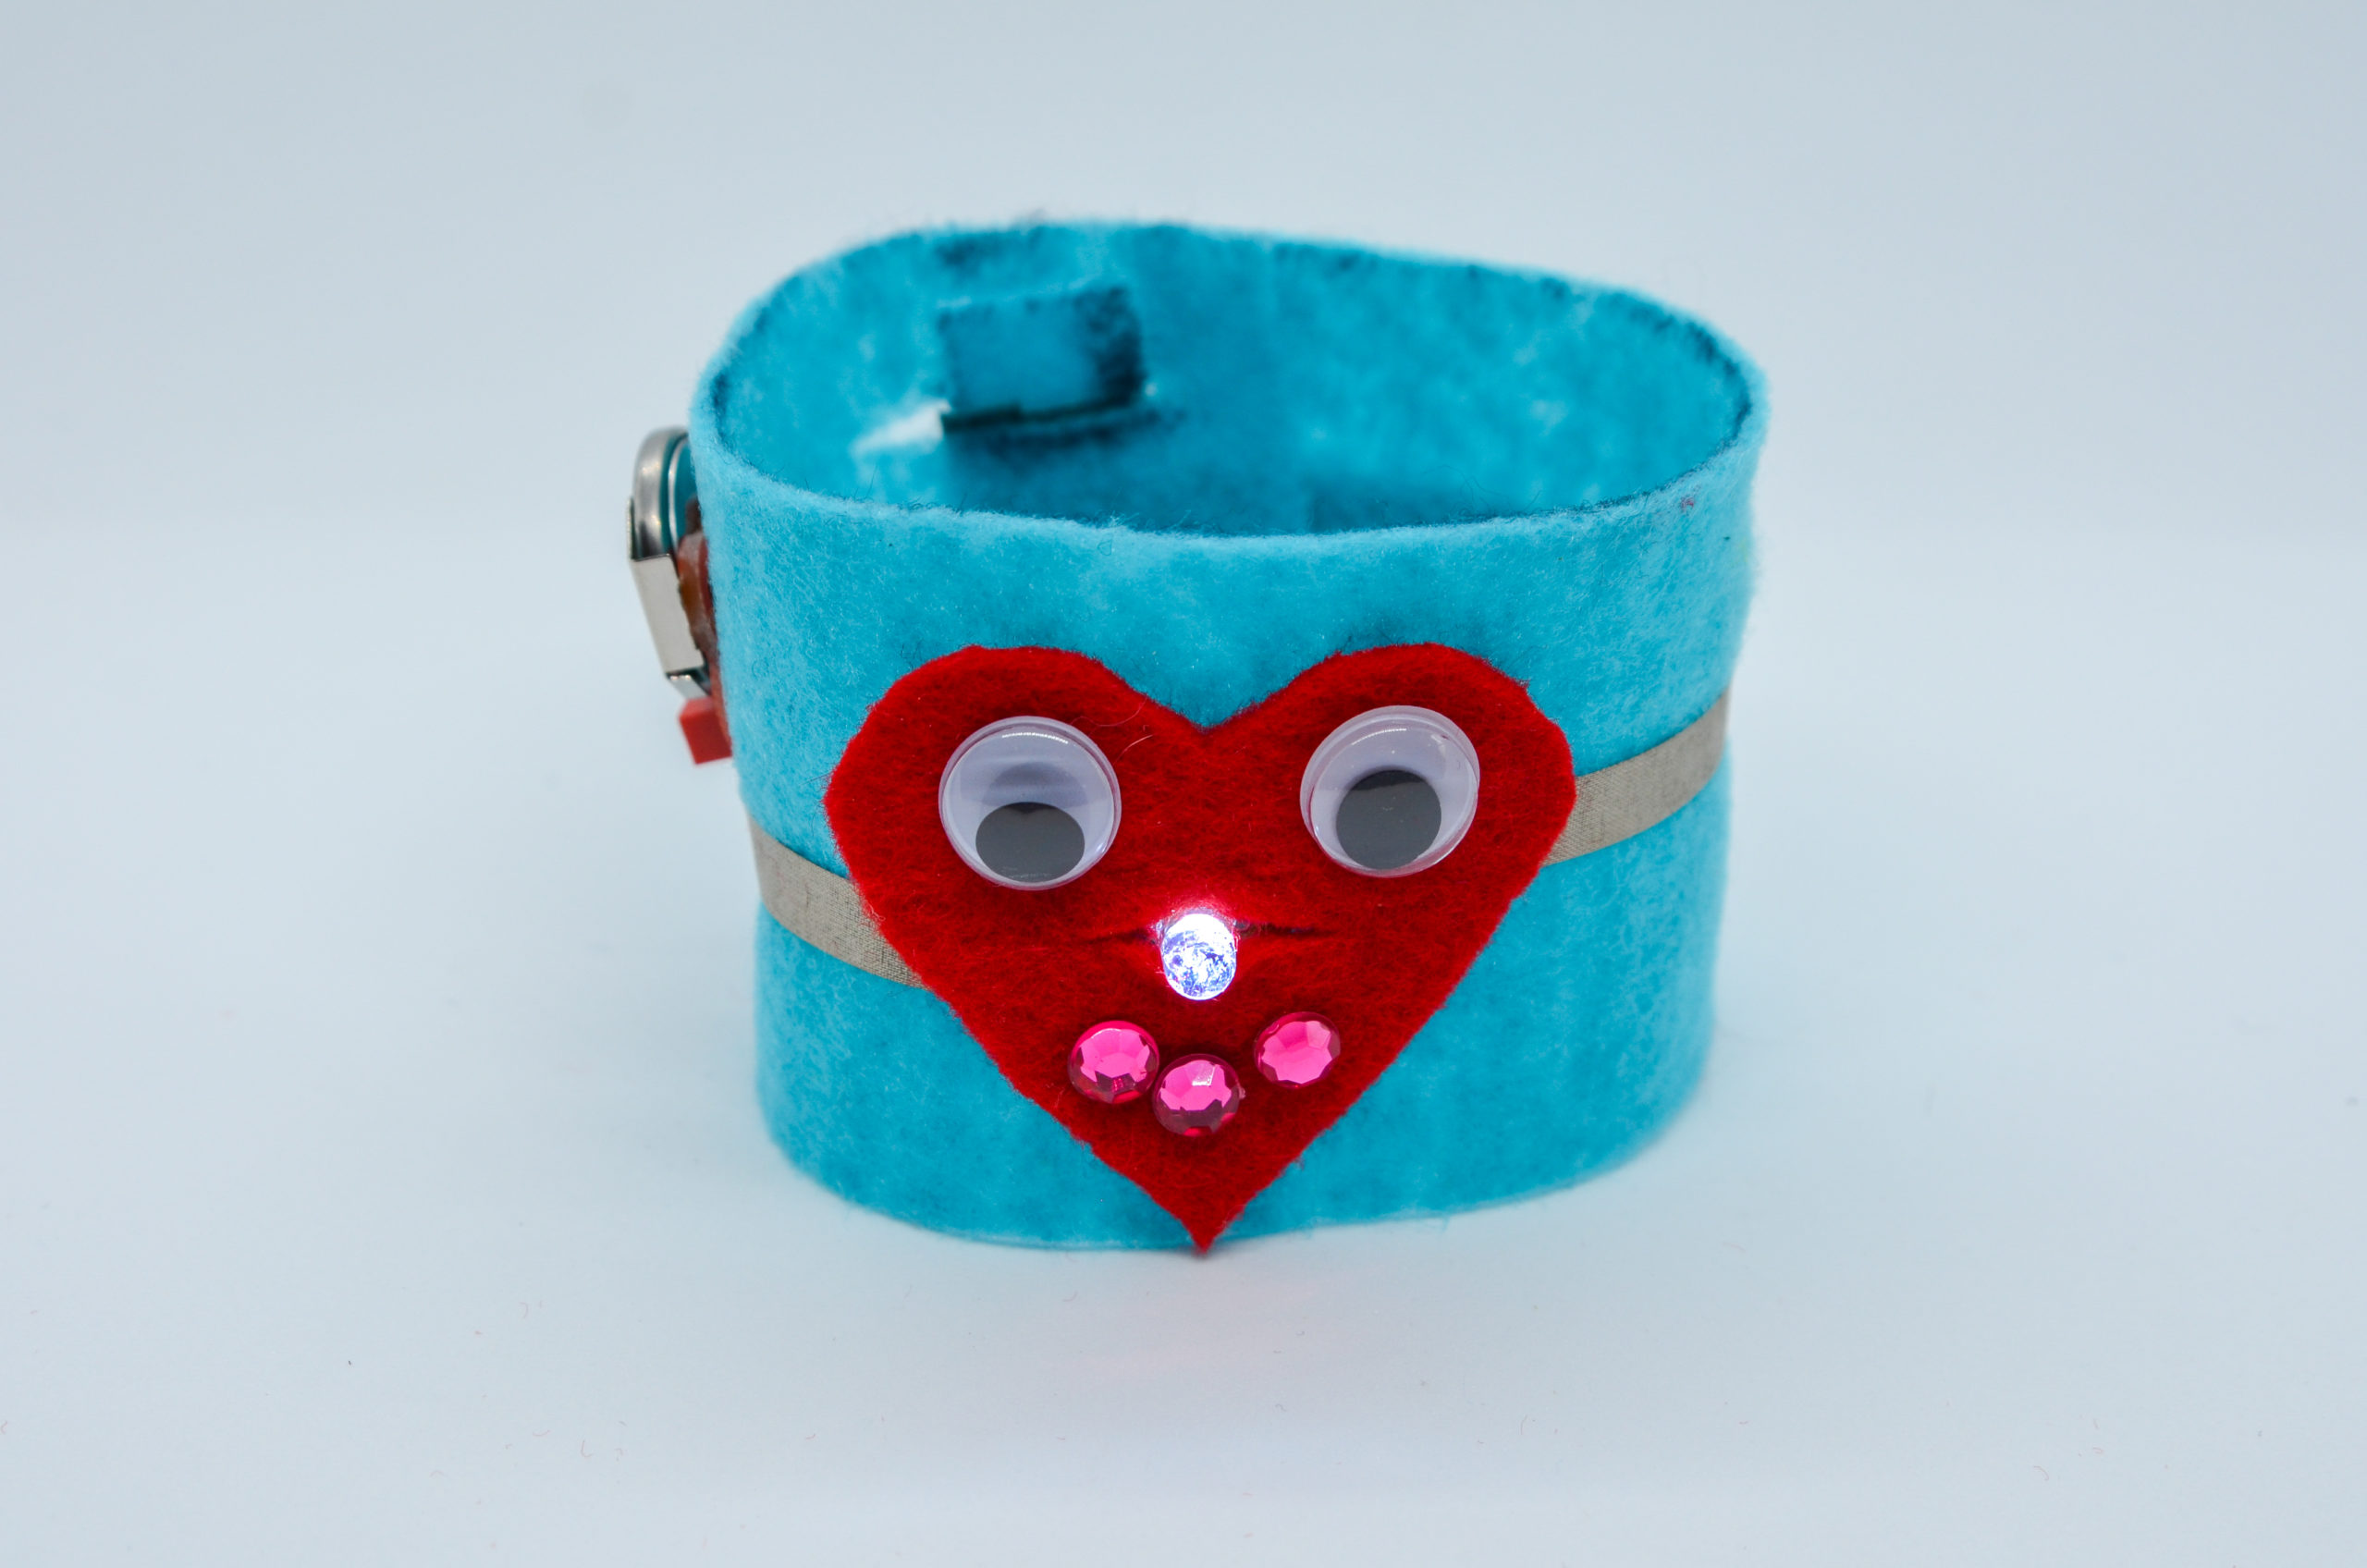
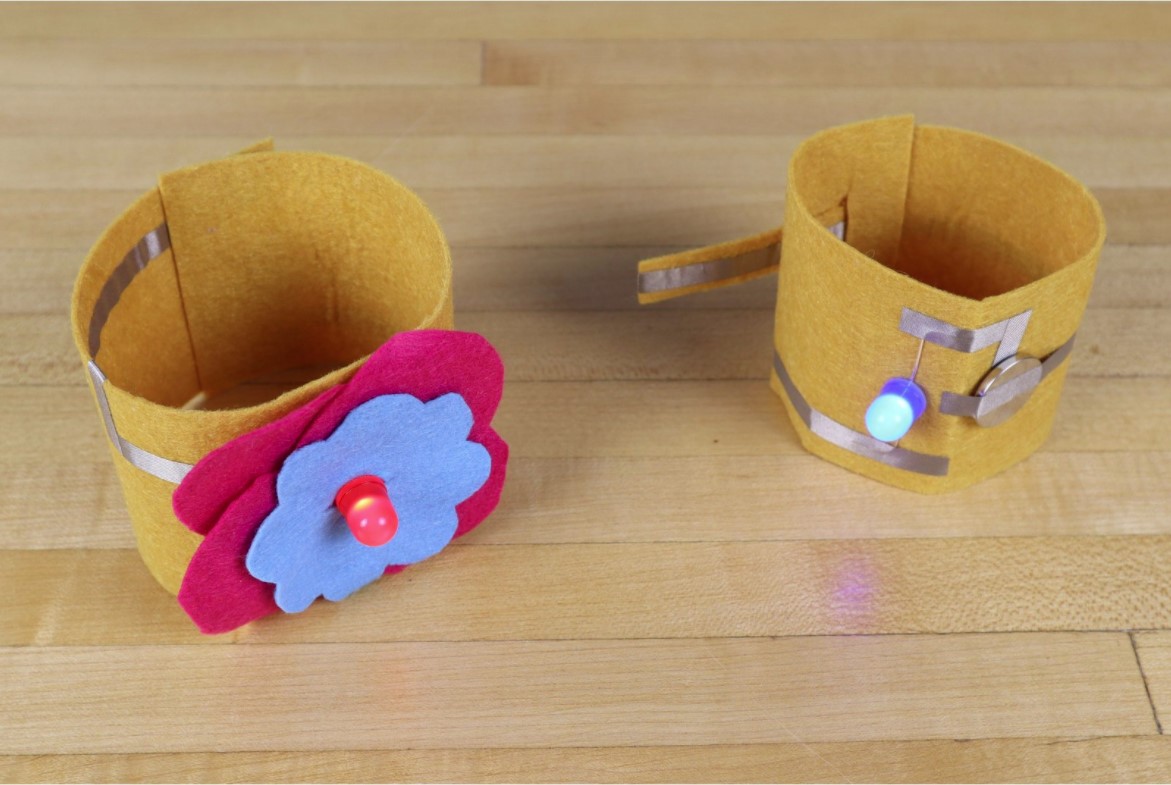
Decorate your cuff in any way you like! (Figure 4g)
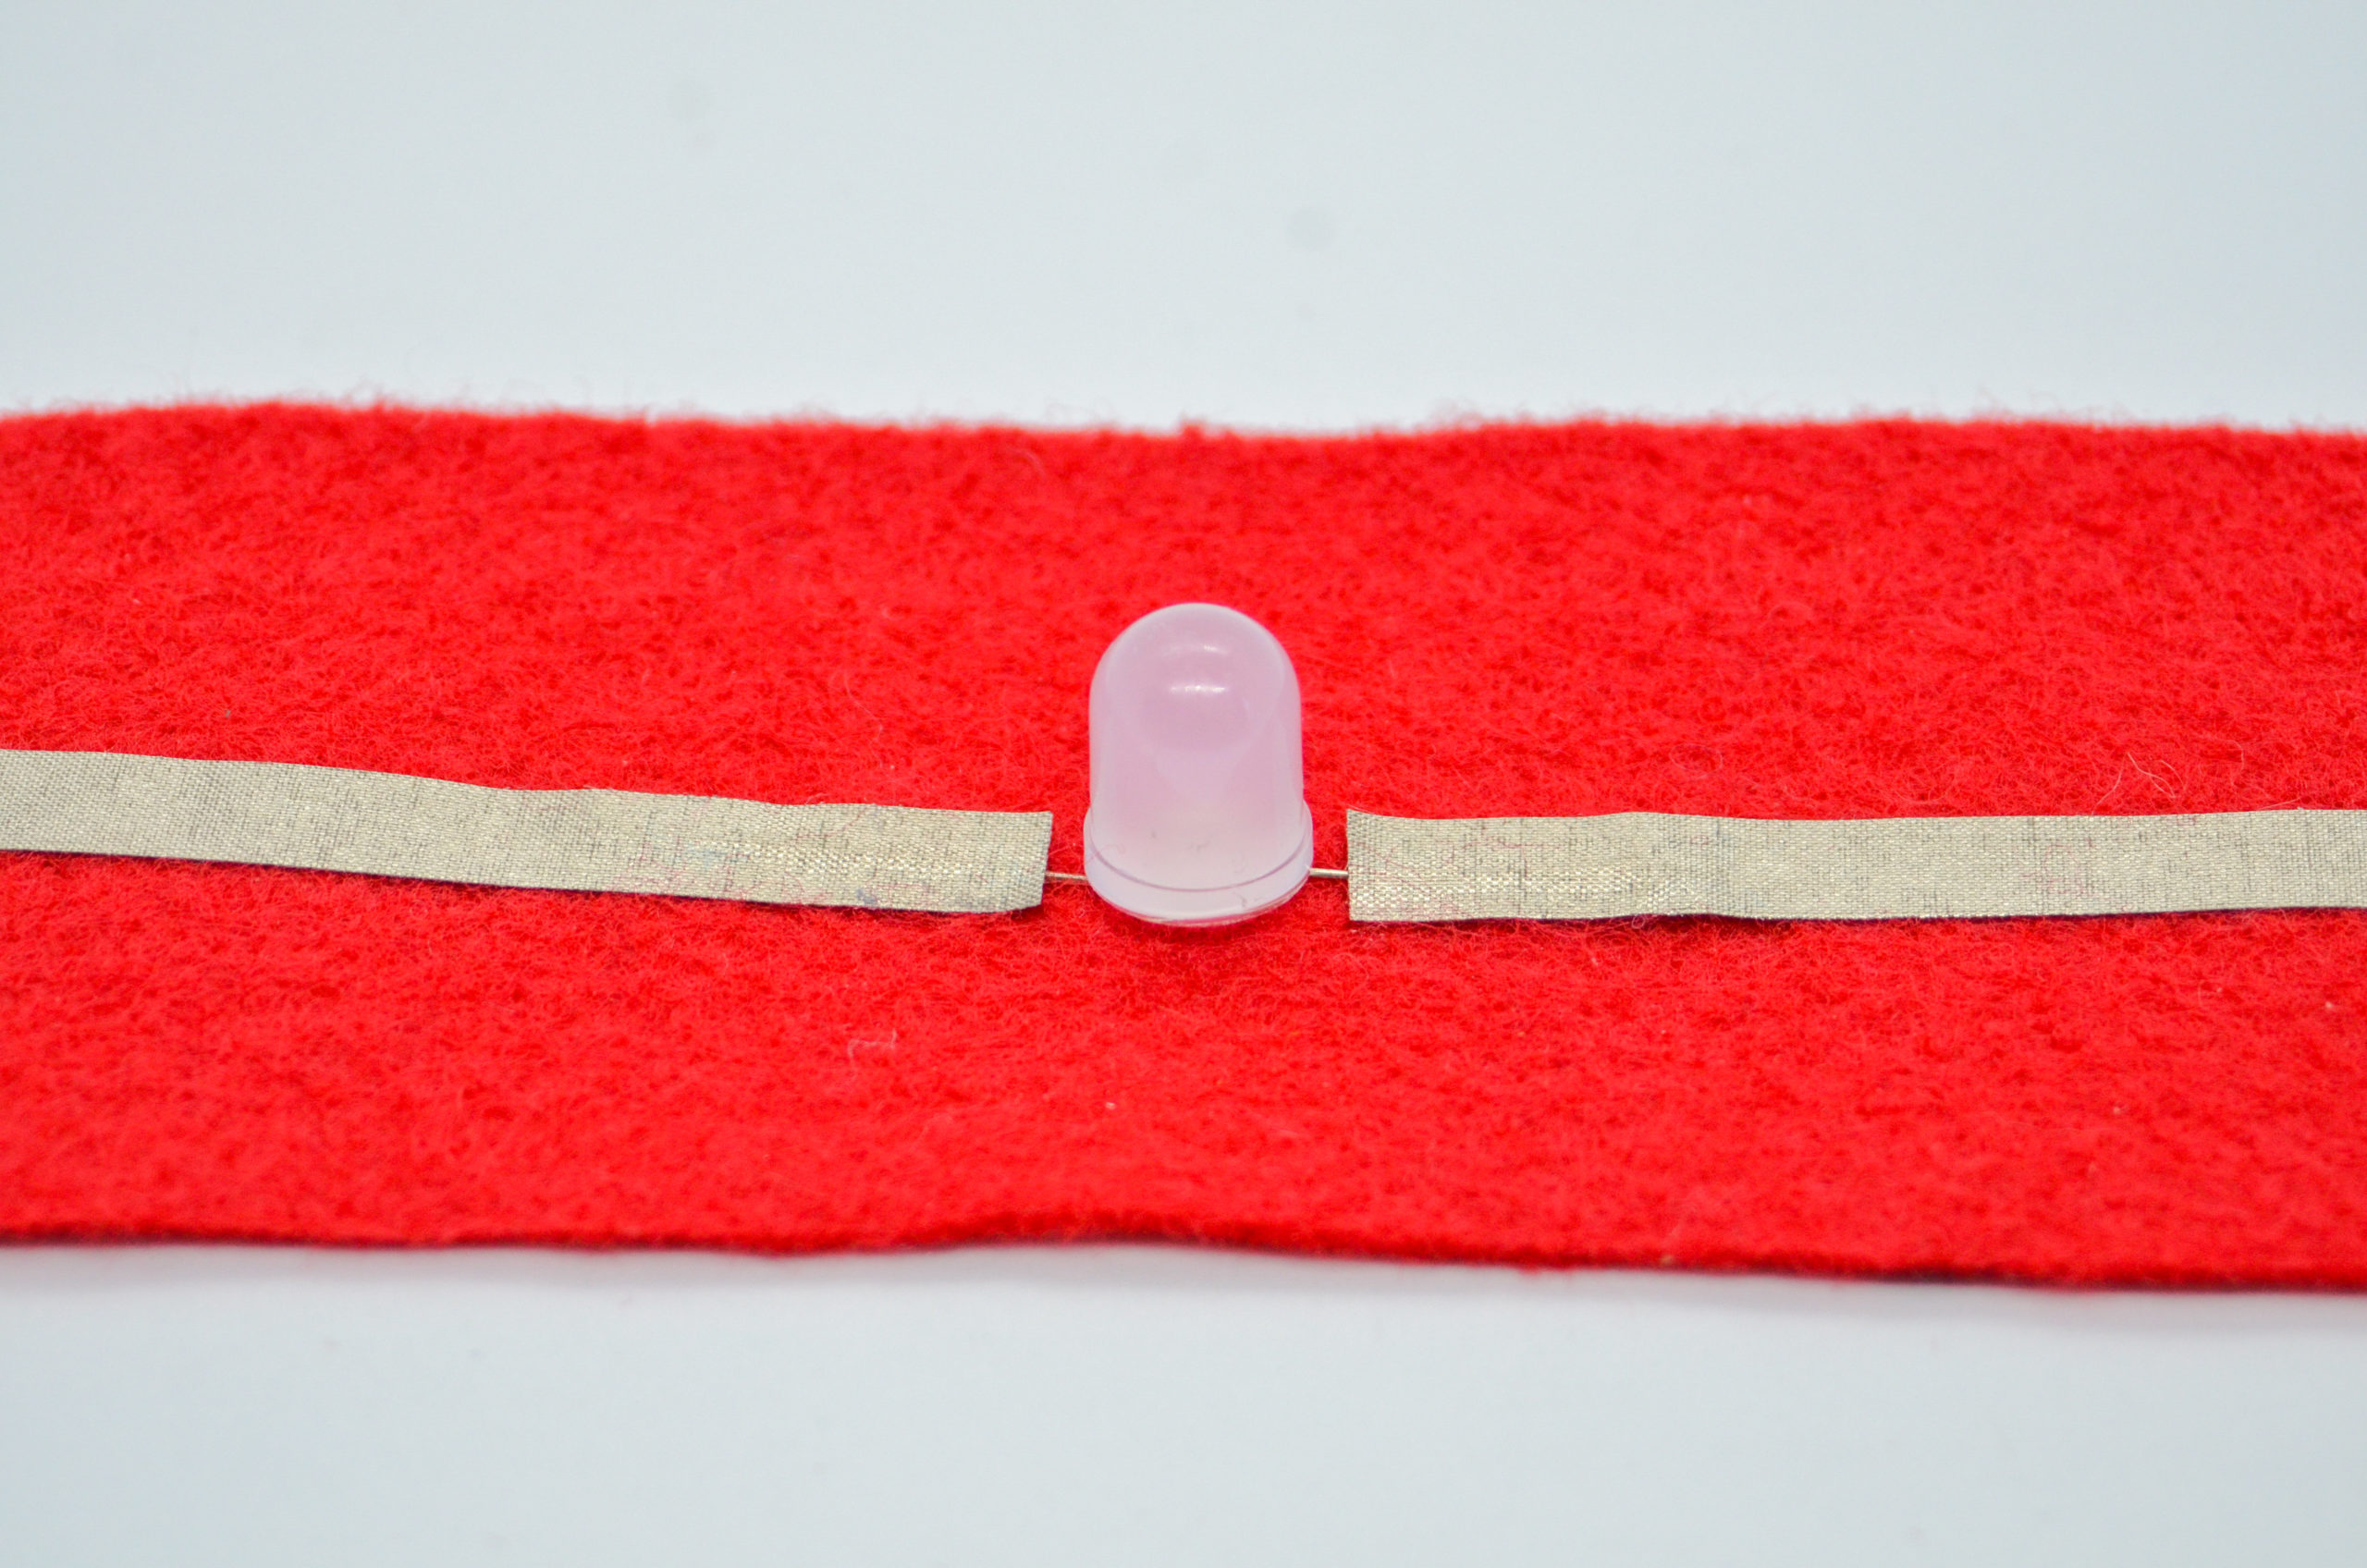
No Sew Alternatives
Traditional LEDs
Want to use traditional LEDs and a battery? Just gently bend the LEDs and attach the battery as you did for Paper Circuits.
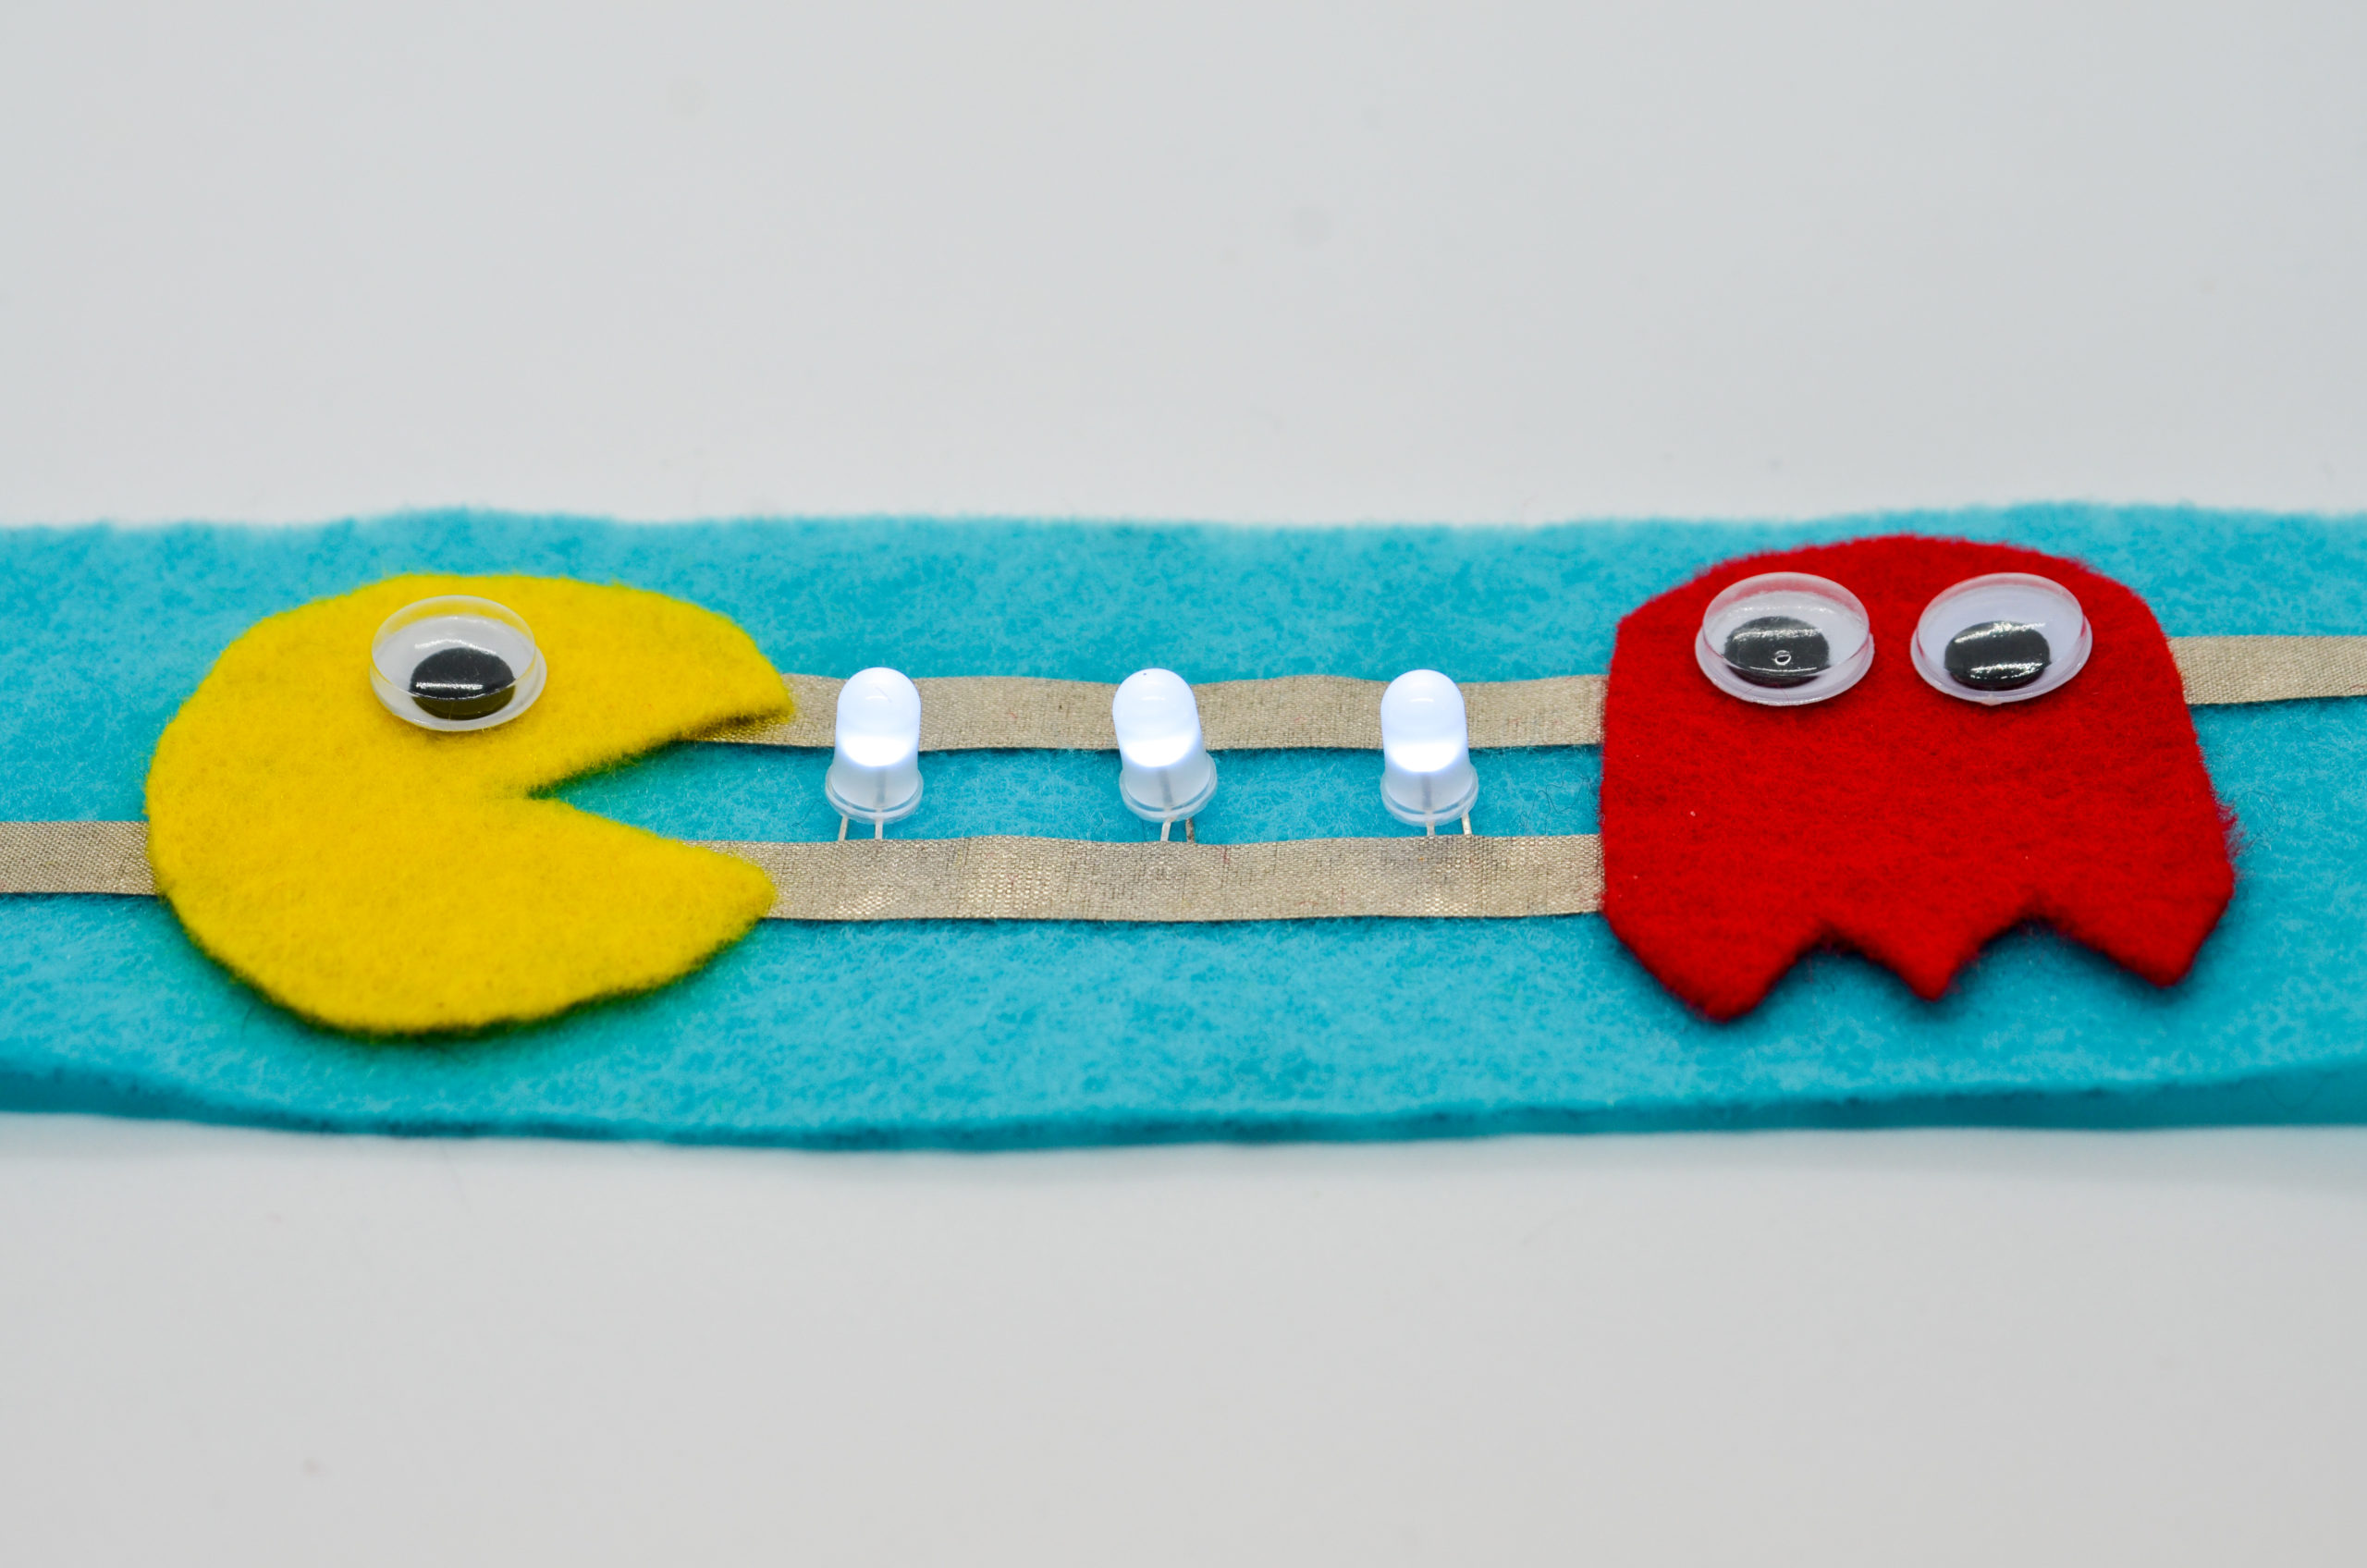
Multiple LEDs
Want to add multiple LEDs? Try a parallel circuit instead. (Figure 4l)
What's Next?
Complete one of these challenges:
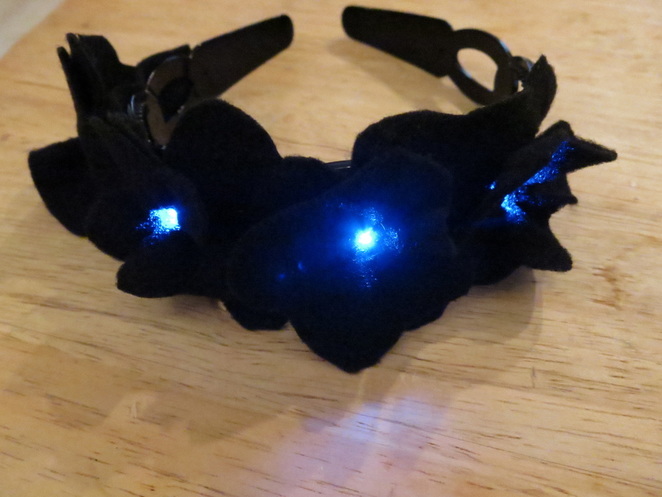
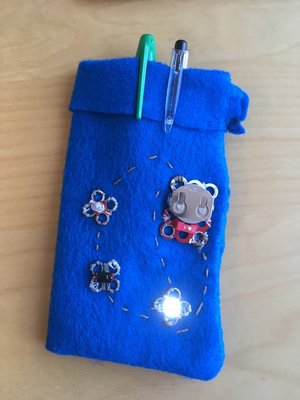
Discovery – Mix it up! How can you improve upon your cuff? Or maybe you want to make something else like a phone case or necklace. Check out these projects for inspiration, then adapt them to use Makers Tape as needed.
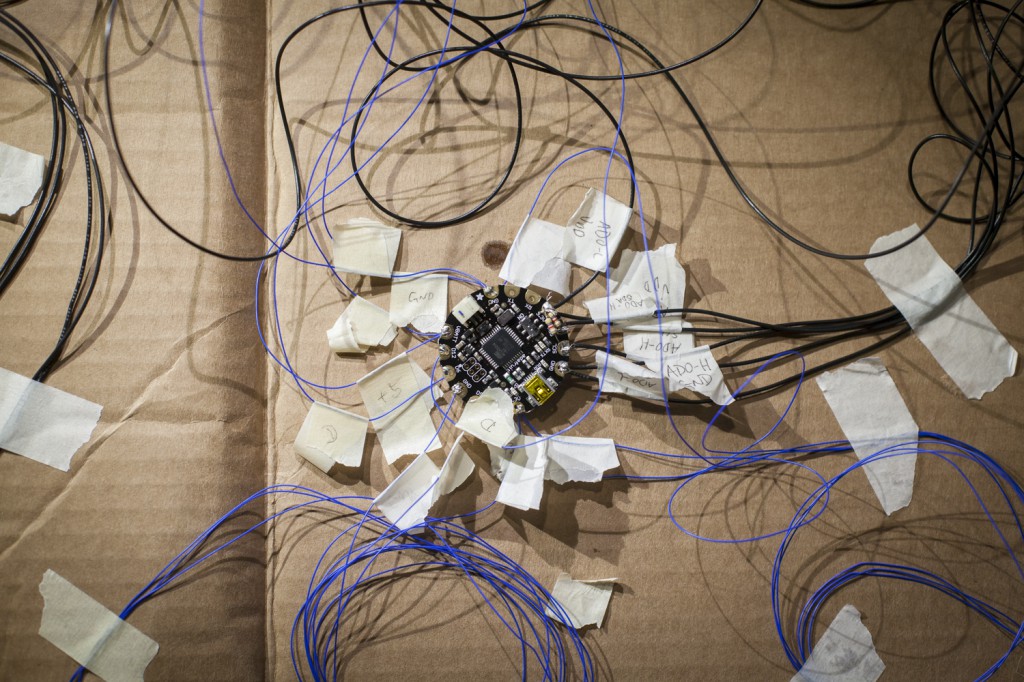
Exploration – Mash it up! Can you add a solar panel, tilt switch, or motor to your soft circuit to make it do something really cool? Check out these projects for inspiration.
Innovation – Stitch it up! Learn how to make a running stitch and use it to create your circuit. Or add decorations to your cuff using basic embroidery.